Arts & Crafts Magazine

New Paper Mache Dragon- More Assembly!

By Danmonsterman @danmonsterman
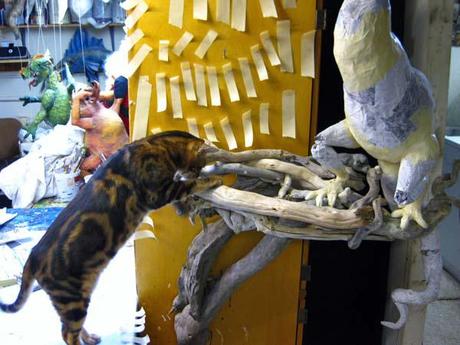
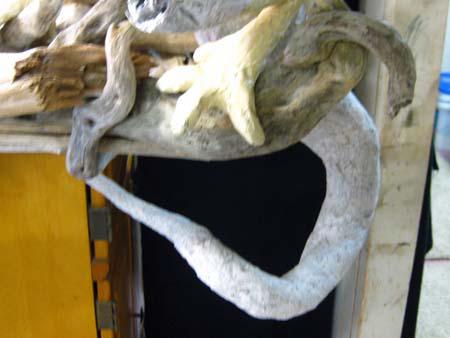
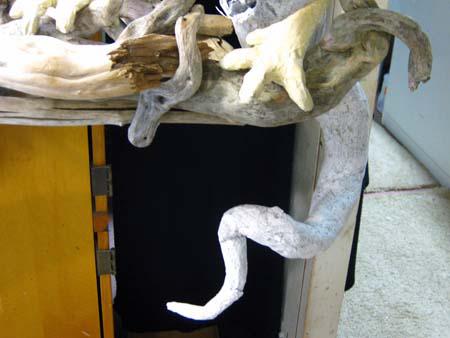
I originally thought this tail would hand down lower.   So I broke the paper mache and added a few twists.   Again, that's why it's so great to have wire clothes hanger inside.   I just make repairs with masking tape later.
New Paper Mache Dragon- more assembly!  New Paper Mache Dragon- more assembly!
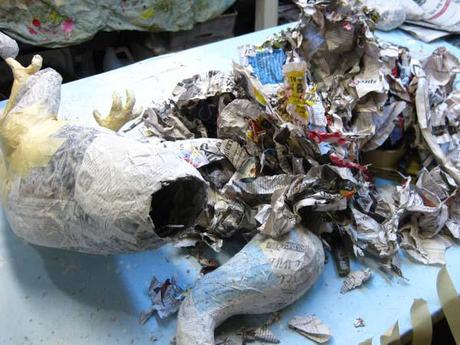
Since I want this dragon to be as light as possible, I pulled out the initial wads of paper inside the paper mache body when I cut the hole for the head.   It's amazing how much paper was crammed inside that body.  Max wants to know what's inside the nest.   I fully expect to see him curled up inside the nest at some point.
New Paper Mache Dragon- more assembly!  New Paper Mache Dragon- more assembly!
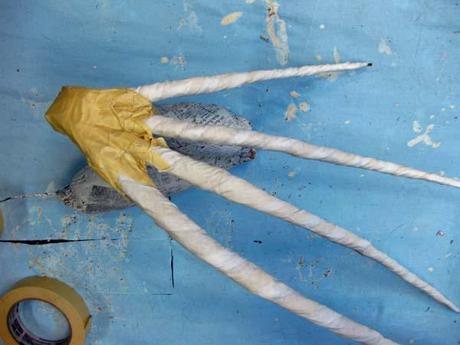
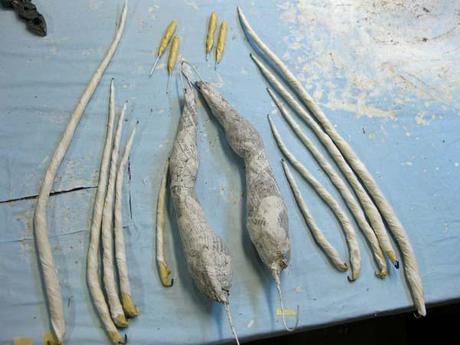
Next, the dragon needs her wings.   I gathered the paper mache arms and the "fingers".    I taped the fingers together into a hand.
New Paper Mache Dragon- more assembly!  New Paper Mache Dragon- more assembly!
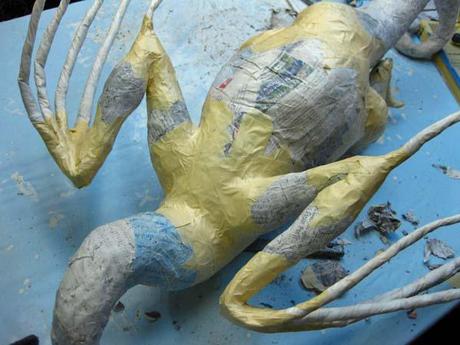
I taped the hands to the paper mache arms.   Note the extra finger at the elbow.   Then I cut holes in the body and inserted the arms.
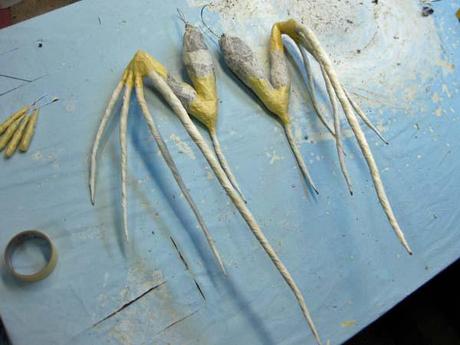
 New Paper Mache Dragon- more assembly!  New Paper Mache Dragon- more assembly!
New Paper Mache Dragon- more assembly!
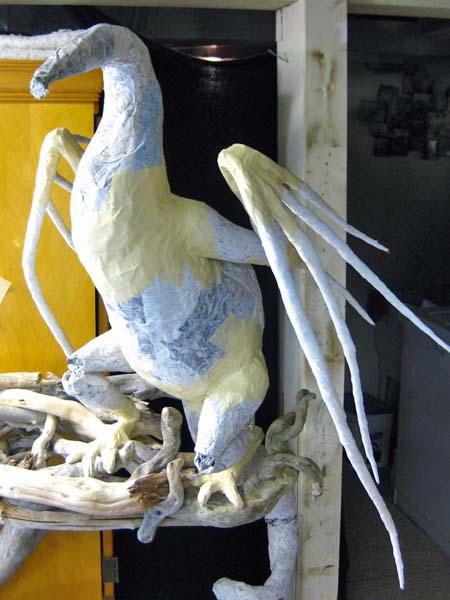
Here she is again next to the nest.   Time for a head, don't you think?

Back to Featured Articles on Logo Paperblog

Magazines