Arts & Crafts Magazine
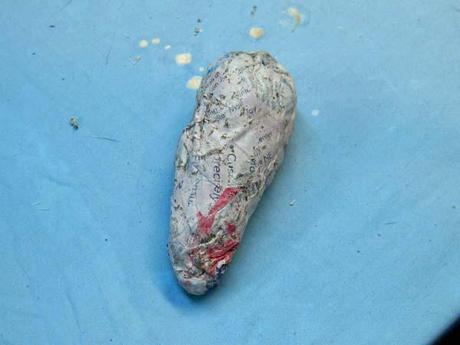
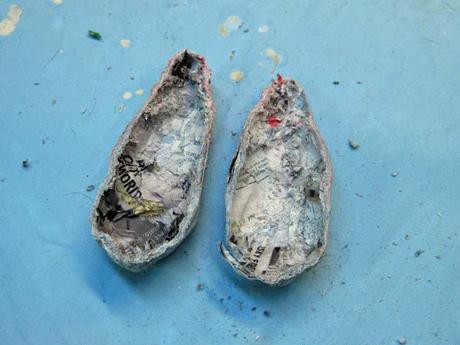
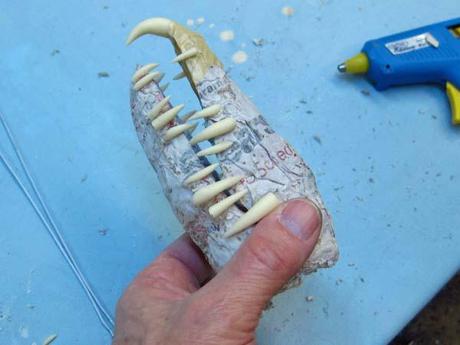
So it's time for a head. I'm using one of the smaller, more elongated paper mache balls. As you've seen me do many times, I cut the ball in half and pull out the paper from the inside. I use one half of the ball for the upper jaw and the other for the lower jaw. I've said this many times, some people sculpt with chicken wire or balloons and then add a "skin" of paper mache. I sculpt with the paper mache balls and appendages. I cut them up and put them together with masking tape. Then I add my skin of "cloth mache".
I used hot glue to attach the teeth to the paper mache shells. After that, I wrapped each tooth with a small strip of cloth and glue. Then I put a larger piece of cloth into the middle of each jaw.
I will paint these jaws before putting them on the dragon. I'll come back to them later.
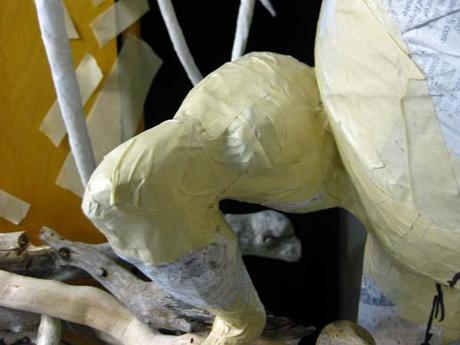
Time to add a few details to the dragon. Earlier I broke the paper mache leg at the knee. The clothes hanger inside the leg kept it in the shape I wanted. I crumpled up some paper and put it in the hole to make a knee. Note that I also added some "muscles" on the thigh. Those are just smaller paper mache shells like I used for the jaws that I taped on.
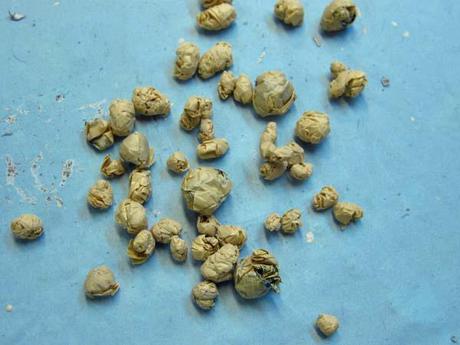
Next, a little work on the feet. As you can see, the foot is not too interesting as it is. Now that I've bent the toes to conform to the wood in the nest, I want to embellish them. For this I use little balls. Here is one of my trade secrets. I just tear off a few pieces of masking tape and roll them in my palms to make balls of various sizes. The stickiness of the tape holds them together.
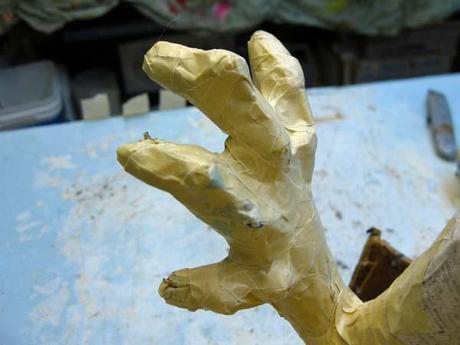
I use the smaller balls for knuckles. Just add them and cover with small pieces of masking tape.
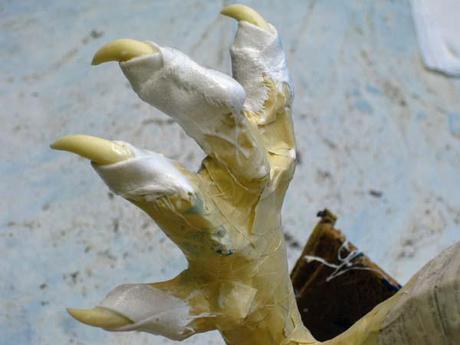
I hot glue the claws onto the toes and then wrap them with tape. Next, add the cloth mache around the claws...
...and then cloth mache the legs. In this case I also cloth mached the arms.
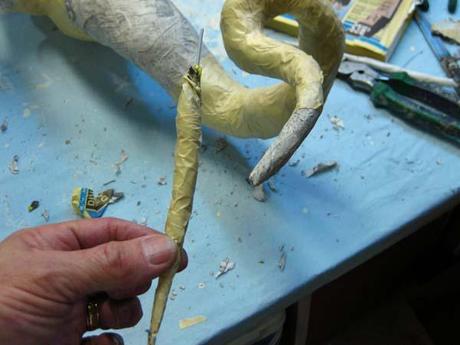
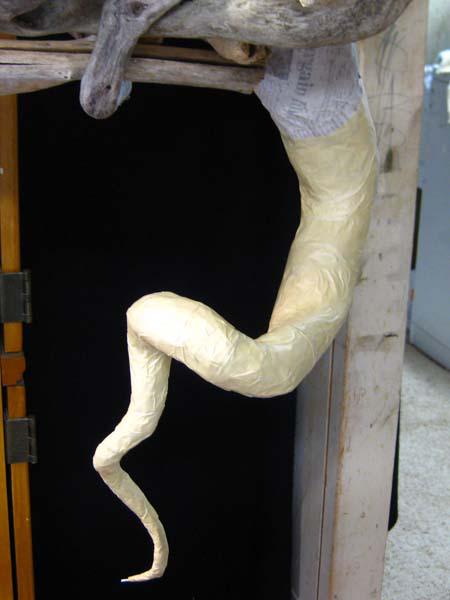
By the way, once again I changed my mind about the tail. I wanted it longer. So I made another tapered piece and added it to the end of the tail. I like it much better.
Thanks for stopping by. See you soon.
I used hot glue to attach the teeth to the paper mache shells. After that, I wrapped each tooth with a small strip of cloth and glue. Then I put a larger piece of cloth into the middle of each jaw.
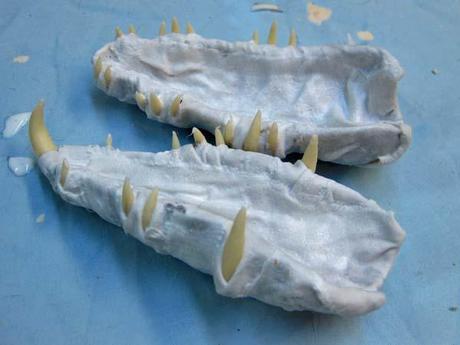
I will paint these jaws before putting them on the dragon. I'll come back to them later.
Time to add a few details to the dragon. Earlier I broke the paper mache leg at the knee. The clothes hanger inside the leg kept it in the shape I wanted. I crumpled up some paper and put it in the hole to make a knee. Note that I also added some "muscles" on the thigh. Those are just smaller paper mache shells like I used for the jaws that I taped on.
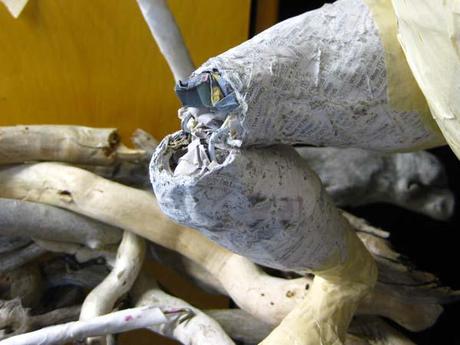
Next, a little work on the feet. As you can see, the foot is not too interesting as it is. Now that I've bent the toes to conform to the wood in the nest, I want to embellish them. For this I use little balls. Here is one of my trade secrets. I just tear off a few pieces of masking tape and roll them in my palms to make balls of various sizes. The stickiness of the tape holds them together.
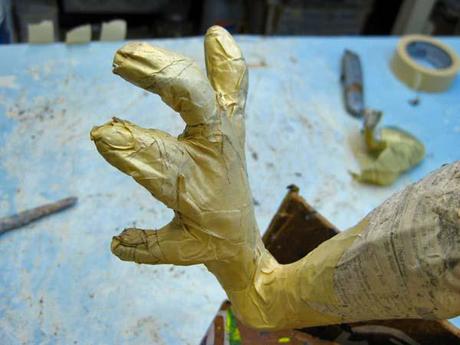
I use the smaller balls for knuckles. Just add them and cover with small pieces of masking tape.
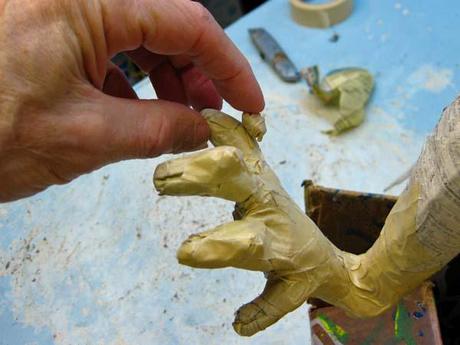
I hot glue the claws onto the toes and then wrap them with tape. Next, add the cloth mache around the claws...
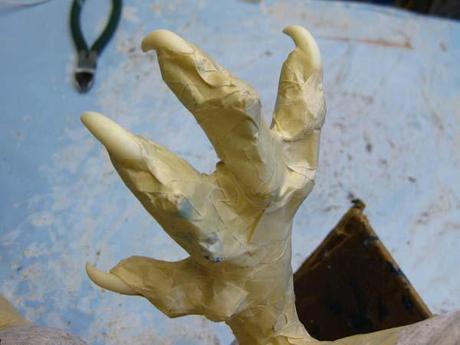
...and then cloth mache the legs. In this case I also cloth mached the arms.
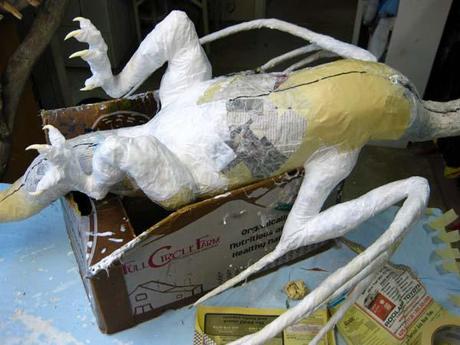
By the way, once again I changed my mind about the tail. I wanted it longer. So I made another tapered piece and added it to the end of the tail. I like it much better.
Thanks for stopping by. See you soon.