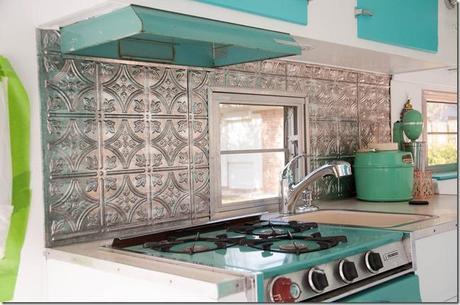
This was one of the easiest projects to do so far. Fasade Decorative Thermoplastic Panels come in a variety of patterns and a few colors. They are a form of plastic, but look like pressed tin. Super light and not hard on the wallet (especially for just a small space). I’ve seen some ceilings and complete walls done in this and it is gorgeous.
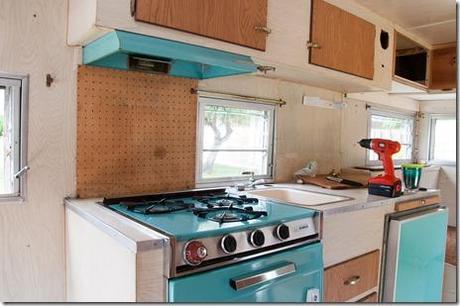
This was Glinda when I got her. Pegboard on the back. Hole over the sink. Very tiny faucet and a hole next to faucet. Back paneling wall was warped, peeling, had holes, and you can see where old tile was along bottom of wall but had previously been removed..not well I might add.
We removed the curtain rods, paper towel hold, pegboard, and etc first. Then it was time to clean up old tile glue and pieces of leftover tile.
Dear hubby talked me into buying an oscillating saw. I’m so glad he did as this was the best investment in tools we have made and we have used it for so many things on this project. I can see many future uses for it as well.
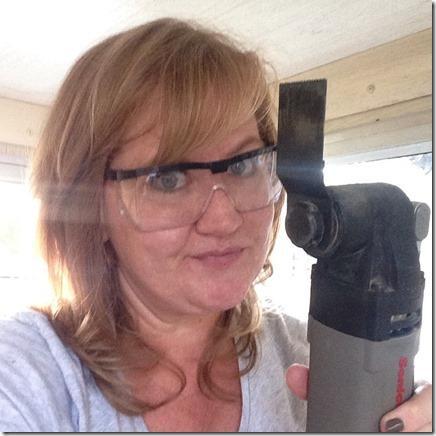
Safety first while donning the sporty safety goggles.
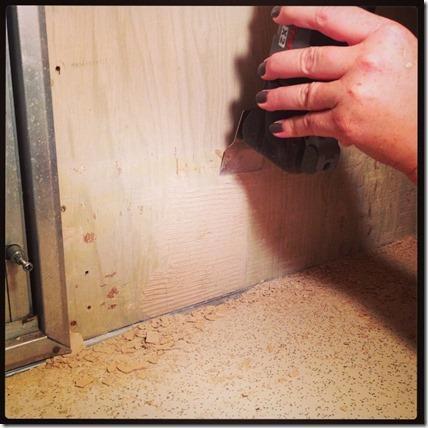
Keeping the blade as flat as possible against the wall, the old tile glue came right off. It was fun to use. We then patched any major holes in the wall for integrity. Installed new light above the sink as well as an outlet/switch combo. Again, HUGE thanks to my electrician, aka baby brother!
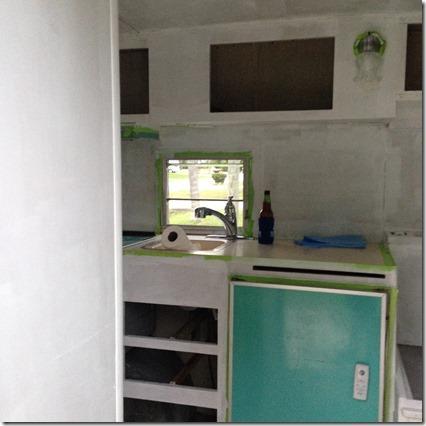
I did add a coat of primer and painted with the Ultra White all around the edges where the panels were going to go.
The Fasade panels were so easy to cut. After determining my layout (taking range hood and window into consideration) I measured height of wall beginning on left side next to range hood and going around. I marked these measurements on panels with a sharpie and used a good pair of my Westcott scissors to cut the panel. It’s a thin plastic, so it cut very easily. The Fasade panels also come with coordinating trim for edges. Again, these cut with a snip of the scissors.
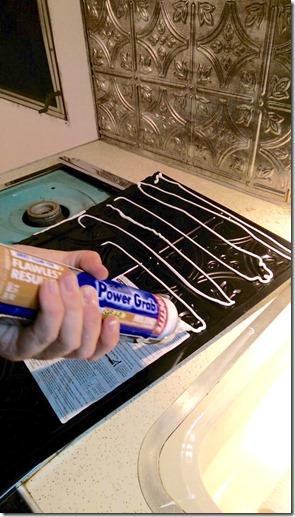
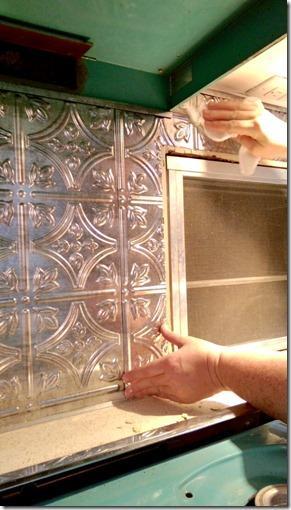
I placed the glued panels on the wall and using a soft cloth brayered them in place and cleaned up any extra adhesive that might have come out along the edges. Simple as that!! Installed new faucet with an extendable handle. Figured it might help with such a small space. We also cut the existing hole next to faucet just a little larger and installed a soap dispenser. Now I don’t have to worry about anything sliding off the counter. (extra accessories will be stored before moving

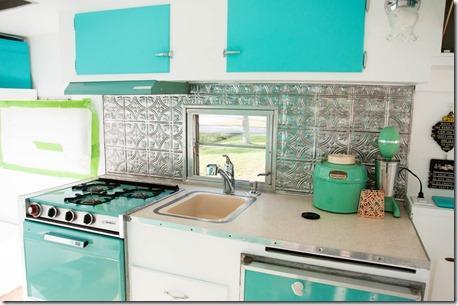
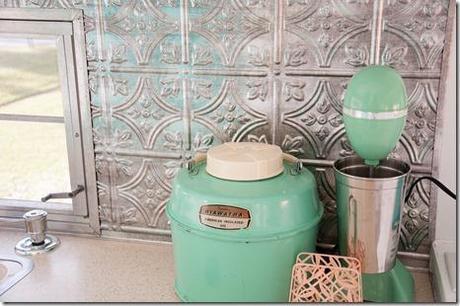
And look at the cute accessories from my friend Janet! She found the little coasters and the shake mixer, plus a few others to share later. Thank you Janet, these are so perfect! I found the old thermos which is the perfect color to match Glinda and Janet’s finds.
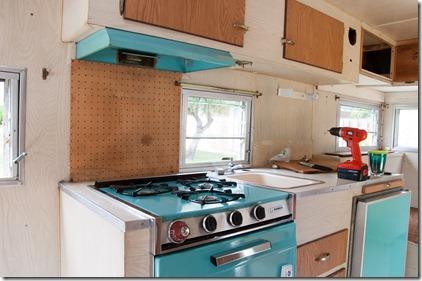
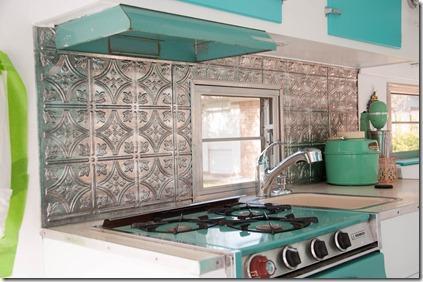
Much nicer, yes? It’s funny how the colors seem to be more green now on the stove because of the reflective colors around it. Perfect!!
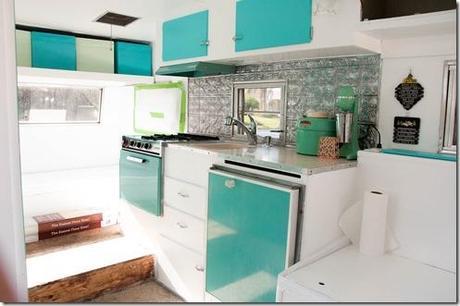
Windows and flooring are next to be fixed. (see the flooring stacked ready for installation?) However, more blog posts about my clever find with the cabinet doors coming soon.

