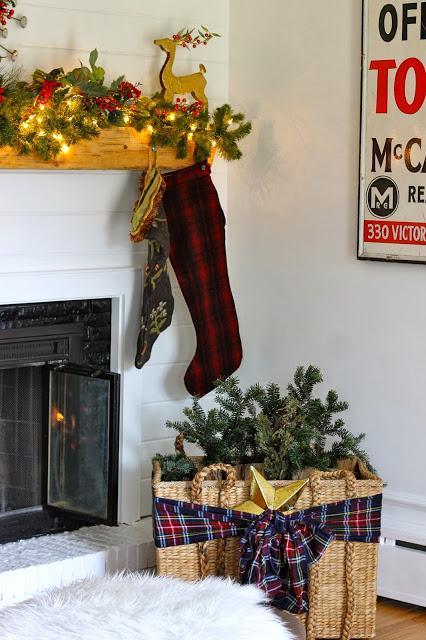
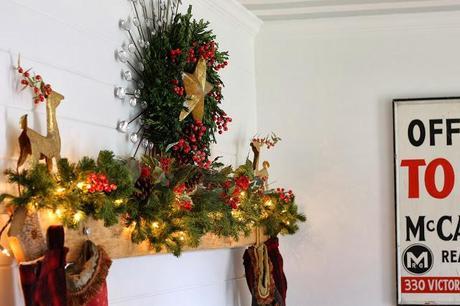
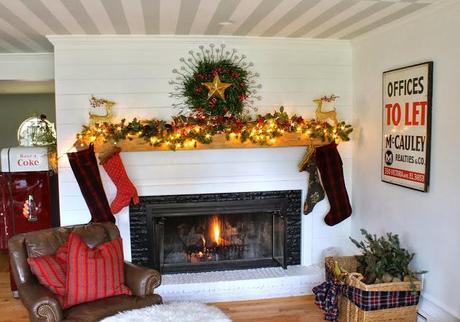
Many of you might remember what our fireplace looked like when we bought this house...
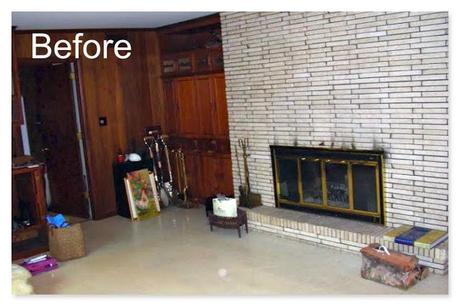 A big wall of dated floor to ceiling golden brick with black grout surrounded by lots of wood panel.
(The brick looks tan here, but trust me it was yellow.)
I think I painted EVERY surface in our house that first year in my attempt to renovate with paint, including the behemoth fireplace. I painted the brick white and used a high heat black paint to modernize the two-toned brass doors.
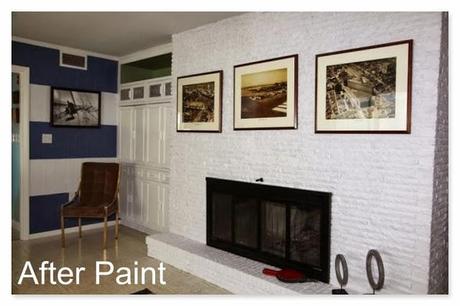 It was a quick and inexpensive trick that I highly recommend and I loved the result.
But then we decided to renovate last winter.
Walls came down and new walls went up,
leaving us with the question of how to address the big old fireplace.
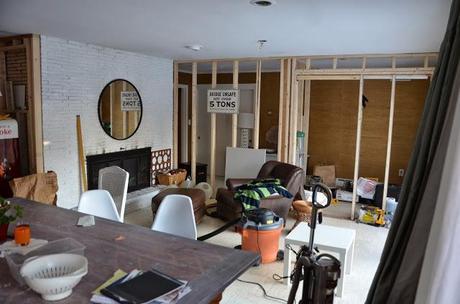 As our plan came together I realized that the wall of brick was not fitting into our scheme.
I also really wanted a mantle.
 After much debate with my husband we decided on cladding the whole thing with horizontal planking.
For the record, I fought hard for a chevron plank layout but lost due to the fact that I am a serial "changer". This was going to be permanent, therefore no changing it when I got sick of the zig-zags.
Less is more, blah blah blah.
To do this we enlisted help from our family. Paul's cousin had been helping us with the renovations, as well as his uncle and my father. I had researched plenty of fireplace makeovers, but I have never clad one and the fact that this was going to be next to real fire made me want an expert involved. Together we mapped out the design. Strapping was to be added to the face of the brick. This would create a solid foundation to attach the new planks to. I was given a list of fasteners and drill bits we would need and I was off to True Value Hardware to get my supplies.
To attach wood strapping you need to first pre-drill the brick
with a masonry bit that will accomodate your screw.
Next you fasten the pine strapping with masonry screws.
This is by far the slowest and noisiest part of the entire process due to all the drilling.
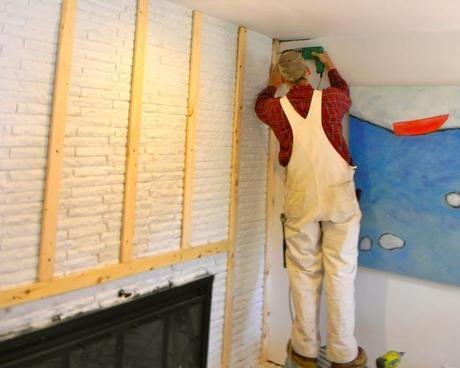
One tip for this is to snap vertical level chalk lines where you will be placing the strapping to act as a guide.
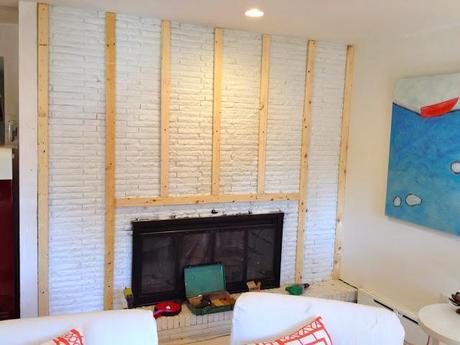 Once the strapping is attached it is time for paneling.
Can I just tell you how fantastic nail guns are? I highly recommend investing in one if you are planning on doing any big finish carpentry projects like this. Makes the job go so much faster!
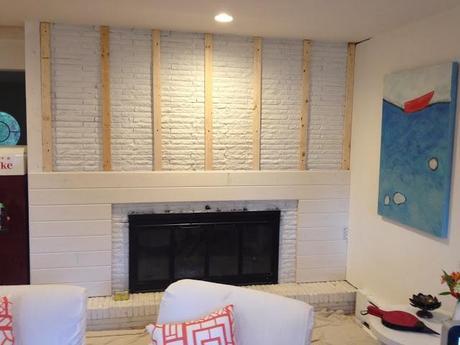 We used tongue and groove planks so that our nails would be hidden and also to keep from having large visible gaps if the wood shrinks.
(Since this is near a heat source we are pretty sure we will have shrinkage.)
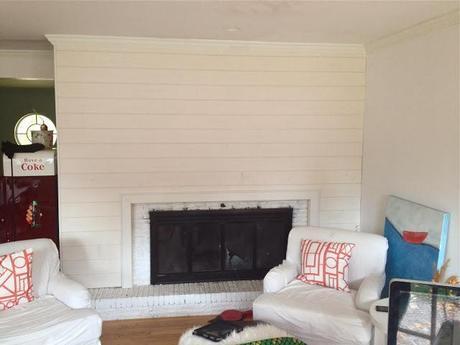
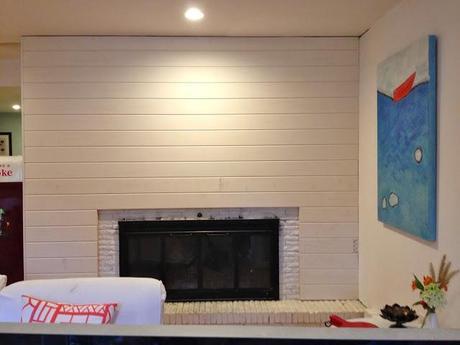 The top was trimmed with crown molding and for around the opening we went with same molding that is on all of our door and window frames.
 We had created a little niche on the side over our Coke machine when we framed our walls...
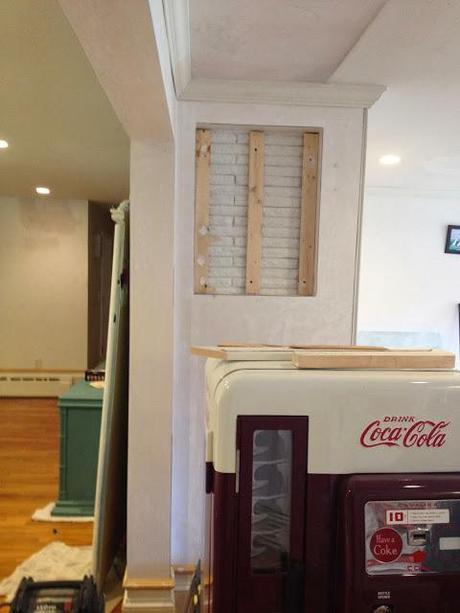 Guess who got a little piece of zig-zag?
This girl.
Hey, I'll take what I can get!
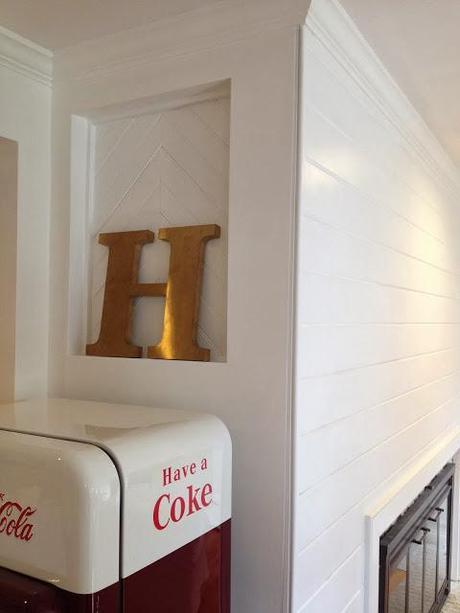 We were pretty happy with how things were shaping up. Now we just needed to decide on a mantle.
We now had a nice clean palette, and way too any ideas on how to dress it up. Oh decisions...
It only took a month, but we realized we both kept gravitating toward the look of an unfinished beam. My husband happened to have a friend that had one in his barn up for grabs. It was already sandblasted and had the original connection joints along the ends.
I really loved the look of them, so there was no way we were cutting them off.
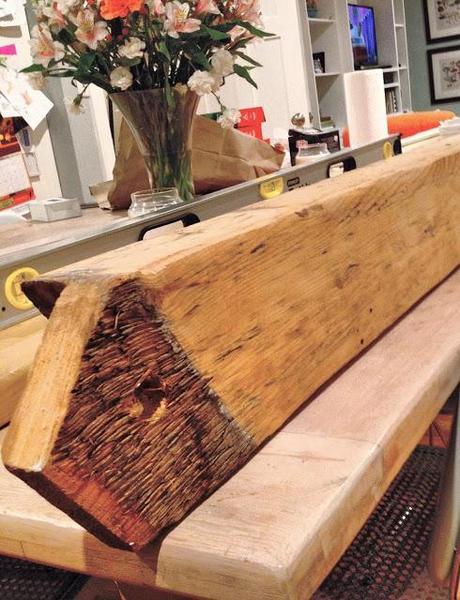 The beam was not as thick as we had hoped, but my husband came up with a solution to pad it out and "float" it on the wall using a 2x4 behind it.
The 2x4 needed to be very secure since this is what our beam was going to be anchored to.
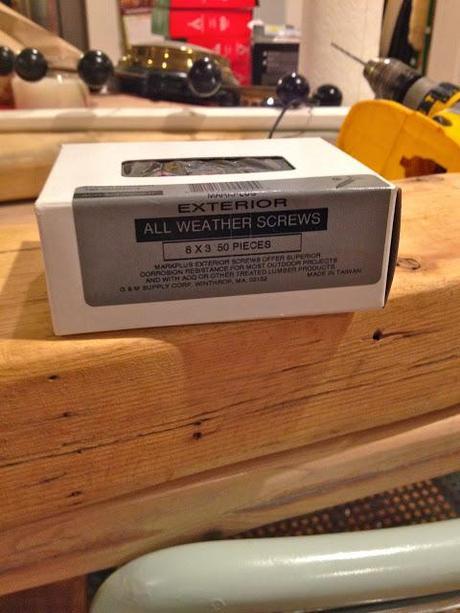
Once again more fasteners from True Value.
 The 2x4 was cut an inch shorter on each side.
We even added glue to the backside before hanging just for added reinforcement.
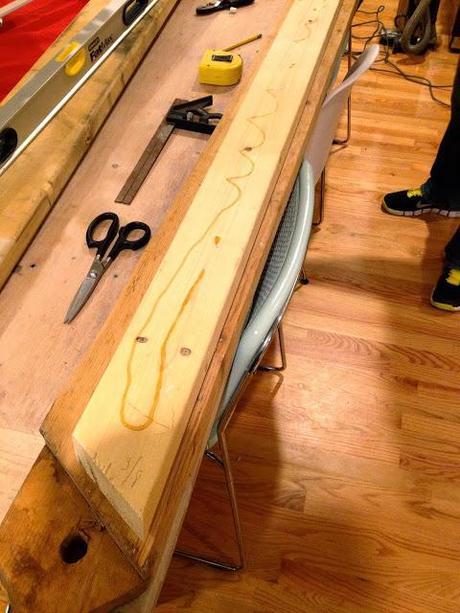 We pre-drilled and hung the 2x4 to the mantle wall.
We actually did a pretty decent job hitting the strapping too.
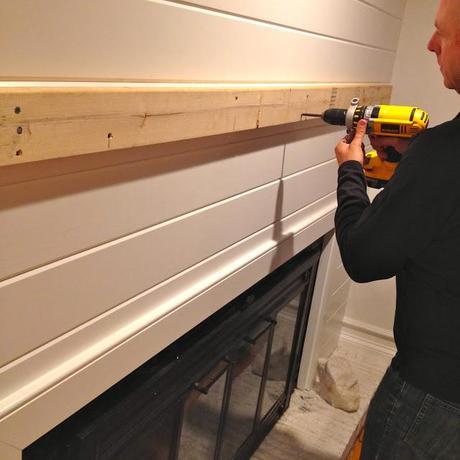 Now it was time for the beam.
Not gonna lie, I was pretty nervous about this part.
I just had visions of it crashing down since it was just Paul and I hanging it.
Now it was time for the beam.
Not gonna lie, I was pretty nervous about this part.
I just had visions of it crashing down since it was just Paul and I hanging it.The beam was to sit an inch higher than the 2x4. We drew a line an inch from the top on the backside of the beam and used an old trick my husband had up his sleeve. We drilled a few 3" screws into the line every few feet, leaving about an inch sticking out.
These would act as makeshift cleats and help to keep the beam level as we hung it.
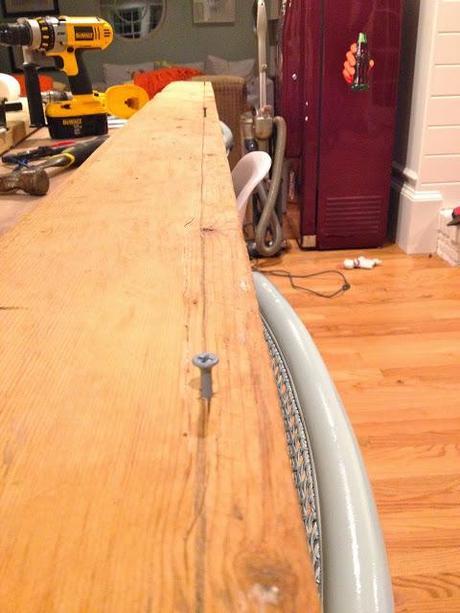 And it worked!
I was surprised by how strong this actually was. We set the beam onto the 2x4 to make sure it was level and it hung there! Here my husband it holding it in place with just a finger...
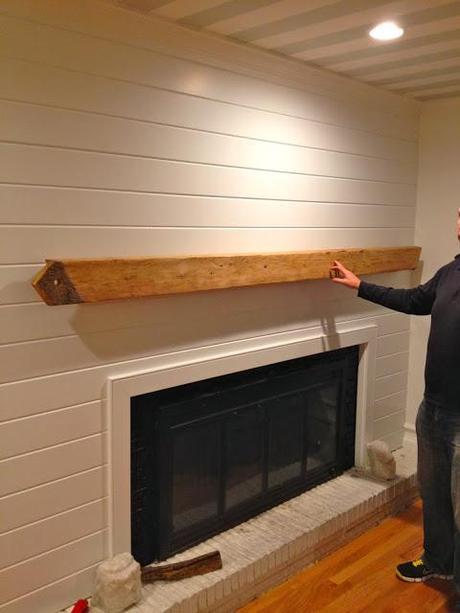 Screw power!
To anchor it in place we pre-drilled several holes and screwed it to the 2x4. We made sure to sink the screws into the beam so you can't see them. We also set them at random heights so the holes just look like they have always been there.
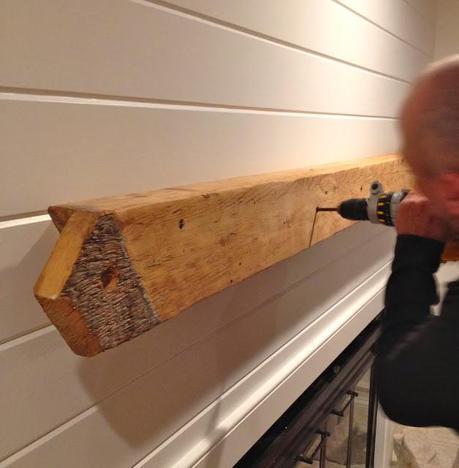 For the final touch we added some 4 1/2" lag bolts near the ends. This definitely gave it extra support, but the reason we used them was more decorative.
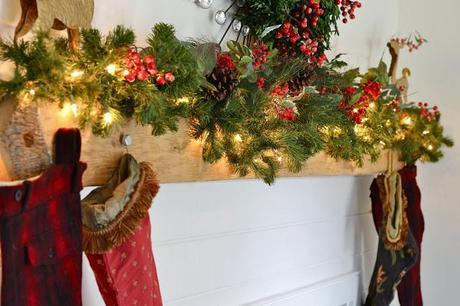
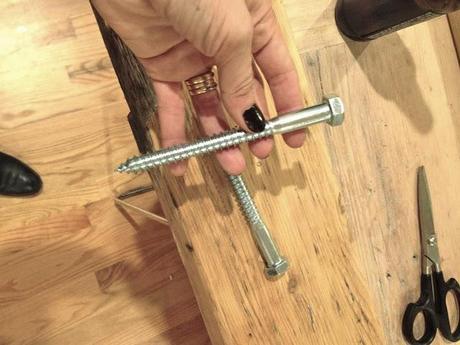 For the majority of the year they will be fastened tight to the beam, but for the holidays they get unscrewed about a half inch.
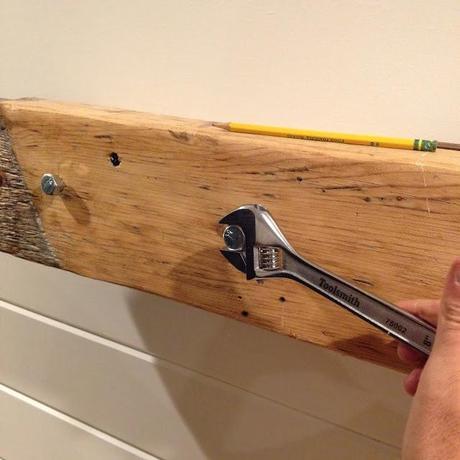
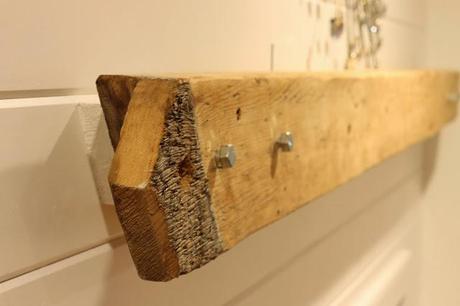 Why?
Why?
To act as stocking holders of course...
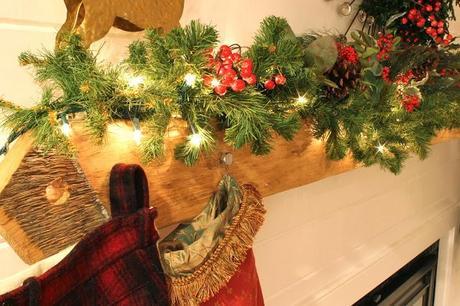 Tis the season!
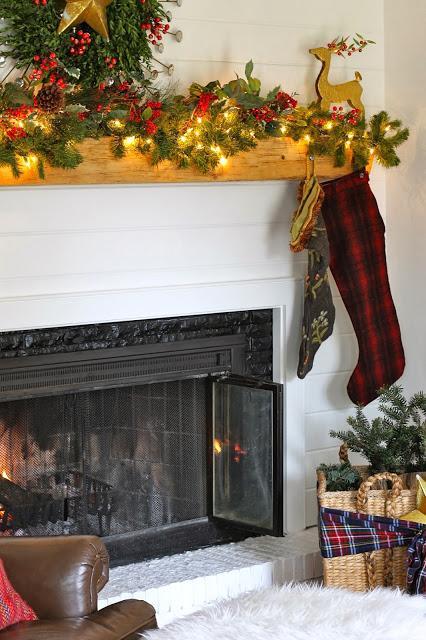 To complete the makeover I painted the brick surrounding the fireplace doors with more of the Rustoleum High Heat black paint and gave the hearth a fresh coat of white paint. I would have loved to have gotten rid of the doors, but they do help with drafts and heat loss.
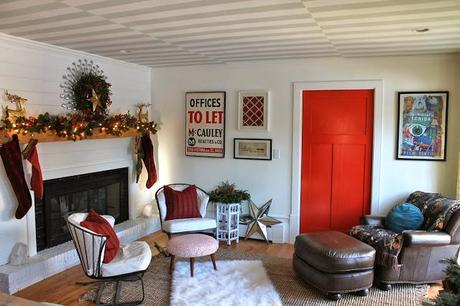
One of the best surprises about this mantle is that you can't even notice the 2x4 behind it.
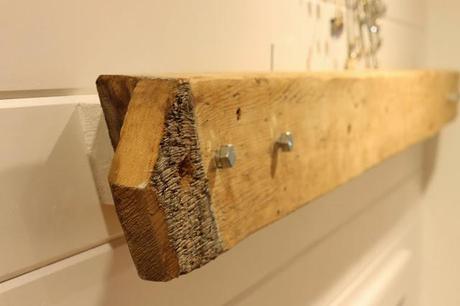
I painted the edges white to blend with the wall, and there is a 1" channel that runs along the top- perfect for stashing matches or running an extension cord. (Yeah, I didn't plan out the electrical too well. Forgot all about adding plugs!)
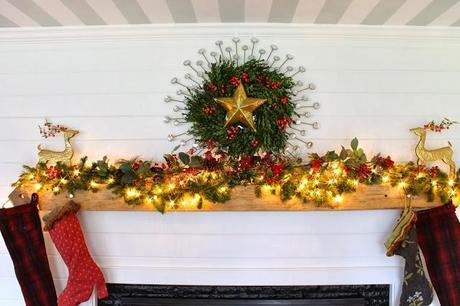 I couldn't resist jumping right into holiday decorating, so I will be sure to add new pictures of it when its "naked" in January. I have a zillion ideas of how I want to style it so stay tuned.
 Wishing you a productive holiday season!
For more project ideas, visit StartRightStartHere.com or follow True Value on Pinterest.
I was one of the bloggers selected by True Value to work on the DIY Squad. I have been compensated for my time commitment to the program as well as writing about my experience. I have also been compensated for the materials needed for my DIY project. However, my opinions are entirely my own and I have not been paid to publish positive comments.

