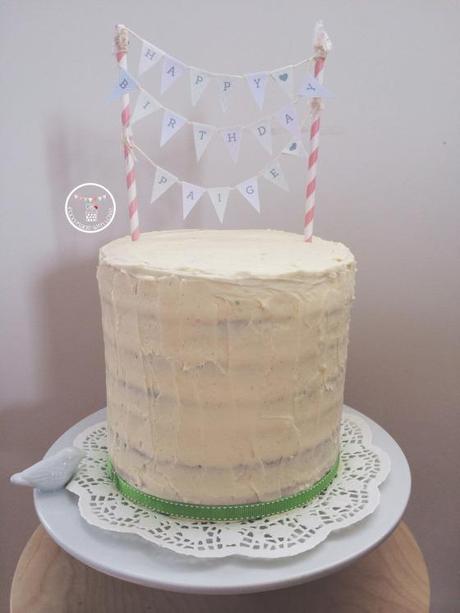
Layer cakes were never a specialty of mine, but when the opportunity came up to make something special for a first birthday, I just couldn’t resist! If you follow me on instagram (@lianneelow) I’m sure you’ve seen endless photos of Paige who turned one last year. I love her like she’s my own, so I wanted to do something special for her as well!
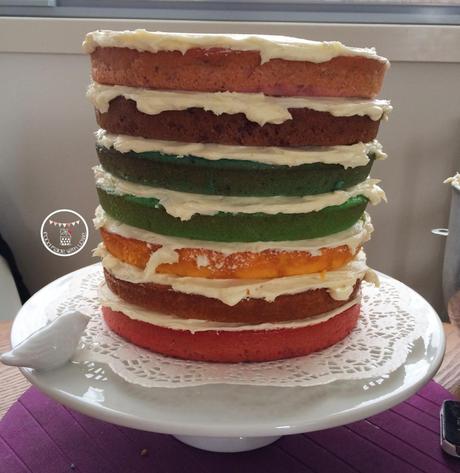
Rainbow was the theme of her party, so inevitably, the only cake I could think of was rainbow cake! Being ambitious, I also wanted to make all 7 layers out of natural colouring and flavouring. So after much research, I came up with the flavours and decided to give it a try. As much as I wanted natural colouring, the colours of the fruits just didn’t stand out as much as I wanted to after being baked, so for the actual cake, I decided to put a drop or two of colouring paste just to make it pop!
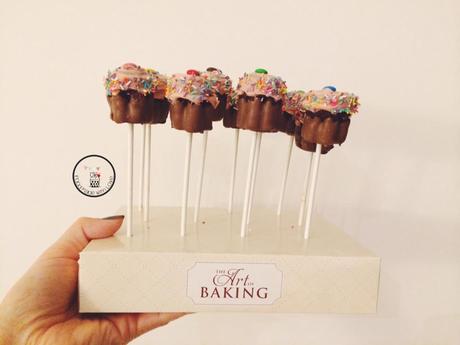
On a side note (just cause the word pop reminded me haha), I also made some cupcake pops for the party! Though it was time consuming to make them, I enjoyed every single moment – from molding them into their shapes, dipping them into melted chocolate (like yummeh!) and to sprinkling them with 100’s and 1000’s! Could totally imagine a kid doing it as a fun activity too! Hehe
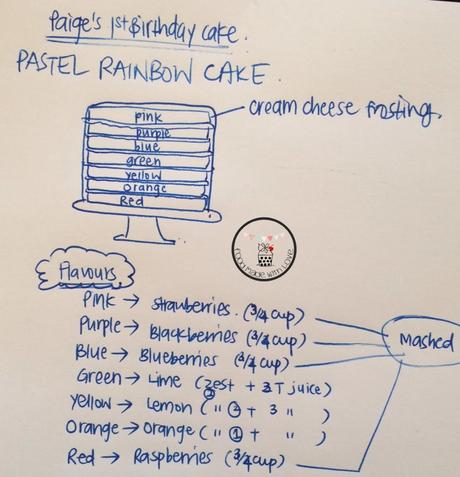
So here’s a draw up of my plan: 7 flavours and all stacked and iced with my favorite cream cheese frosting! Mmmmm!
I wasn’t too worried about baking the 7 individual layers, I was more worried about constructing it and how high it would actually be! It was definitely the highest cake I’ve made in my life! The only thing I was really worried about was transporting the cake to the party as I was going to be driving alone! I think my life was shortened about 10 years in that 10 minutes of driving! Haha
It was all worth it though, to see the faces lit up at the party and hearing all the compliments from the guests! Definitely made my day! The next thing that made my heart beat really quickly was the cutting of the cake and revealing to see if there were 7 distinct layers. And….
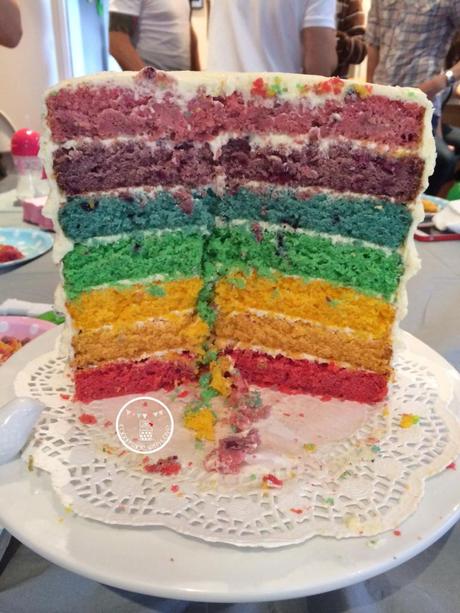
TADAH!!! (: I couldn’t be happier with how it turned out! I’m sure I let out a loud sigh of relief the moment I took the first slice of cake out and served it! A happy dance was definitely in order! Hehe I have to admit, there were some layers that I was probably a bit too heavy with the colouring towards the end (was going color happy haha), cause I really wanted the colours to stand out. But please know that you can always cut that down to your own preference, or you can just cut that out too!
Rainbow Cake
Ingredients : (20 cm round baking tin, repeat 7 times)
120g plain flour
80g caster sugar
40g unsalted butter, room temperature
120ml milk
1 tsp baking powder
1 tsp vanilla paste
1 egg
Wilton icing food gels (I used a toothpick to add the colours)
For the different layers : (add food gel colouring till desired color or leave it out if you wish)
Red – 3/4 cup fresh raspberry, mashed + red food gel
Pink – 3/4 cup fresh strawberries, mashed
Purple – 3/4 cup blackberries, mashed + purple food gel
Blue – 3/4 cup blueberries, mashed + blue food gel
Green – Zest of 2 limes, 3 tbs juice + green food gel
Yellow – Zest of 2 lemons, 3 tbs juice + yellow food gel
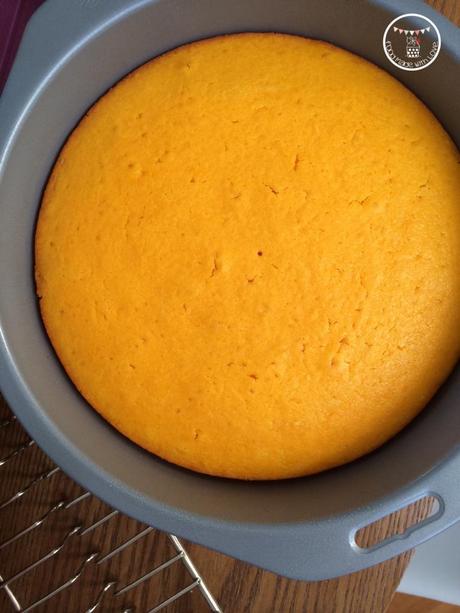
Orange – Zest of 1 naval orange, 3 tbs juice + orange food gel
Steps :
1) For each layer of cake : Grease and line the baking tin with baking paper. Preheat oven to 165 degrees celcius.
2) In a medium bowl, combine the plain flour and baking powder. In a mixing bowl, add the butter, sugar, egg and vanilla paste and mix till pale and fluffy. Alternate the flour mixture with milk (flour,milk,flour) until well combined.
3) Fold in the flavouring and colouring for each layer. Careful not to over mix.
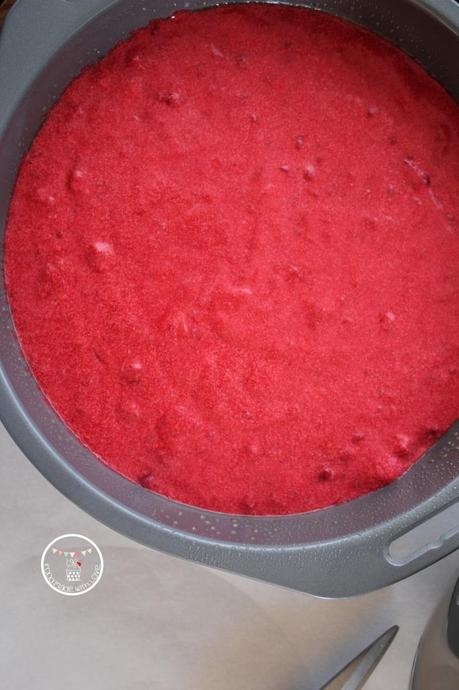
4) Pour the batter into the prepared baking tin and tap it on the counter to allow all the air bubbles to come to the surface. Bake for 18 mins or until the skewer comes out clean. Allow the layers of cake to cool completely before assembling.
Cream Cheese Icing (From the Hummingbird Bakery Cookbook)
900g icing sugar
375g cream cheese
150g unsalted butter, softened
Steps :
1) Beat the icing sugar and butter in a mixing bowl until well combined.
2) Add the cream cheese in one go and beat until completely incorporated. Turn the mixer up to medium high, and beat until it’s light and fluffy (about 5 minutes). Do not over beat as it will turn runny.
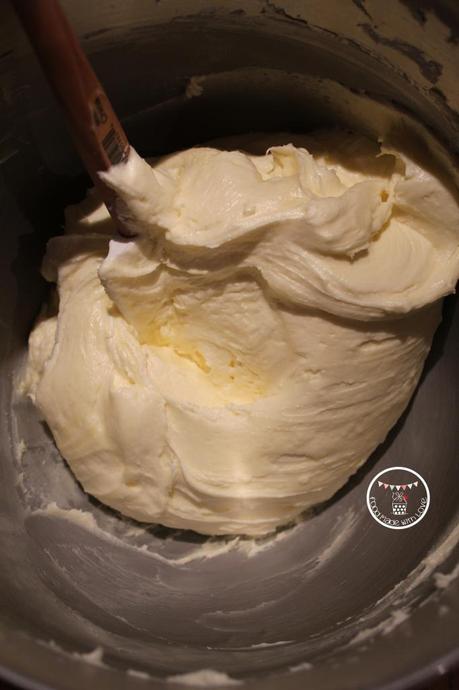
3) To assemble : Place the red cake layer at the bottom, place 2 heap tbs of cream cheese icing on the cake and spread it out uniformly using a palette knife. Place the orange layer on top and repeat the process. Once you reach the top layer (pink), frost the top and side of the cake till it’s smooth and even.
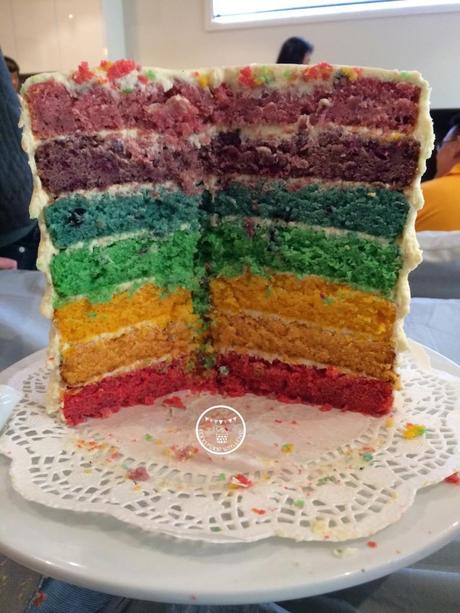
Enjoy! (: I love how I could actually taste the fruits in every single layer, and they actually do work well together although it’s impossible to fit all 7 layers in one bite! haha
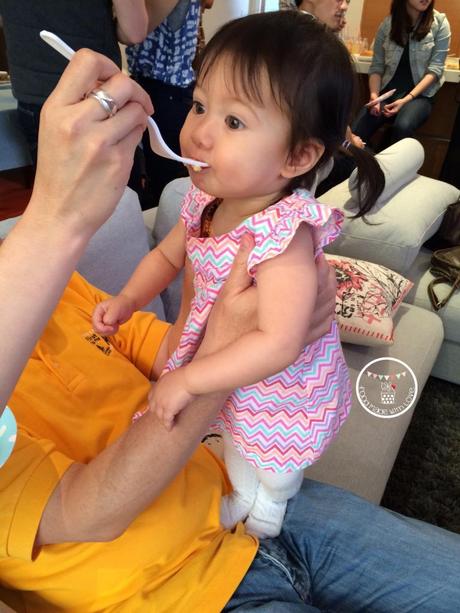
It was such an honor that my cake is the first cake Paige has eaten (: How pretty is her dress!
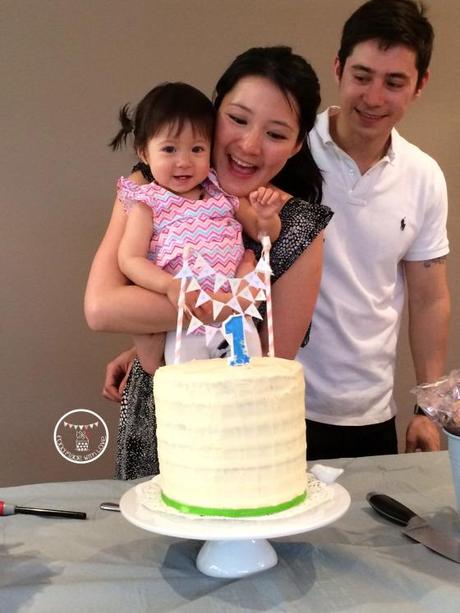
It is many months after the actual birthday, but happy 1st birthday Paige! Can’t believe how quick it has been and she’s such a big girl now! (:
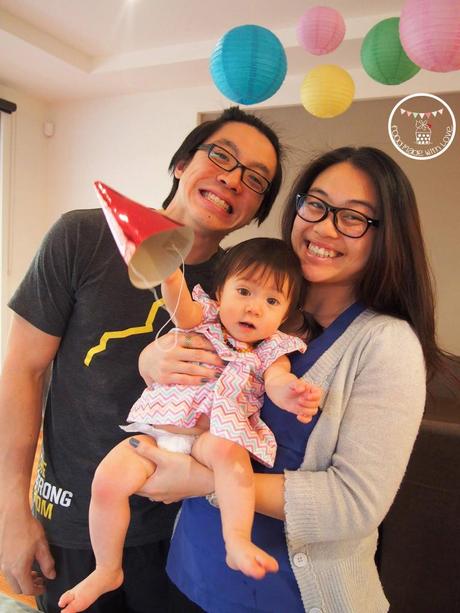
I can’t wait till I am able to make my own bub’s cake and I will definitely be more than happy to make this cake again!
Have a good mid week everyone! (:
Remember to always bake and cook with love! Till the next post, xx
