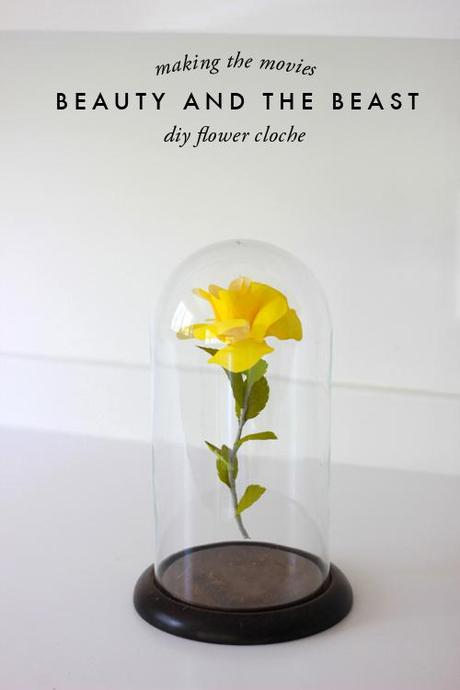
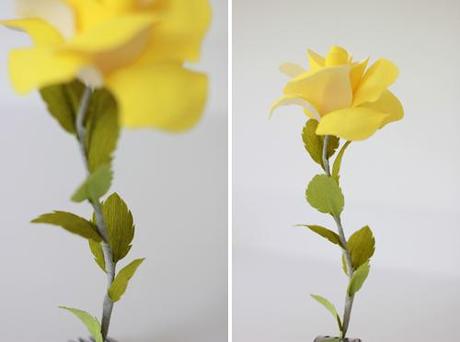
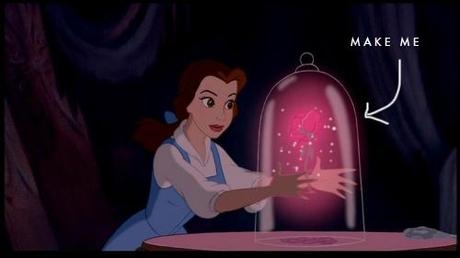
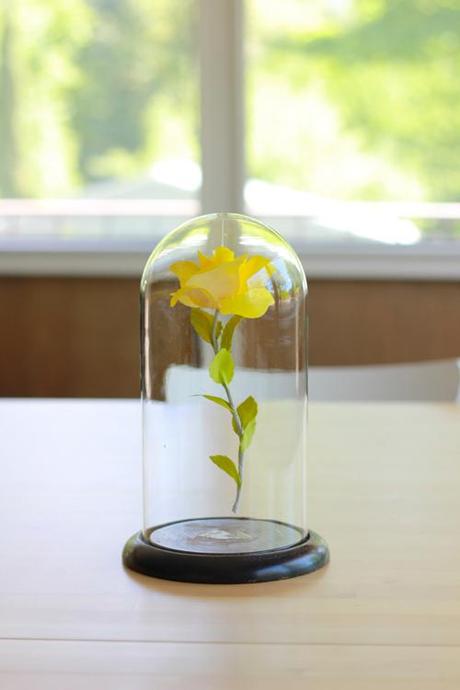
I've been wanting to do a column of DIYs from memorable elements from the movies forever now and today is finally the day! I have a hard time sitting during films so keeping an eye out for specific DIYs while I watch is the perfect distraction. First up, your and my favorite movie from our childhood, Beauty and the Beast. I used to imagine that I was Belle. And Lumiere was my buddy. You? I chose to recreate the enchanted rose that once wilted, meant that the Beast would remain a beast unless he found true love. The rose was kept in a beautiful cloche and since I finally found the perfect cloche at the Beehive Bazaar last weekend (from this vintage shop), we could finally get cracking. I didn't want to make the DIY version TOO in your face cheese ball so I toned it down by changing the red rose to a yellow one.
Materials: crepe paper (I used a two toned color from here), scissors, fine tipped glue gun (they are the best), floral wire 8", green crepe paper, template (download here), cloche (vintage are my favorite but here's an Amazon pick), fishing wire
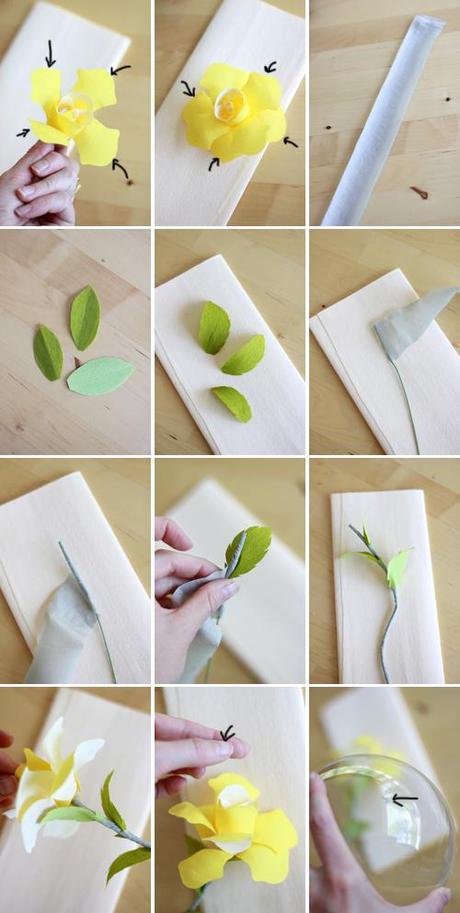
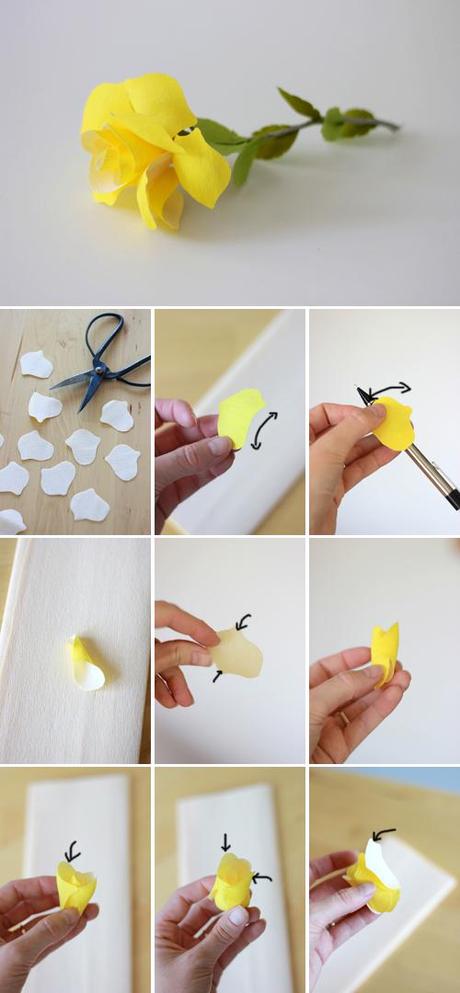 Step 1: Cut out 13 pieces of the template onto your color choice of crepe paper. Make sure the grain of the paper goes horizontal to the petal.
Step 2: With your thumb, gently shape the petal. 8 of them will be shaped vertically. 5 will be shaped horizontally. I use a pencil to shape the horizontally shaped pieces.
Step 3: For the center of the petal, glue one side of the horizontally shaped petals and curl it around to the other.
Step 4: Glue on the back side of the next horizontally shaped petal on either side points of the petal.
Step 5: "Hug" the two sides around the center petal. (center right picture above)
Step 6: Repeat to the other side of the center petal. (bottom left picture above)
Step 7: Repeat the process and glue the next 2 petals so they are equally spaced around the center petal. (bottom center picture above)
Step 8: With the vertically shaped petals, dab some glue onto the bottom of the petal and attach it to the bottom of the now glued flowers.
Step 9: Glue four evenly around the flower.
Step 10: Intersperse the remaining petals around to fill in the gaps.
Step 11: Gut out a 12"x1" piece of crepe paper for the stem. Make sure the grain is going the short way of the paper.
Step 12: Cut out leaves from green paper.
Step 13: Shape them with a pencil and cut jagged shapes into them so that they appear to be more lifelike.
Step 14: Glue the end piece of the stem crepe paper and begin rolling it around your wire.
Step 15: About an inch down, glue one leaf into the stem paper and immediately continue wrapping. Add on as many leaves are you'd like to the stem.
Step 16: At the end of the stem, glue the paper into the wire to secure.
Step 17: Glue the stem into the bottom center petal of the flower and hold.
Step 18: To make the rose float in the cloche, glue a small piece of fishing wire into the top of the rose and hold.
Step 19: Glue a tiny dab of glue into the top of the cloche and immediately attach the fishing wire of the rose in. If you want to reuse the cloche, the glue should easily be picked off.
 Are there any specific projects you would like to see for next time? Feel free to enlighten me!

