Since 2012, my collection of Ordnance Survey maps has steadily grown. They’d always lived within an unfashionable cardboard box, before I recently made an alternative solution from 12mm thick birch plywood.
This is a project that I completed in February of this year, although the official start date leaps back to the beginning of 2017, when I ‘sourced’ the materials from the off-cuts pile at the company I used to work for.
I have also edited a video of this, which is ready to be uploaded. But I’ve been facing ‘broadband issues’ for a good couple of months now and, having been back and forth with my ISP and tinkered with the settings across various devices; I’ve arrived at the conclusion that this is a ‘phone line’ issue and I’ll most likely be requiring the services (and expense) of an engineer shortly, in order to resolve it once and for all.
My download speeds have been ‘okay’, although falling short of the expected range. My upload speeds however, range from non-existent to a maximum of 0.2mbps… That equates to a nine-hour delay in uploading a ten-minute video recording at 1080p. It’s taken almost an hour for the dozen photos that accompany this post to reach WordPress’ servers.
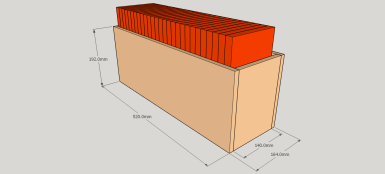
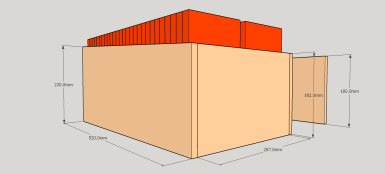
I started off in SketchUp, having taken some measurements of my actual maps and initially drew up a single-width design that would hold about fifteen maps. Even by then, I probably had in excess of twenty of the things!
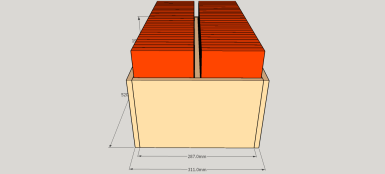
So, I drew up this double version and also added a tapered to the width (height) of the long sides, so that the form may look a little less box-like.
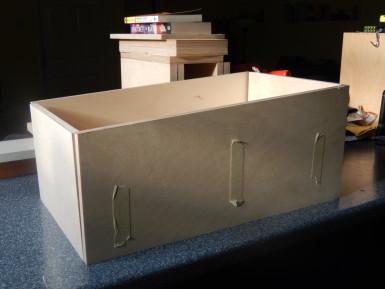
All of the panels were cut to finished size on the dimension saw at work. Well, except for the tapered sides, which I ended up trimming to shape on my Black & Decker Workmate (you’ll have to wait for the video to see this).
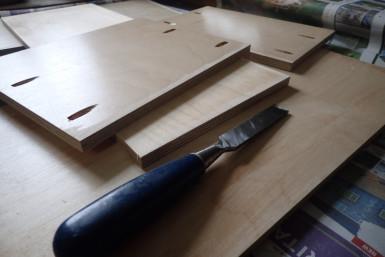
I sanded and then coated all of the interior faces with three applications of a water-based varnish. Pocket holes were pre-drilled before all of this and, because I would also be adding glue to each joint, I carefully scraped away the finish from any mating surfaces.
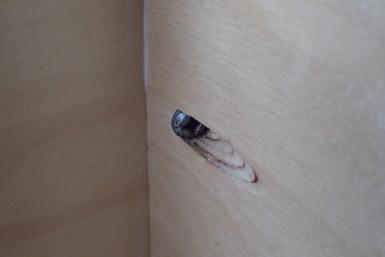
With care, I applied glue to each of the edges and held the four sides of the box together with quick-grip clamps (I’ve never kept sash cramps in my flat, although they would have been superior). Then, I could drive the screws in…
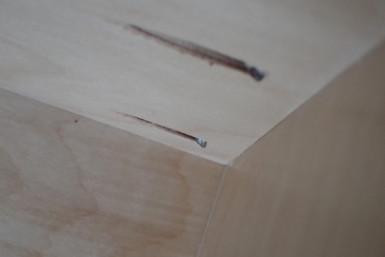
While I used the correct length of screw (25mm or 1in, for 12mm or ½in thick material), I didn’t realize ahead of time that I should’ve used a No.6 gauge screw and not the No.8s that I have commonly used with 18mm plywood. Here, the screw heads protrude by a millimetre or two. This slight flaw is unlikely to damage my laminated maps but perhaps serves as a warning and lesson for myself and for others.
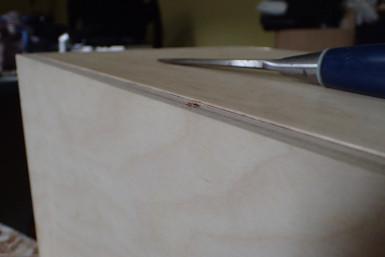
I had some slight alignment issues getting the underside of the base panel to finish flush with the bottom edges of the long sides and this is one of the things I dislike the most about using pocket screws. People regard them as ‘making a job easier’ but, unless you clamp everything very securely, you’re going to find something goes awry.
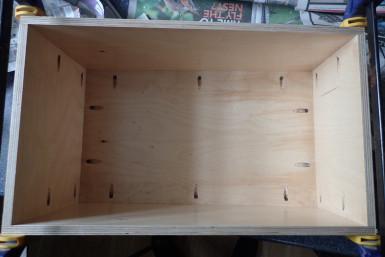
Naturally, I confined all of my pocket holes to the interior of the box, where they will hopefully never be seen.
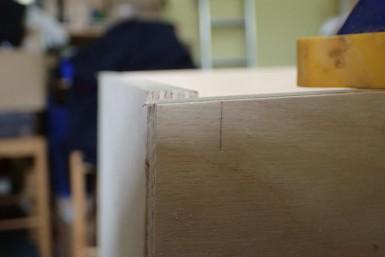
Once the glue had dried, I secured the box between the jaws of my Workmate and, with a hand plane, I could trim the tops of the narrow end panels to be flush with the tapered sides (I should mention that I left these slightly oversized, vertically, to facilitate this).
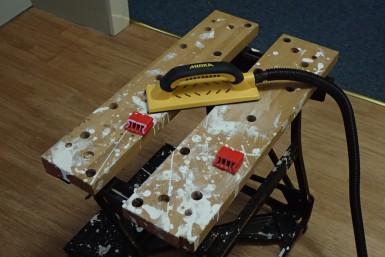
Then, it was time for further sanding. Earlier this year, I bought the Mirka Handy Sander, in the interest of lowering the level of airborne dust within my kitchen. It works incredibly well. At a non-scientific guess, I’d say it captures about 95% of birch ply particles on average… When I remember to switch the vacuum on and connect the hose! Plus, the Abranet abrasives seem to last a good while.
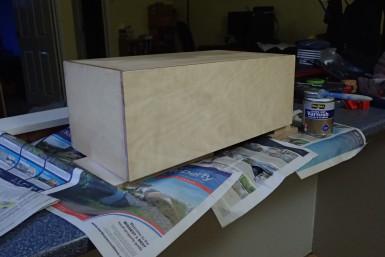
With further sheets of newspaper applied to my breakfast bar, I could begin brushing on the final coats water-based varnish to all of the external surfaces. I ended up applying four coats in total, with a light denibbing (the only aspect of sanding I might almost enjoy) in between.
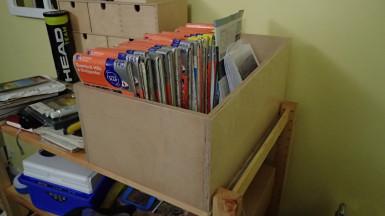
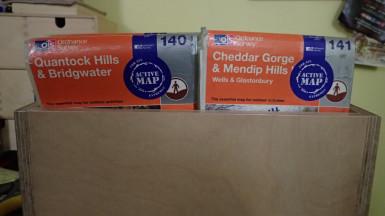
With all of my maps in their new home and about thirty of them in my possession, it’s clear to see that there’s room for as many more in the other half of this box.
I’d originally intended to fit a divider down the center but, I think I’d forgotten to cut and acquire a piece for that and, as fate would have it, I haven’t found it to be necessary at all. If anything, I fear it might actually impede upon the ease of fitting two maps side by side.
With access to a workshop and the required time to make something, I would’ve preferred to have made my map box from a timber like pine. Perhaps using reclaimed boards, with a character and history of their own. Traditional joints on each corner with less of the concealed steel and pristine appearance of a manufactured board. Maybe adding a handle at each end as well.
