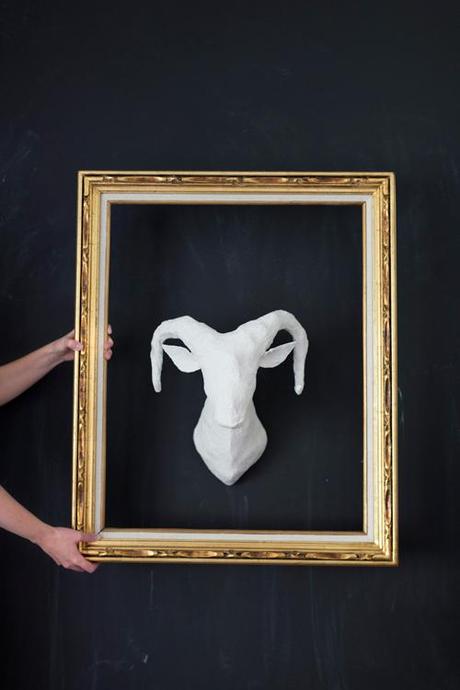
 There are some occasions when crafting isn't always appropriate. For me, it's Father's Day. Though I'm sure my dad would appreciate anything I crafted for him, I'm less sure about what he might actually want to keep. HOWEVER, when Ashley came up with this ram head, I knew it would be an awesome Father's Day gift. It looks so good I would put it up anywhere! This DIY is a bit more tricky, but follow along carefully because it turns out so so well! And then wrap up the gift with this Father's Day wrapping.
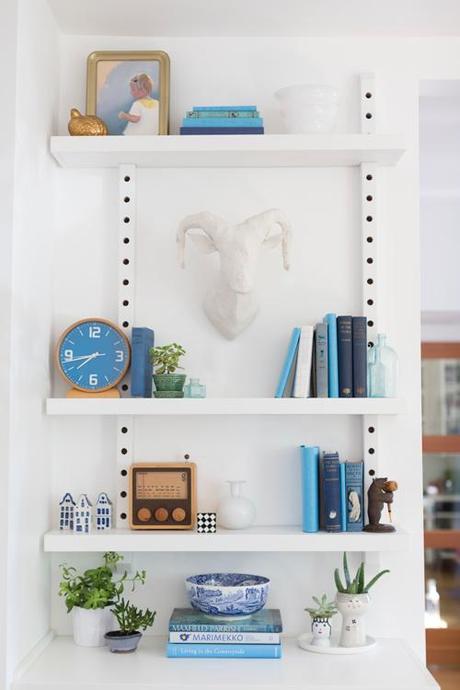
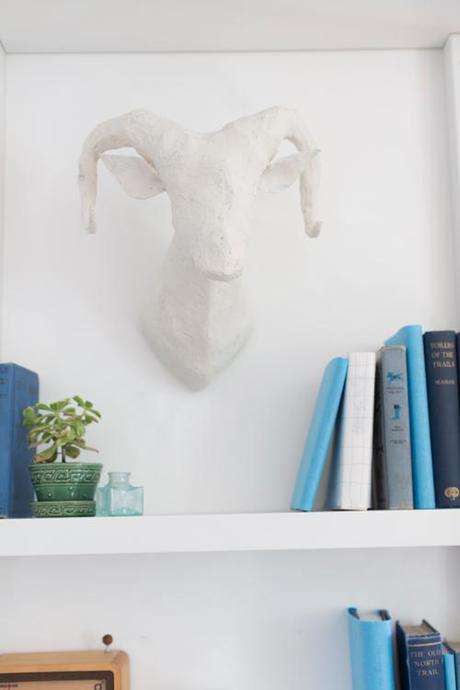 concept and crafting by Ashley Isenhourphotography by Trisha Zempstyling and creative direction by Brittany Jepsenillustrations by Victoria Rizausing Meta Coleman's house
Materials: For the base: paper, scissors, cardboard, pencil, x-acto knife, newspaper, masking tape (I used a little over 1 roll), glue gun, pipe cleaners (I used 20), cardstock
For the paper clay: toilet paper (I used less than a roll), joint compound (1 cup), Elmer's glue (3/4 cup), white flour (1 cup), vegetable oil (2 Tbs), hand mixer, bowl, plastic spoon, sandpaper (I used medium grit)
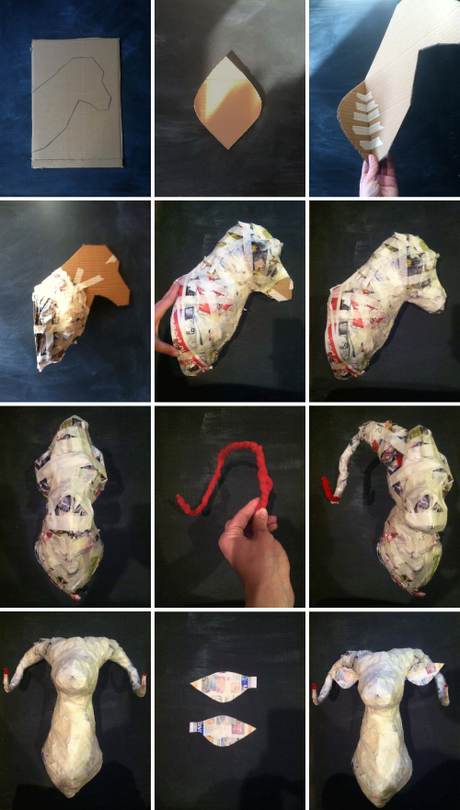
Step 1: Print and cut out the ram's head template. Tape the two parts of the silhouette piece together. Trace the silhouette and base pieces onto a piece of cardboard. Cut out pieces with an x-acto knife.
Step 2: Attach silhouette piece to the vertical center of the base using hot glue (I used tape, but hot glue would have worked better).
Step 3: Start filling in the form of the ram using sheets of newspaper and attached to the cardboard with masking tape. Here are some techniques for this step that I found useful:-Google some images of ram's heads to see what the basic structure is. I noticed that the bulk of the volume is at the base of the neck, the cheeks, and the end of the nose (I'm sure there are technical terms for those).-Use about a quarter page of newspaper (or less) at a time.-Use a combination of balled up paper and paper folded into thick strips.-Don't be afraid to use a lot of masking tape. -Each time you add paper to one side, add the same amount in the same location to the other side and keep checking the head straight on to make sure your head is somewhat symmetrical.-Leave space for your horns (see the 'dents' at the top of the head in the picture in column 1 row 3).
Step 4: Once you've filled in the volume, it's time to make your horns! Use pipe cleaners (I used 10 for each horn) to form the base of your horn. Twist the ends of 2 pipe cleaners together to make 1 long pipe cleaner that is about twice the length of a single pipe cleaner. Then twist the remaining pipe cleaners around the long one to make a stronger base for the horn. Curl the pipe cleaner group into a lose spiral shape (see the picture in column 2 row 3). Add bulk to the horn by taping newspaper around the pipe cleaner base. Hot glue each horn to the ram's head.
Step 5: Use masking tape to cover all of your newspaper. Don't be shy! Use a lot of it to refine and smooth out the form and keep everything in place.
Step 6: Trace the ear templates onto cardstock and cut out pieces. (I used newspaper, but cardstock will work better). Pinch the base of each ear together and secure with hot glue. Fold back the tabs and use them to glue each ear to the ram's head under the horns.
Step 7: Use the paper clay recipe found here. I highly recommend looking around on the site at Jonni's tips and tutorials. She's pretty much the paper mache master. Spread a very thin layer of the clay over your entire structure. I used a plastic spoon for this and just tossed it afterward. The clay layer will need to dry for a day or two.
Step 8: When the clay is completely dry, sand it to your desired smoothness. Now you can paint it or leave it natural like we did!
