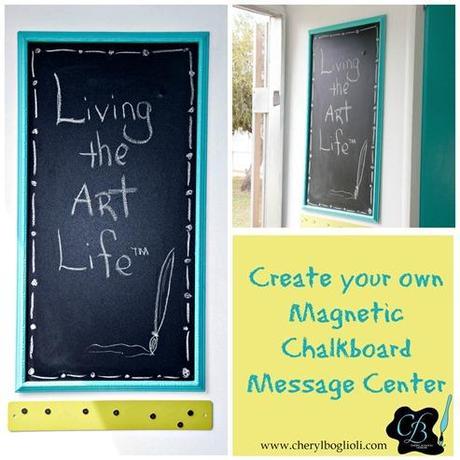
I could not make up my mind where to add a cool chalkboard, but knew I wanted one. One of my Living the Art Life™ sponsors is MD Hobby & Craft, a division of MD Building products. I’ll be teaching with some of their metals and I will soon be sharing another fun project using their product in Glinda, my art glamper.
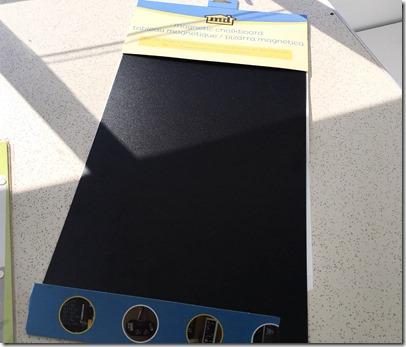
MD Hobby & Craft sent me the perfect sized magnetic chalkboard measuring 12 x 24. I had originally planned to adhere this to Glinda’s inner door, but didn’t like that the screen covered it up and I want to keep my screen door. So, I decided to create a frame and add it to the wall just inside my door. It’s like a mini foyer, right? This will be my main Message Center. I really need to work on my chalk art, but I can write my next stops and add little mementos with magnets.
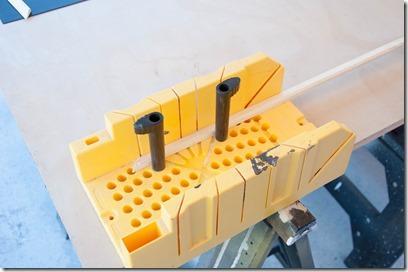
- To get started, I used dear hubby’s clamping miter box to clamp down molding pieces, lining up angles to cut to desired length. Be careful of which direction you want your angle to cut – don’t pay attention to edge in my photo as I cut at wrong angle first time.
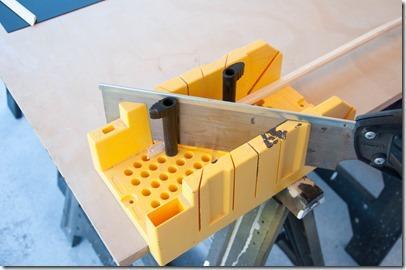
- Using miter saw, cut the molding.
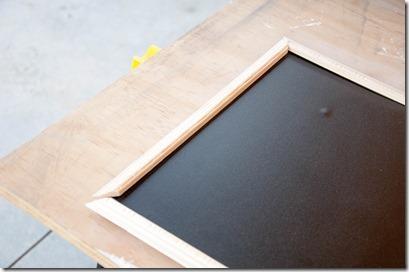
- Make sure edges all line up around metal chalkboard, covering the outer edges.
- I then added a little wood glue to seams and added a small staple crossing seams at back.
- After drying, I sanded any rough edges and painted frame using two coats of the same turquoise color I used inside Glinda on cabinets.
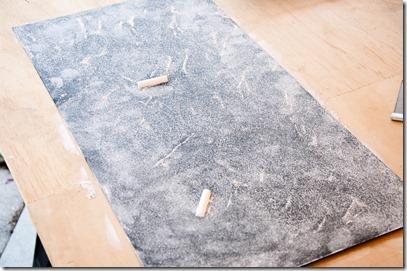
- While paint was drying, I seasoned my chalkboard. This was done by rubbing sides of chalk across entire magnetic chalkboard. Since it is metal, I rubbed the chalk in with my hands and then wiped off with soft cloth. This is to prevent original chalk designs from scratching into chalkboard.
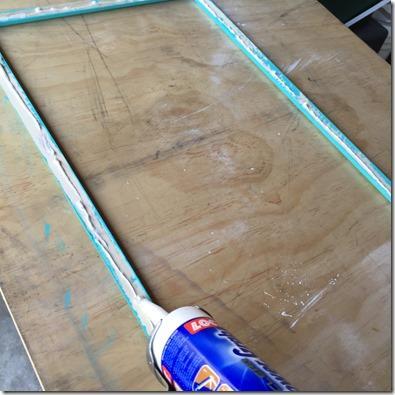
- Once paint was completely dried, I added LocTite Power Grab glue to inner edges of frame.
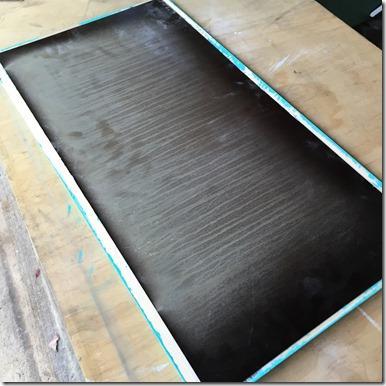
- I centered MD Hobby & Craft magnetic chalkboard over back of frame. (you are looking at back of chalkboard in this image above)
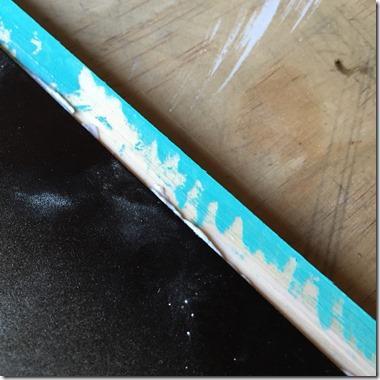
- Make sure to wipe up any glue that seeps out. A little glue goes a long way.
- I used my brayer to press down those edges, again, cleaning up any glue on frame and on my brayer.
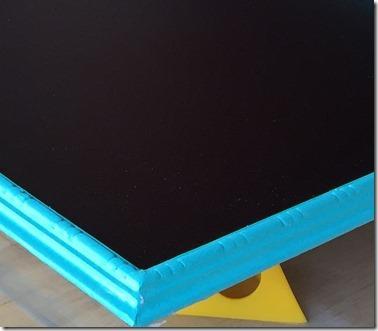
- Even though my paint was dried, I wasn’t sure if it had cured, so I didn’t want it sitting face down for any length of time. Therefore, I turned my message center over and propped it up on my drying triangles. I use these quite often in my studio too. This made sure that my frame would not glue to my table if I missed cleaning up any glue around back edges.
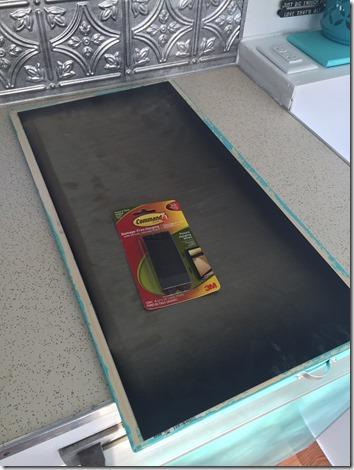
- When glue was dried, it was time to mount message center in my vintage trailer. I decided to use 3M Command Picture Strips. I added one set of strips on all four corners. I want to make sure it does not come loose with travel or if someone bumps it coming in to visit.
- I removed adhesive strip from back of strips and mounted to wall in desire location. I then carefully peeled the locking strips apart so I could burnish the 3M Command Strips in place. Directions say to burnish each strip for 30 seconds and then wait at least 1 hour before hanging. I left it overnight and came back in the morning to take the final pictures.
As mentioned, I hope to practice with some chalk designs and work on my handwriting. In the meantime, Let’s go……

