Call it true
Call it magic
When I'm with you...
I can't stop singing this Coldplay song when I was baking this magic custard cake...
Magic cake? If you often read and speak the language of most South East Asian food bloggers, this magic custard cake is surely not a foreign thing to you.
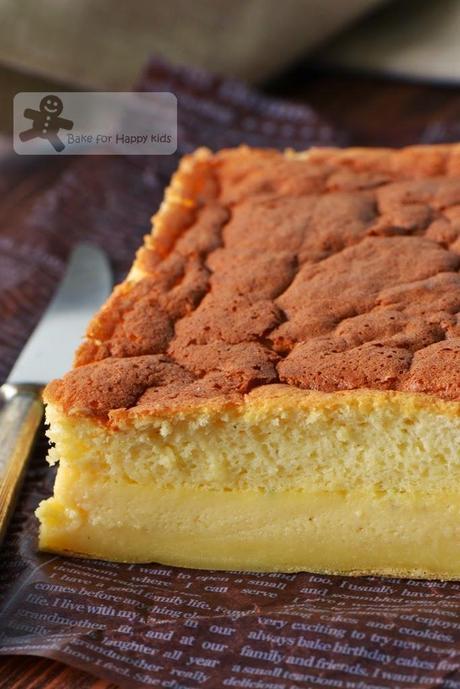
This is the Magic Custard Cake that many food bloggers had baked.
Why magic?
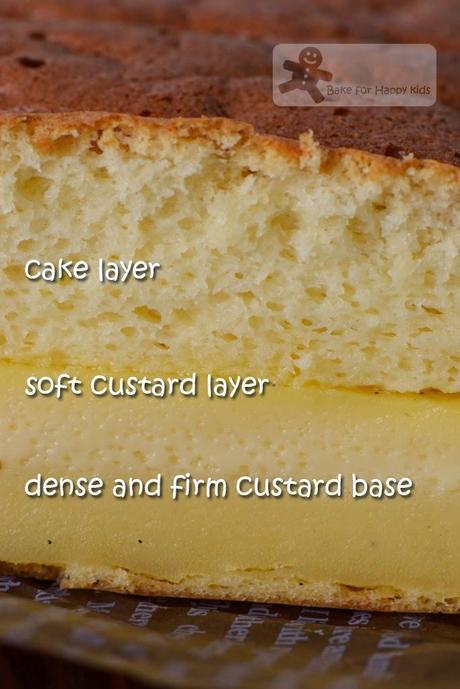
It is called magic because it makes a thin cake batter which eventually produces a cake with three distinct layers after baking. And, this is what I saw and tasted in mine ...
According to the very first most popular magic custard cake baked by White on Rice Couple, this recipe was originally adapted from Mabel's Tarta Magica and it was written in Spanish language. It became an interesting and popular recipe but never as popular as now among the South East Asian food bloggers. It happened after recently in May 2014 when Cheryl from Baking Tai Tai has kindly demonstrated the thorough steps of baking this cake in her blog and started a series of magic custard cake craze among our blogging circle. I can't help wishing that I can learn some magic from Cheryl too...
Here I am singing my Coldplay song while experiencing the magical moments of baking this cake and sharing these magical baking tips with you.
Tip 1: The temperature and proportion of the eggs, butter and milk used.
Accordingly to White on Rice Couple, temperatures for the ingredients are important here. The milk has to be lukewarm but not too warm to scramble the eggs in the batter and can't be too cold either. To gauge its best temperature, I dipped my little piggy finger into the lukewarm milk before adding it into the batter. Please do not add if the milk is too hot for your finger to handle or also if it is too cold as your finger can tell. The eggs should be in room temperature before using.
Likewise, I think that the proportion of these three ingredients is equally important to create three distinct custard layers too. I would recommend to stick on using 4 small eggs, 60g each, 110g butter and 480ml milk as stated in the recipe.
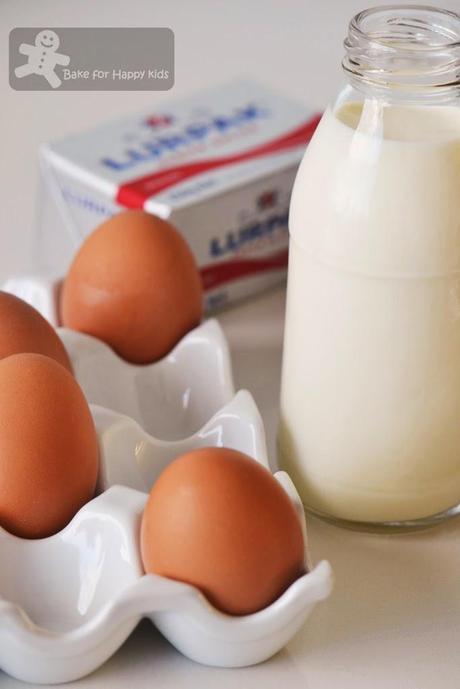
Tip One: Temperature and proportion of these ingredients
Tip 2: For more variations of magic custard, here are the things that you can do...
1) Like what Cheryl did here, you can substitute about 200 ml of milk with the same amount of coconut milk and add pandan paste to bake this pandan version.
2) Like White on Rice Couple did here, you can add cocoa powder and adjust the milk and water proportionally to bake this chocolate version.
3) Like what I did here which is simple... While warming the milk, you can infuse it slightly with any flavours such as any tea or coffee that you like. And, here I have added vanilla bean from a pod into my saucepan of milk.
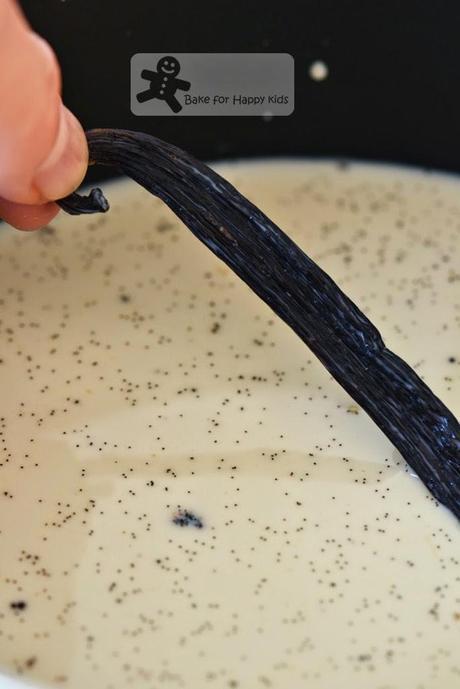
Infusing milk with vanilla flavours
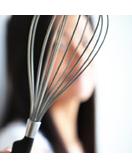
Tip 3: Using a hand whisk to mix egg yolk mixture
You can use two electric mixers to mix this cake batter but I prefer to use a hand whisk to mix the egg yolk mixture as the mixture can splatter after addition of milk.
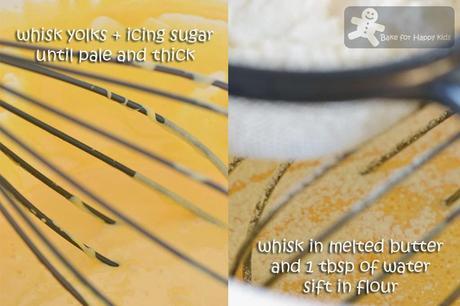
Yes that you need a little arm strength to do this but hey, it is a good arm exercise!
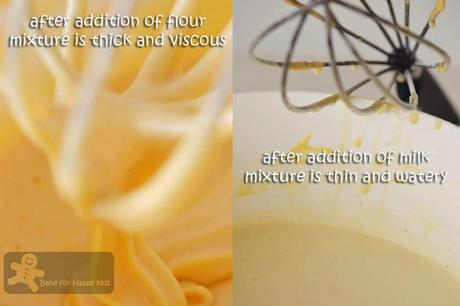
If you use a hand whisk at this stage, you will be happy that there won't be much to clean!
Tip 4: Beating the egg whites
This step can be done based on personal preference... White on Rice Couple added 4 drops of white vinegar to stabilize their egg whites while Cheryl from Baking Tai Tai has added 28g extra sugar to beat her meringue into stiff peaks. For me, I have used 25g caster sugar to beat my meringue but added 25g lesser icing sugar in my egg yolk batter - It didn't affect its sweetness and worked!
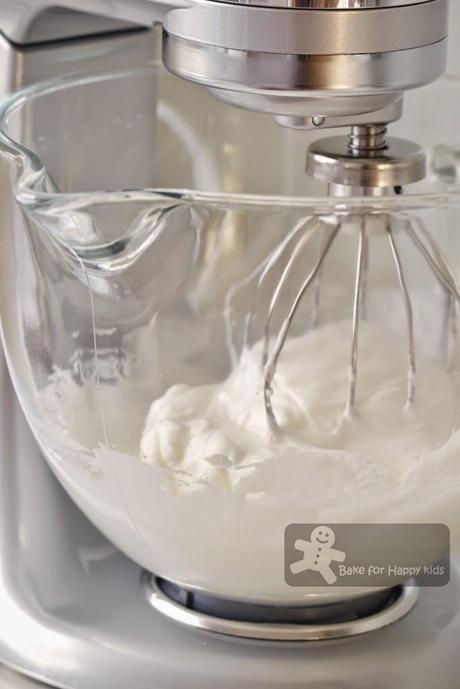
Beating the egg whites into stiff peaks
Tip 5: Combining the meringue into the egg yolk mixture can be tricky...
You can either use a whisk or a spoon and fold both mixtures gently. The mixture will be runny and curdly but just fold them until chunks of egg white diminish.
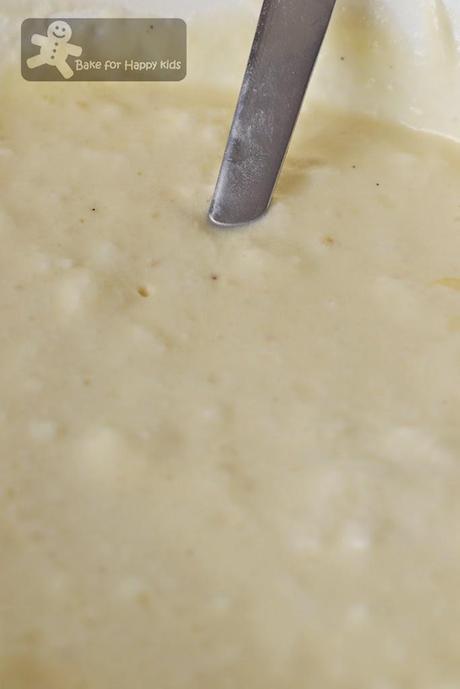
Runny and curdly cake batter
Tip 6: Baking time and temperature
The cake requires a long baking time and initial low baking temperature to split into 3 layers. If the temperature is too high at first, the cake will rise too much and forming big cracks on its top. To counter that, I have placed a foil loosely on it and baked it at 150°C fan forced for the first 30 minutes. To get a nice browning top, I have removed the foil and baked it at 150°C fan forced for another 30 minutes and increased the temperature to at 160°C fan forced and baked it for another 10 minutes.
Small cracks? Not to worry. The cake will shrink as it cooled and the cracks will not be detectable.
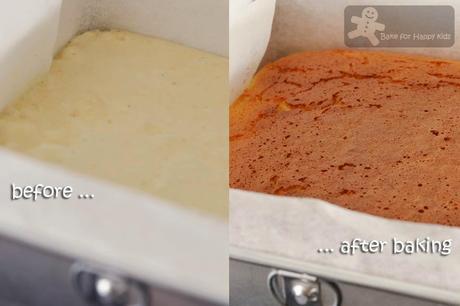
This is how it looks before it cools and shrinks...
Tip 7: Cool the cake completely before cutting and serving it.
I know that it is nerve wrecking to wait to taste the success of this magic... but allowing the cake to cool completely is very important.
After baking, the cake will jiggle when it is gently shaken but it will firm up to form 3 layers as it is cooled completely to room temperature. I would even strongly recommend serving the cake after it has been thoroughly chilled. Trust me, it will be so much nicer!
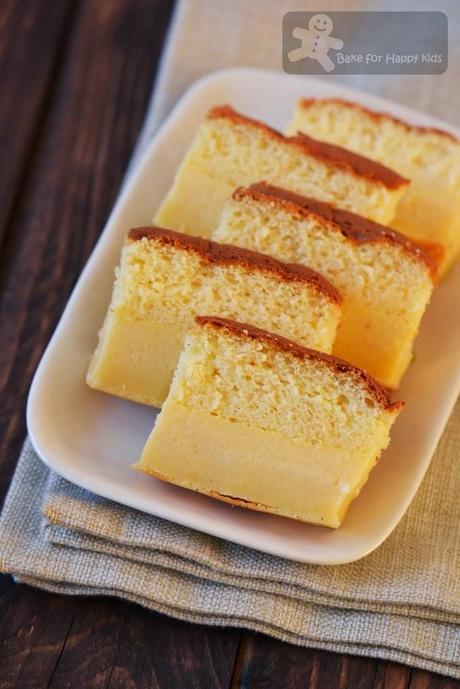
Here are my slices of very vanilla magic custard cake. They are very nice being well chilled.
In the tune of Coldplay, Magic...
And I just got broken, broken into "three"
Still I call it magic, when I'm next to you... LOL!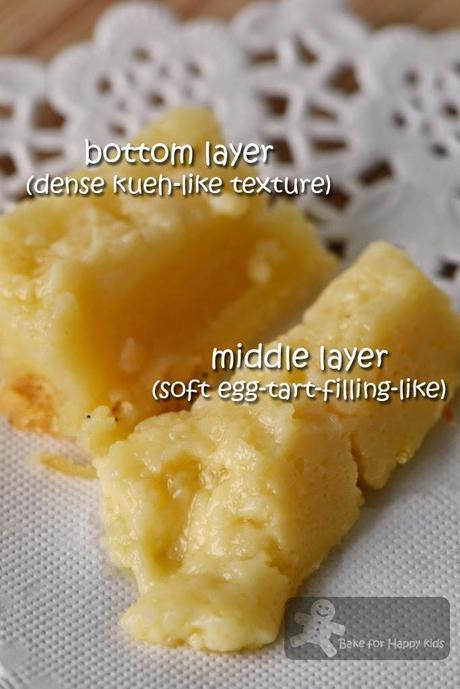
This is how I defined the two custard-y layers.
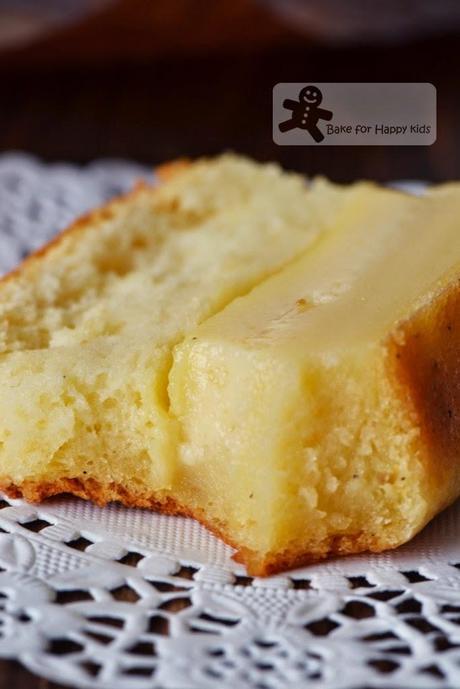
This is me, the baker getting the best part of the cake - the corners!
For more information or any frequently asked questions about baking this cake, please go Cheryl's magic custard cake at here. I'm sure that Cheryl has gone beyond thorough enough to ask all magic-custard-cake concerning questions.
Here's the recipe that I have mostly adapted from White on Rice Couple.
For my first time baking this cake, I'm thrilled to see that the magic works!115g unsalted butter
2 cups, 480ml milk4 eggs, 60g each, separated
125g icing sugar
25g caster sugar
1 tbsp (15ml) water
115g all purpose flour
vanilla beans scraped from 1 vanilla pod or 1 tsp vanilla extract
Preheat the oven to 325°F or 170°C or 150°C fan forced. Line 18 cm square baking tin with baking paper.
Using a saucepan or a microwave proof bowl, melt butter using low heat or a microwave and set it aside to slightly cool. Place milk and vanilla beans in another saucepan. Try to squeeze every single bit of vanilla into the milk solution and warm the milk with low heat to lukewarm. Set it aside. If you are using vanilla extract instead vanilla beans, add that in the later step.
Using an electric mixer, beat egg whites in medium low speed until foamy. Increase beating speed to medium high. Add caster sugar gradually into the mixture and beat until stiff peaks form.
Place egg yolks and sugar in a mixing bowl. Using a hand whisk, mix egg yolk mixture until pale and fluffy. Add melted butter, water and continue to whisk for about 2 mins or fully incorporated.
Sift in the flour and whisk until fully incorporated. Whisk in milk (and vanilla extract) until well combined.
Fold in the egg whites into the egg yolk mixture in about 3-4 batches. Do it gently until all egg whites are incorporated. Please note that the whites will appear to be curdy in the liquid mixture. Keep folding it gently until there is no visible chunks of egg white.
Pour the batter into the prepared pan. Cover with foil loosely and bake for 30 mins. Remove foil and bake for another 30 mins or until the top is golden. If the cake is still not brown enough, increase temperature to 180°C or 160°C fan forced and bake for another 10 mins.
Allow cake to completely cool before cutting, chilling and serving.
Note: Dusting the cake with icing sugar is optional as this amount of sweetness is just right enough for me.
Happy Baking
This post is linked to the event, Little Thumbs up organised by Doreen from my little favorite DIY and me, Bake for Happy Kids, hosted by Jozelyn from Spice Up My Kitchen at this post.

Only for this month (June 2014), Little Thumbs Up event starts on 1st June until the last day of the month. Please join us! To join, simply cook or bake any recipe with the theme of the month which is BUTTER for June 2014 and link with us at this post anytime until 30th June 2014.
Don't forget your thumbs up or display this badge! And make sure that: (1) Your post must be a current post preferably within this month. (2) Please mention Little Thumbs Up in your post and link back to Bake for Happy Kids, my little favorite DIY or/and Jozelyn from Spice Up My Kitchen. For more details, please see this.
What after June 2014? Jasline from Foodie Baker will be the next hostess of July 2014 and her theme is POTATO! Her Little Thumbs Up event starts on first Tuesday of July 2014 until the last day of the month.

COMMENTS ( 1 )
posted on 09 January at 14:10
Wow! This recipe it´s mine