In all fairness we have a tiny house and mirrors are supposed to make a space feel bigger, right? Follow my logic? Anyway, hold on to your pants on this one because this project is sooo cool it might blow your pants off your behind if you're not careful :) Just a fair warning.
Just take a few already read shelter magazines, a sheet of foam core board, beveled craft mirror, gold spray paint and copious amounts of hot glue and end up with this on your wall.
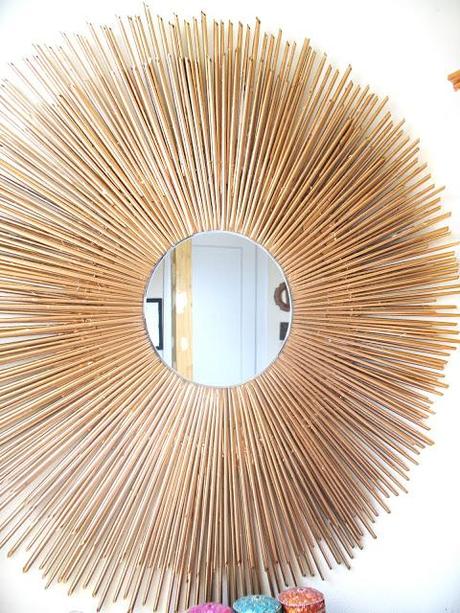 I'm in the process of rearranging things in our bedroom and this little project is part of that rearranging. I know sunbursts have been done but I happen to love them and when you can get this beaut for about $12, how can you resist? I need to make it's twin so we can have one on each side of the bed. (By the way, so sorry about most of the pics in this post, they were taken late at night in horrible lighting).
Here's the quick run-through of the process.
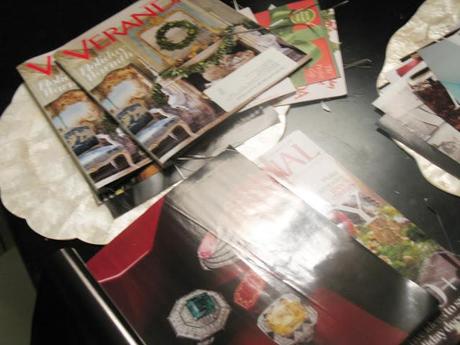 1. Take your old shelter or other glossy magazines and cut out all the pages.
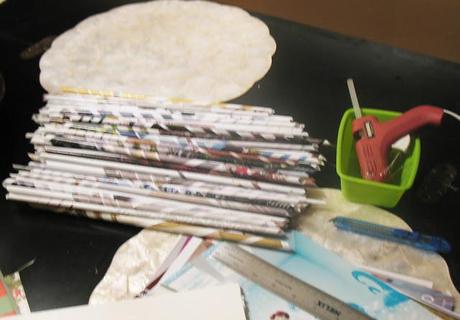 2. Roll each page into a tightly rolled reed, rolling on the diagonal to make the reed as long as possible.
 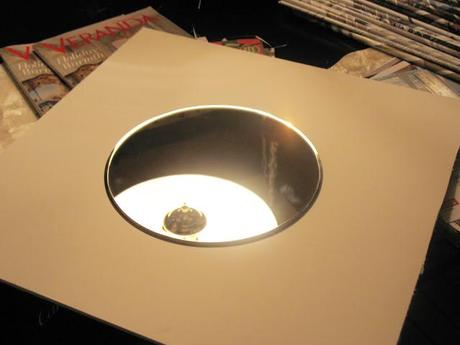 3. Cut your foam core board into a 20x20 square and trace around your mirror in the middle of the board (my mirrors are 10" beveled craft mirrors from Hobby Lobby, $5 each).
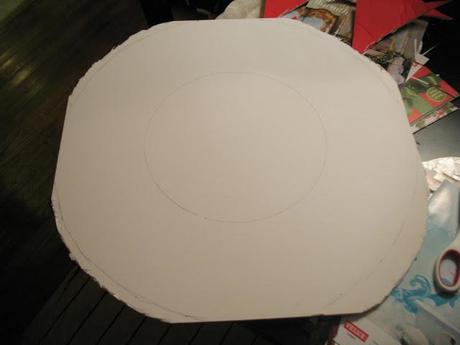 4. Trace another circle 5" outside the first one and cut the corners off the square board. Perfection is not needed as the board will not be visible in the end.
 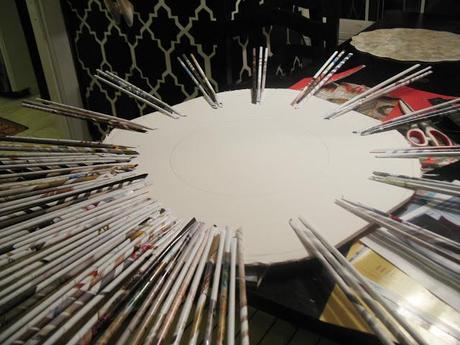 5. Start hot-gluing your reeds just inside the outer circle. I like to start with gluing a reed in each quarter of the circle and then eye-balling the center between those two reeds and putting my next reed there, and then finding the center between those two for my next reed etc until the circle is full. That way you don't have to do any math :) I have glued them in threes here because I slightly staggered mine for an uneven edge. Don't worry if the backer board is still slightly visible between the reeds since we're adding another layer on top.
 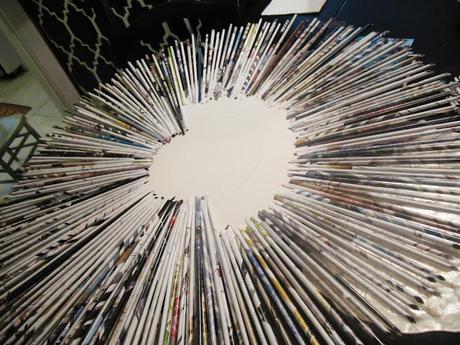 6. Start gluing the second layer of reeds just inside the inner circle. Since you traced around the mirror to make this circle you know the mirror will cover the bald center spot completely when it's added on top. I didn't pack my reeds super tight together so some of the backer board is visible (will be covered by paint later).
 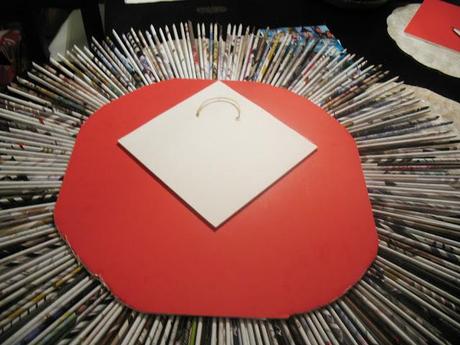 7. This is how I solved my hanging dilemma. A square of the left over foam core board got two holes punched in one corner and twine was strung through the holes and the ends tied together in the back. I reinforced the pierced holes with hot glue as well as the knot, then doused the whole square in hot glue and stuck it to the backer board.
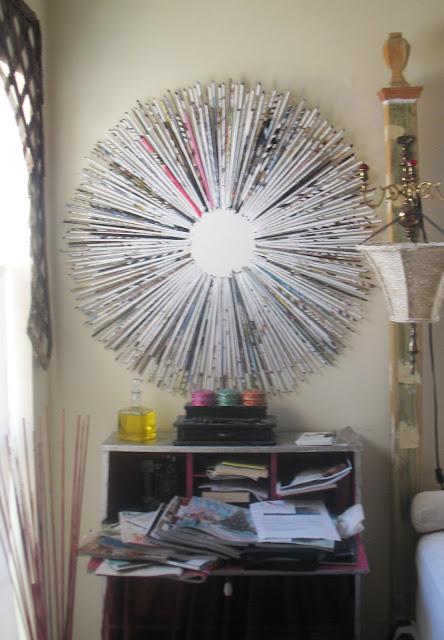 Had to try it on the wall at this point :) If you have modern sensibilities you can stop here and just add the mirror in the center. I like it glam so I added paint.
 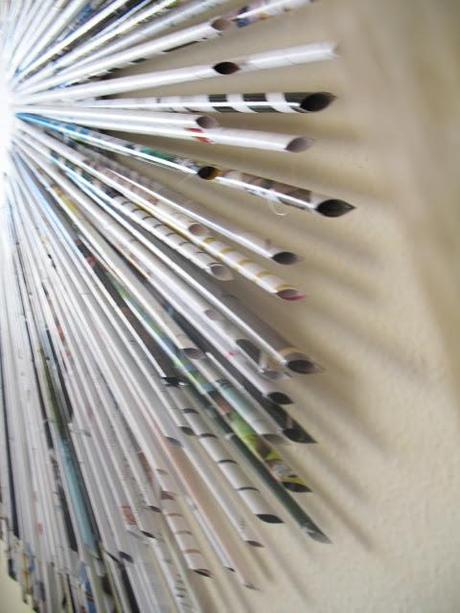 Just a pic to show the wonderful texture all the reeds create en masse like this. As you can see all the ends of the reeds got trimmed at an angel for a consistent look. In fact, after gluing my first layer of reeds to the board I realized that the mirror was going to be bigger than the allotted wall space allowed so I went around the circle trimming about 2" off each reed using scissors. The total diameter of this beauty ended up being 40" so it's pretty massive :)
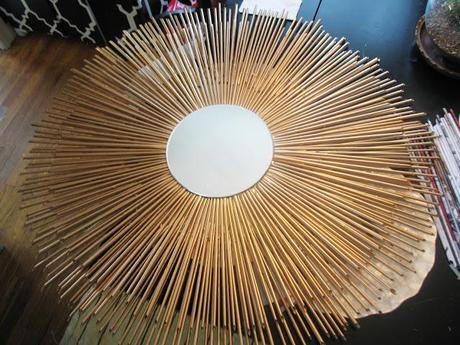 8. I spray painted the whole thing with Krylon's Gold Metallic spray paint, covering each reed as best I could. When DIYing you have to keep in mind that perfection will drive you bonkers and some minor, barely visible blemishes will disappear when you step back and look at the big picture. Most people visiting you in your home will not be scrutinizing your wall decor from just a few inches away, they will step into your room and be blown away by the total effect. Don't forget to hot glue the mirror in the middle, too!
 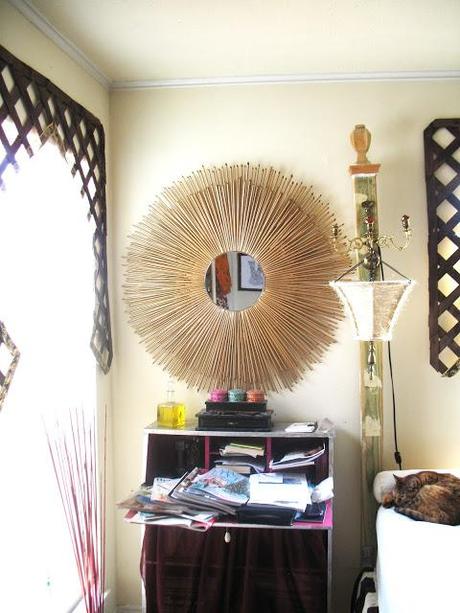 9. Hang and admire - you're done! Not bad for $12, huh? (Never mind that horrible mess on my bedside table. It's always like that. See why I felt the need to use up some of those magazines?)
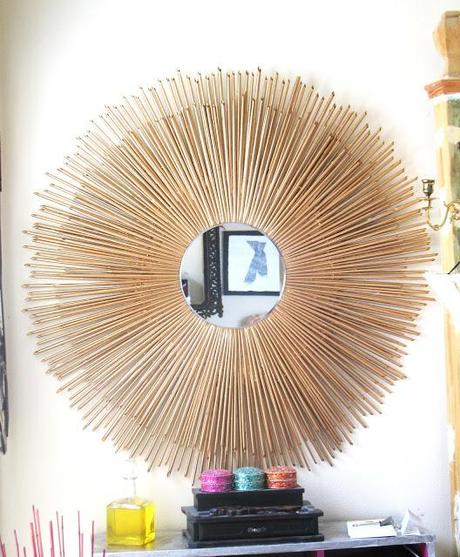 I used about 4 magazines for this mirror and then the foam core and mirror. I'm very bad at estimating weight so I won't even try but it's certainly lightweight for its size. I only hung it with the full weight today and so far the hanging mechanism is holding up just fine. You can always make a more professional hanger if it worries you :) I like taking short cuts, sometimes they work and sometimes they don't. I'm keeping my fingers crossed that this will work long term.
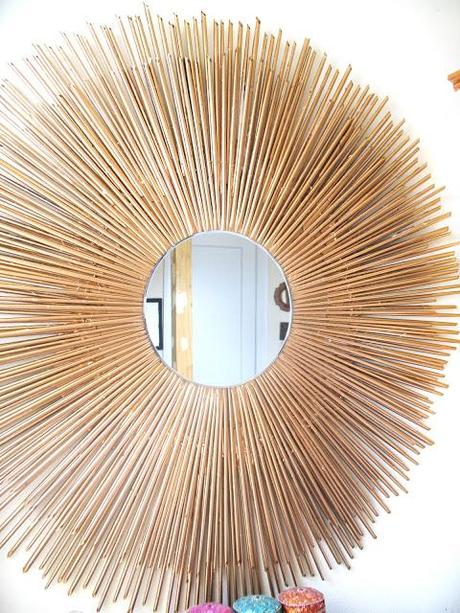
I absolutely love it! It makes such a statement and with a twin on the other side and a few other things prettified in here I'm hoping it'll finally start feeling like an enchanted place. More pics to come as I finish them. And I'll probably take a few weeks off here over Christmas and New Year's while I work on things and spend time with the family.
 Happy Christmas to all and let the festivities begin!
Ps. Linking up with Uncommon Designs Monday Funday.
