Are you looking for the Linode review? If you are, we have got you covered. This article will share the best Linode review you can find on the internet.
Choosing a web hosting service can be really tough if you are new in this field. There are hundreds of premium, freemium and free web hosting services available on the internet. However, if you are serious about your business, we do not recommend using a free web hosting service.
Well, don’t get confused.
This article will show you the complete Linode review and why Linode can be your perfect hosting partner.
Why Avoid Free/Cheap Web Hosting Services? Why Avoid Free/Cheap Web Hosting Services?
When you plan to start your first online business or blog, you should be looking for the cheapest web hosting provider.
But, choosing one free/cheap web hosting service can hurt your business.
With a reseller hosting package, anyone and everyone can start their own web hosting company. The thing is, they won’t be able to promise 100% uptime and security.
We live in an era where hackers target online businesses for their own good. So, if your website is not protected with the latest security standards, it can get compromised.
So, always invest in a good web hosting partner.
There are so many in the market. And one of the best and recommended ones is Linode. So now, let’s see why we love Linode and its features.
Get Linode Account Now!
$This is an affiliate link
Linode Features Linode Features
Next, let’s see the features of Linode and what makes them unique.

Get Linode Account Now!
$This is an affiliate link
1) Multiple Data Centers 1) Multiple Data Centers
When you deploy an application, you need to choose a data center. The data center will act as the storage of your application. The files will be fetched from the DC when someone visits your website.
So, to serve the files faster for your website visitor, you have to be on a DC near the visitor. Thankfully, Linode comes with 11 data centers around the globe. They are:
- Tokyo
- Singapore
- Sydney
- Mumbai
- London
- Frankfurt
- Dallas
- Fremont
- Toronto
- Atlanta
- Newark
You can choose any of the data centers from the list. And there will be no additional cost.
2) One-Click Apps 2) One-Click Apps
If you need to install any apps on your Linode server, you can use the marketplace. The Linode one-click app marketplace got popular apps like:
- WordPress
- Rocket.chat
- BeEF
- LiteSpeed cPanel
- UTunnel VPN
- Moodle
- JetBackup
- CyberPanel
and so on.
You do not need to manually download or upload any application files. Instead, you can install your favorite apps right from the dashboard. This will make the job much easier.
3) Incident Response 3) Incident Response
Their active system will scan your servers automatically for possible errors. And when the tool finds any issues, the system will notify administrators, and they will help the server run smoothly.
If you are too busy managing your business or on vacation, the incident response feature can be convenient.
4) CLI Access 4) CLI Access
Through the Linode CLI tool, you can manage and deploy Linux servers. If you are already familiar with the CLI tool, you probably know the features and its benefits. The CLI tool is created with Python, and it can be installed with Python Package Index.
5) API Tool 5) API Tool
If you are a developer and need to extend the features, you can use the API tool. For example, with Linode API, you can manage, configure, deploy user management, billing, support tickets, and so on.
With the latest v4 API, you can easily import multiple libraries to the server. From the API documentation page, you can know more about the tool.
6) DDoS Protection 6) DDoS Protection
Linode comes with advanced DDoS protection to secure its servers from targeted attacks. The DDoS protection will be bundled with every Linode plan. Their intelligent threat blocking is another cool feature.
You can filter malicious traffic from global traffic and reroute them. To keep your business safe, these security measures can be helpful.
7) DNS Manager 7) DNS Manager
Through the DNS manager, you can take complete control over the DNS. For example, you can easily import zones and manage the DNS records automatically. Plus, you can choose any of the high availability records.
You can also clone DNS records.
This will help you to add more domains to your Linode account.
8) Backups 8) Backups
To keep our hard work safe, it is highly recommended to generate regular backups and save them in a secure location. To back up a WordPress installation, there are multiple dedicated backup plugins available like BckupBuddy, VaultPress, and so on.
But most feature-rich backup solutions are premium, and it will cost you $100+ a year.
Here, Linode got its own backup and restore solution. So you can use it without any third-party backup services.
9) Free Migration 9) Free Migration
If you are already hosted your website somewhere else, the migration feature can be beneficial. Linode got a dedicated team just for handling website migrations. So if you need a hand with the process, just contact them.
If you are a beginner in website migrations, doing it yourself can be challenging. You have to perform a complete website backup database backup, download the files to your local storage, upload them to the new server, etc.
But when you give permission to the Linode migration department experts, they will take care of the process. According to your website’s size and queue, it can take a few weeks to complete the task.
Once they have finished it, you can manage the website from the Linode dashboard.
How to Create an Account with Linode? How to Create an Account with Linode?
Next, let’s see how to create an account with Linode.
The first thing you need to do is go to Linode.

You will see three options to create an account.

- Google Account
- GitHub
You can choose your preferred method from there. In our case, we will be using the email address for creating a Linode account.
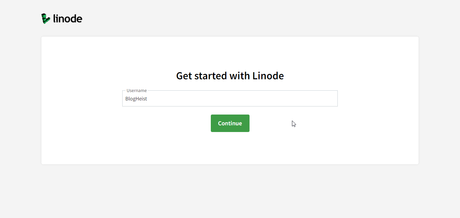
You have to choose a username for your account first.
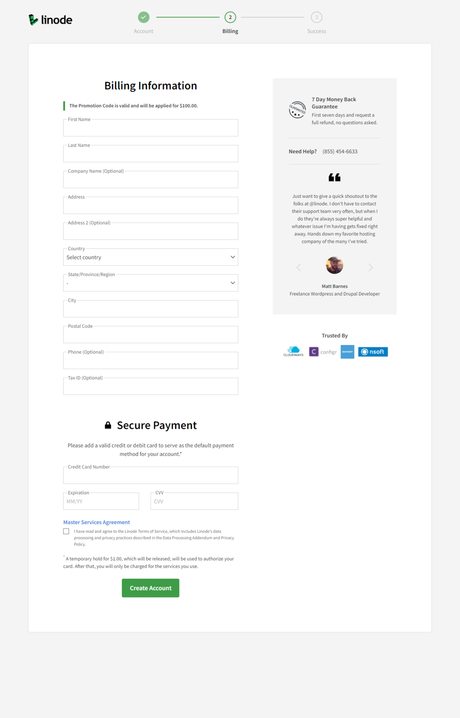
Next, you have to complete the billing information.
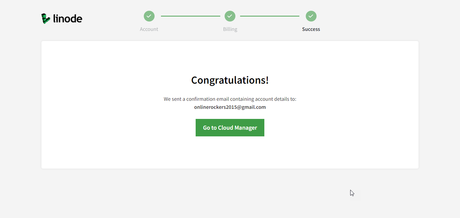
Once you have completed the billing information, Linode will email you the account information to the registered email address.
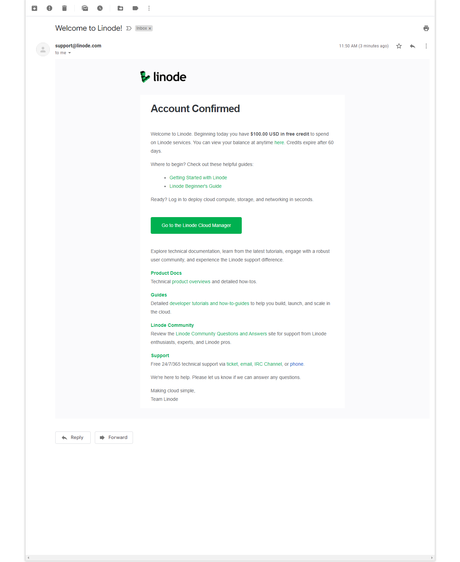
In the email address, you will see the account confirmed email.
Now, you can access the Linode account dashboard with the credentials.
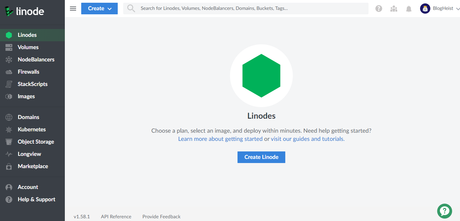
That’s it.
This is how you can create a Linode account. As you can see above, it won’t take much time. Within 3 minutes, you can get your own Linode account.
How to Deploy an Application? How to Deploy an Application?
After creating an account in the platform, you can start deploying applications. This section will show you how to create an application through the Linode dashboard.
Log In to Linode & Create a Linode Log In to Linode & Create a Linode
First of all, log in to your Linode account. After that, click on the Create Linode button.
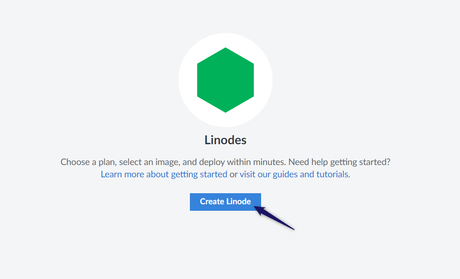
You will be redirected to the dedicated wizard.
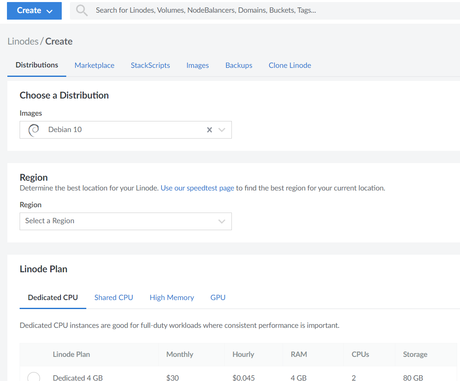
The very first thing you need to choose is the application.
Open Marketplace Open Marketplace
If you check the marketplace section, you can see all the one-click apps there. In this case, we will be installing WordPress in our test account.
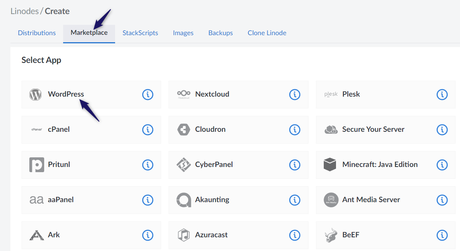
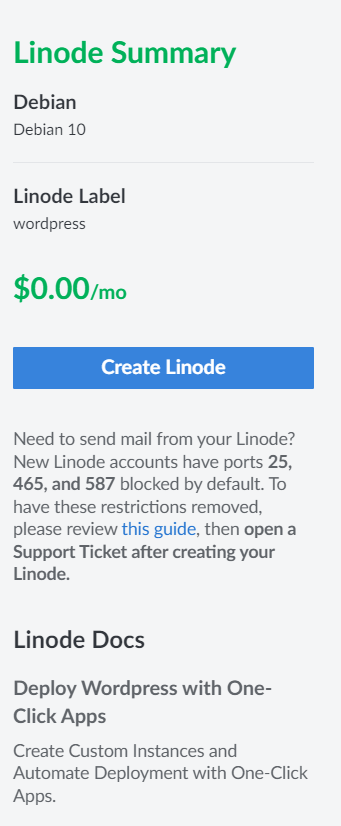
On the right-hand side, you will see the summary.
Application Configuration Application Configuration
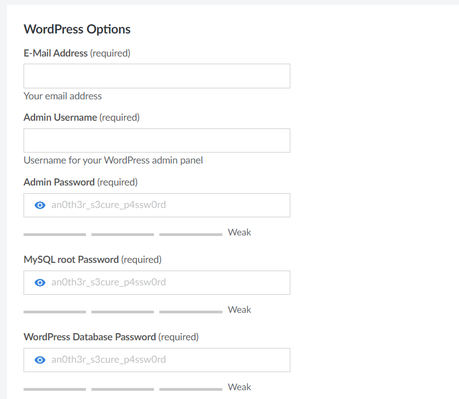
After that, you have to configure the basic WordPress installation details such as:
- Email address
- Username
- Password
- MySQL root password
- MySQL database password
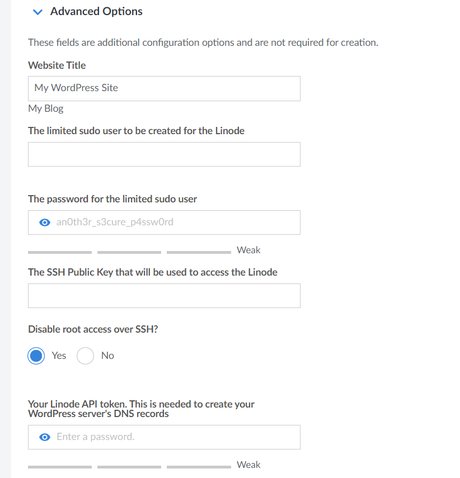
If you scroll down, you will see some advanced configuration options.
Next, you have to choose a region.
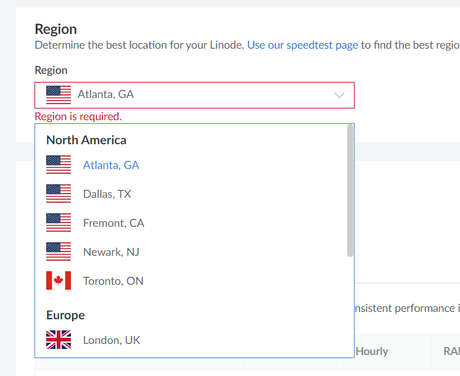
There are many available, and you can choose your preferred one from the dropdown. Once you have selected a region, you need to pick a plan.
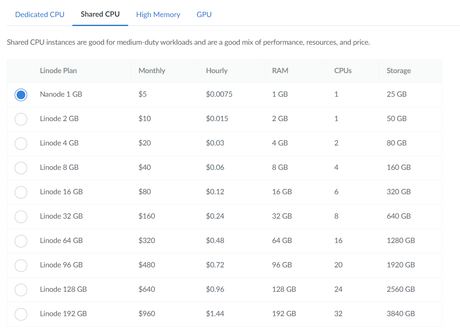
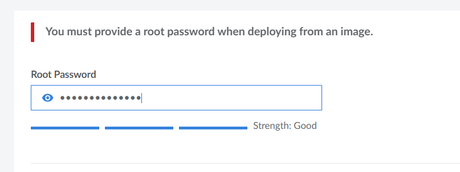
There are multiple plans. Finally, choose a root password.
After configuring everything, launch your app. Then, you can click on the Create Linode button.
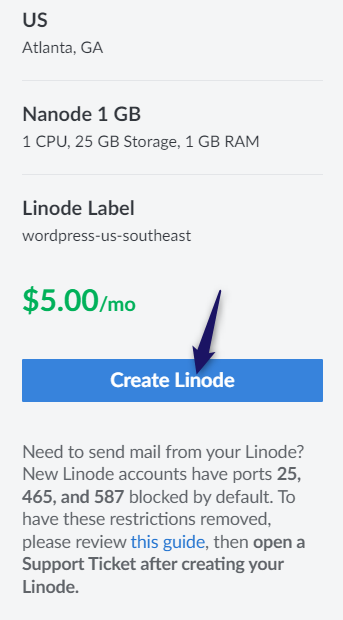
After clicking on the button, the server will start deploying your application.

It will take a couple of minutes to complete the process. So, you have to wait till they deploy the application.
When the application is ready, you will see the Running status.
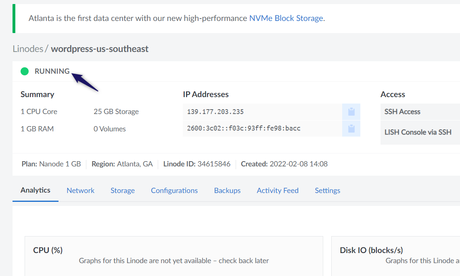
Also, you will see all the essential details such as:
- Storage
- CPU
- RAM
- IP Address
- SSH Access
and so on.
If you need to access the WordPress site from the front end, you can use the IP address or domain name. In our case, we haven’t configured a domain name, and we are running on an IP address.
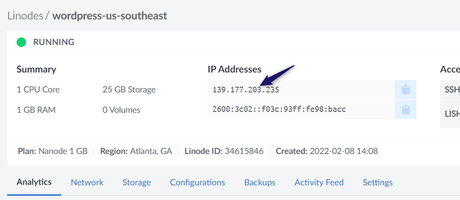
If you open the IP address using any web browser, you will see the website.

From there, you can log in to the admin area and start modifying the site.
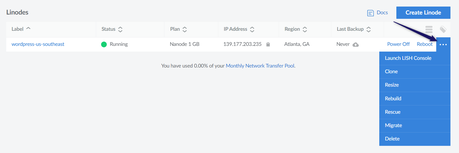
And if you need to reboot or configure the server, you can go to the main linodes page and do the necessary actions.
That’s it.
This is how you can create an application inside Linode cloud web hosting.
Get Started with Linode Get Started with Linode
You can create a Linode account from below.
Get Linode Account Now!
$This is an affiliate link
Conclusion Conclusion
If you are going to launch your business, we highly recommend using any premium web hosting company. In our experience, Linode performs well, and they have many excellent options.
Creating a WordPress site with Linode cloud hosting can be a cakewalk.
We hope you have found this article helpful and enjoyed the read. Please consider sharing this post with your friends and fellow bloggers on social media if you did. Also, for more related articles, you should check out our blog archive.
