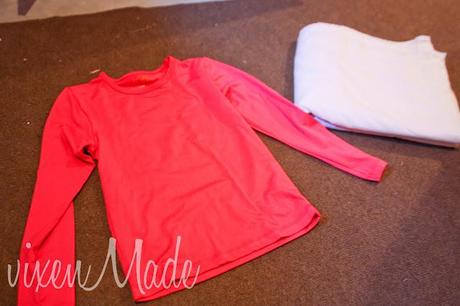
First trace out your pieces. Start with your arms. Line the top of the sleeve with the fold of your fabric. Trace around the sleeve adding extra (since coats fit much looser than a shirt) and an inch for seam allowance.
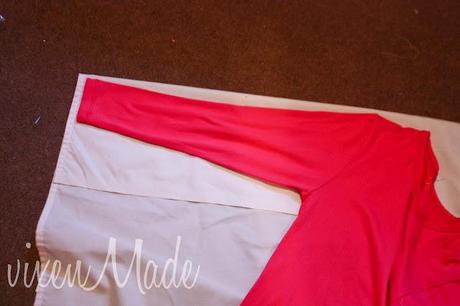
To trace the shoulder portion, just flip the top over and trace the line of the shoulder.
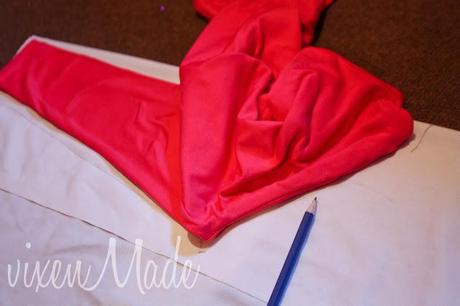
When you're done that, pin your fabric layers together and cut along your lines.
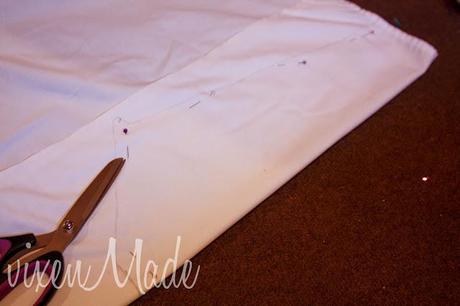
Now use the piece to trace and cut another piece for the other arm.
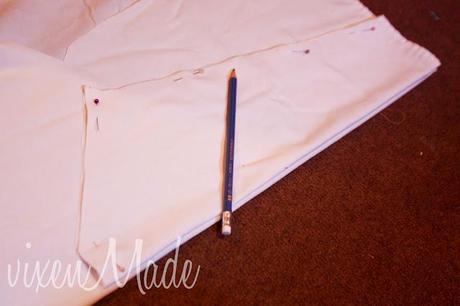
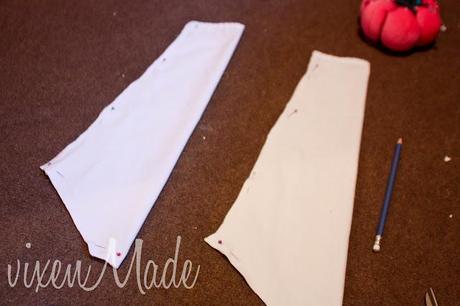
Now you can move onto the body. Fold the top in half and lay along the fold of your fabric again.
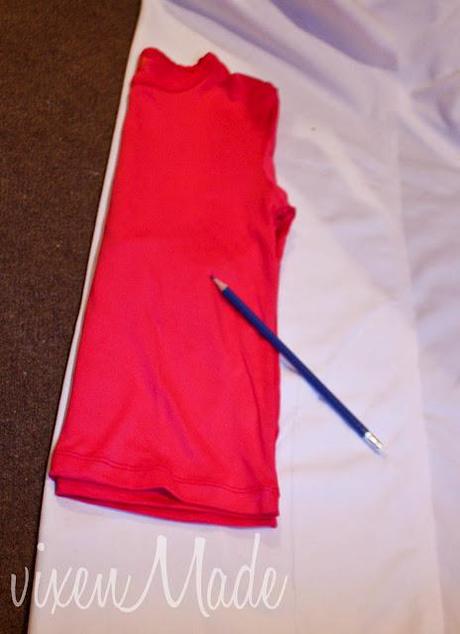
Trace around the neckline (remember the neckline on the back is higher than the front) and arm and extend the length of the body down (try to imagine how long the coat may be on your child). Again, be sure add extra for looseness--is that a word?--and seam allowance.
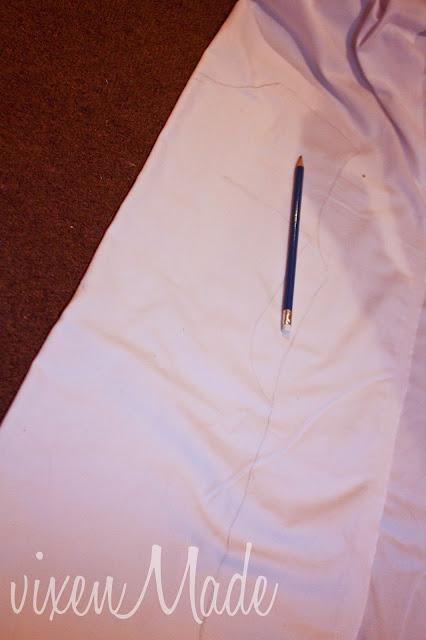
Now cut out your piece. This is how it should look.
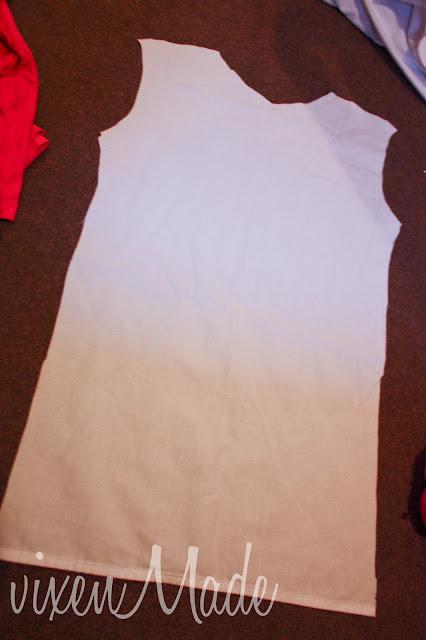
Fold it in half again and use it to trace out another piece like it, with the different neckline. This time, don't trace it on a fold, but add an inch to the folded side of the template.
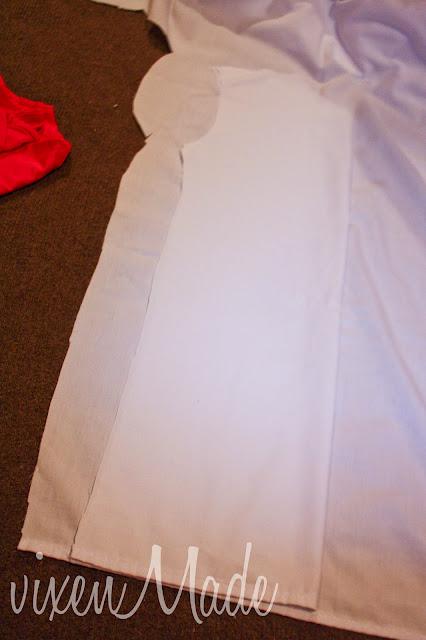
Like so.
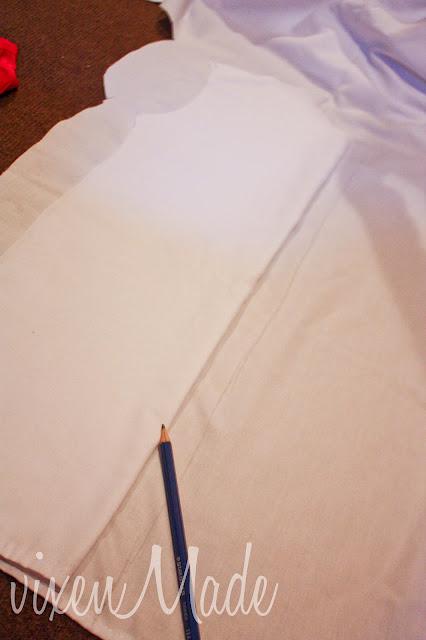
Trace another one just like it. You should now have two pieces like this.
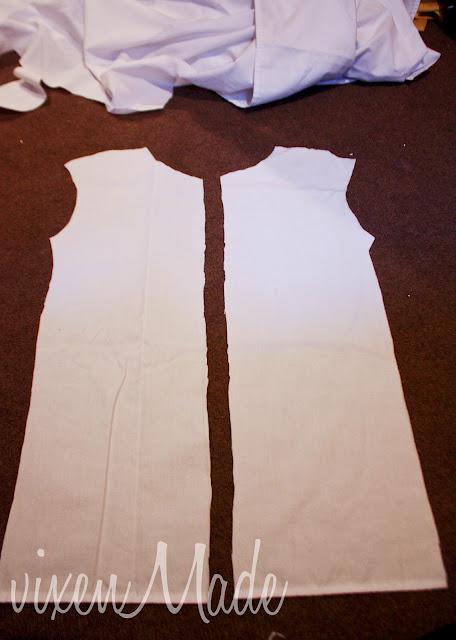
Now you can start to sew your pieces together. First pin your shoulders together. So lay the half pieces over the full pieces like so.
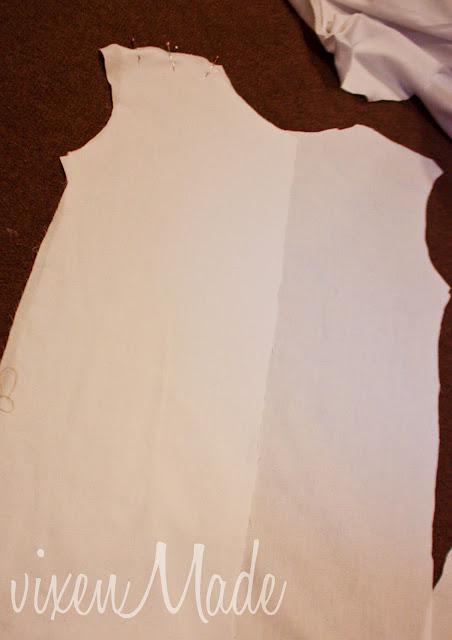
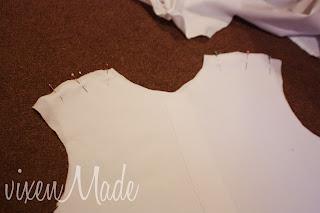
Now sew those edges together. Then serge or zigzag stitch your edges.
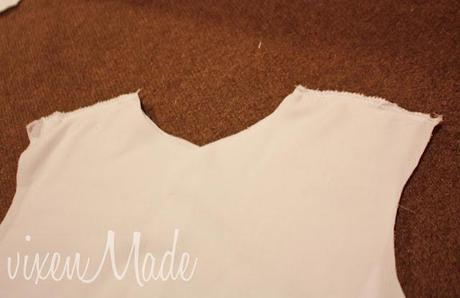
Next, get your arm pieces and line the shoulder's up.
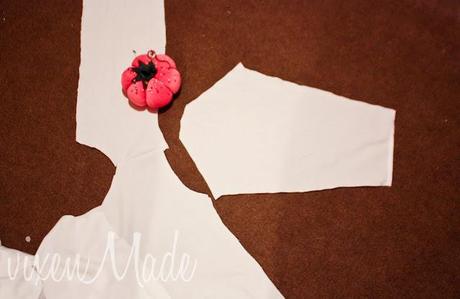
Pin together, right sides facing in. I found pinning from the middle out works best.
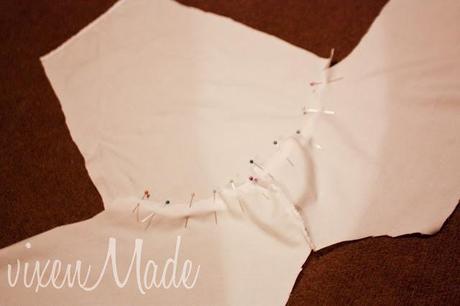
Do this to both sides and sew together, finishing with the serging (or zigzag stitch).
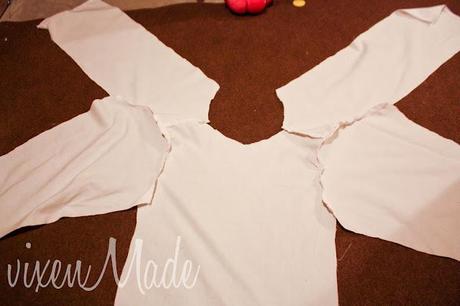
Fold the sides together so it's inside out, start pinning the sides of your coat and down the arms together.
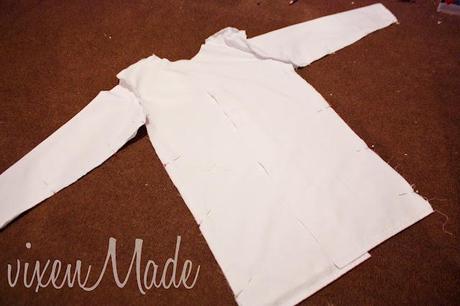
Sew together and serge the edges.
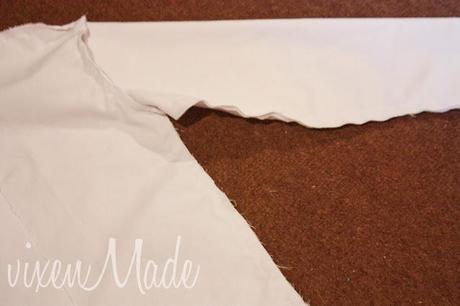
Then serge the openings of your coat and hem.
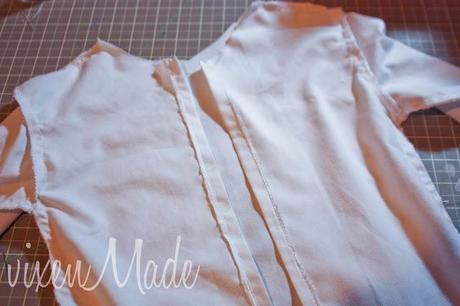
Move up to the neckline.
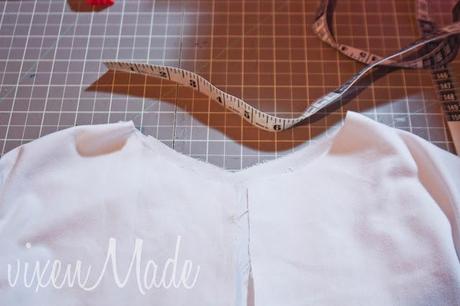
Open up the coat and measure the neckline.
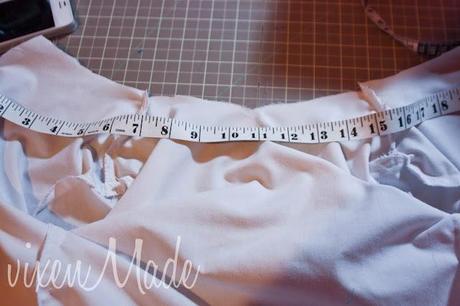
Cut a piece of fabric measured to the length and 2 1/2 inches wide.
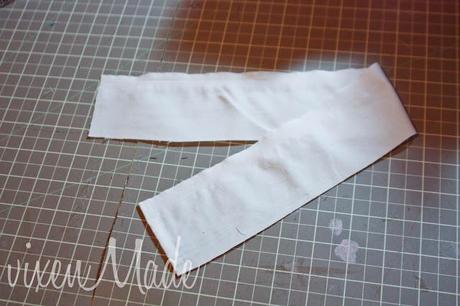
Double fold and press the short edges and sew the hem.
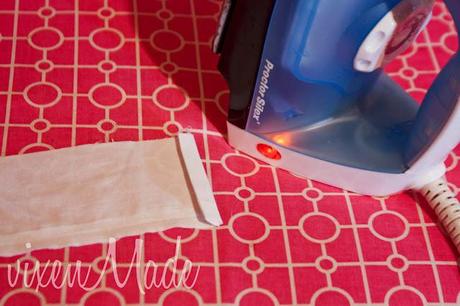
Do the same with the one side of the entire length. I didn't have to since my one side was finished already.
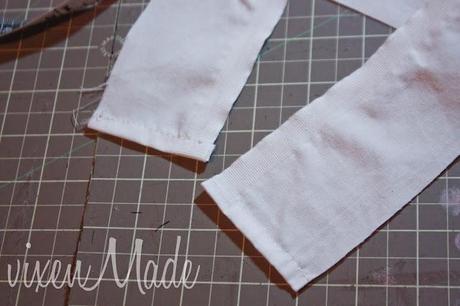
Pin the neck piece to your coat with the right sides facing in.
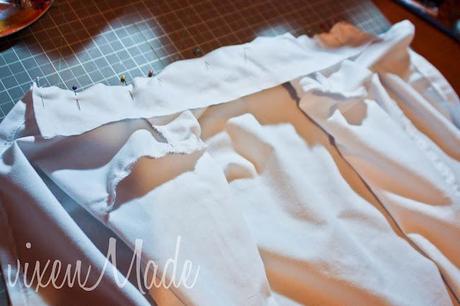
Sew together and serge those edges.
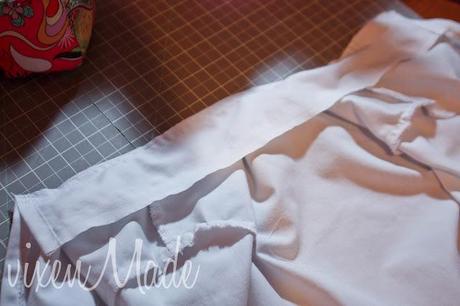
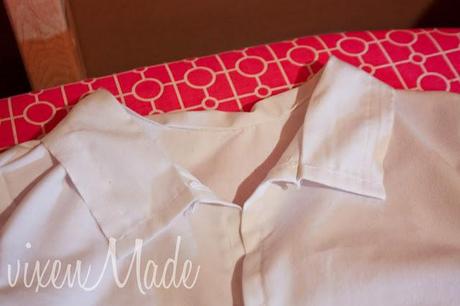
Now you can flip your coat right side out and press your collar down like this.
Lastly, you can create the pockets. I measured out two pieces that were 6 inches by 4 inches and one small one that was 3 1/2 inches by 4 inches. I actually had a finished edge already on these pocket pieces. If you don't, just add 1/2 inch and double fold the one side and press, then hem.
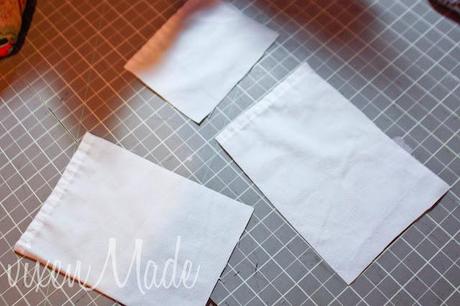
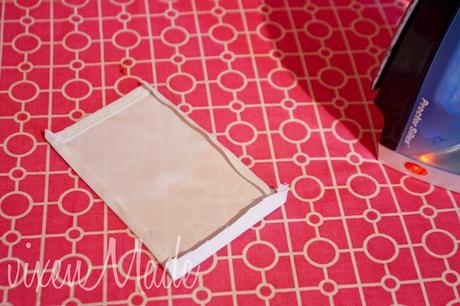
Now fold and press each edge under, except the finished side.
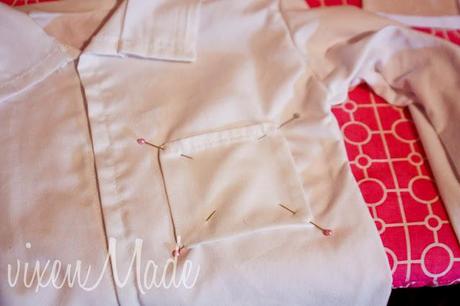
Pin them onto your coat. The small one at the left side of the chest and the other two at the bottom.
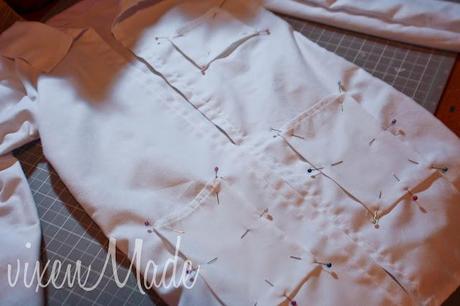
Sew them on, sewing very close the edges, leaving the top open.
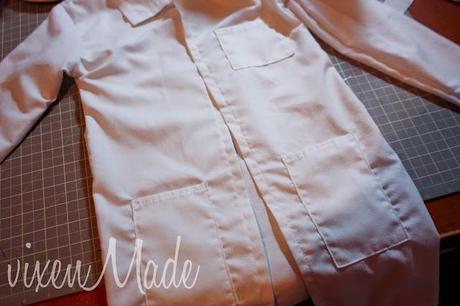
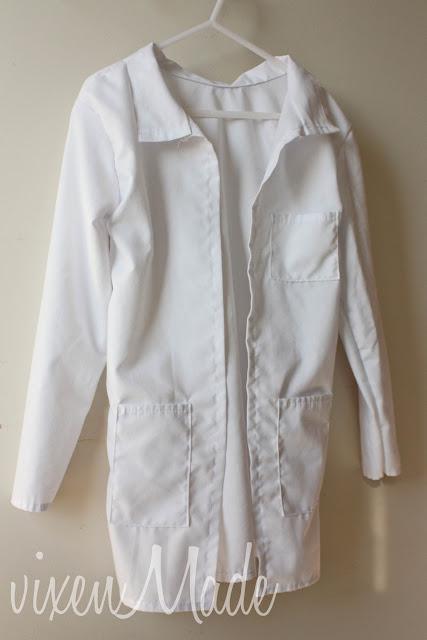
Phew! You are done! Step back and admire. You just made a lab coat!
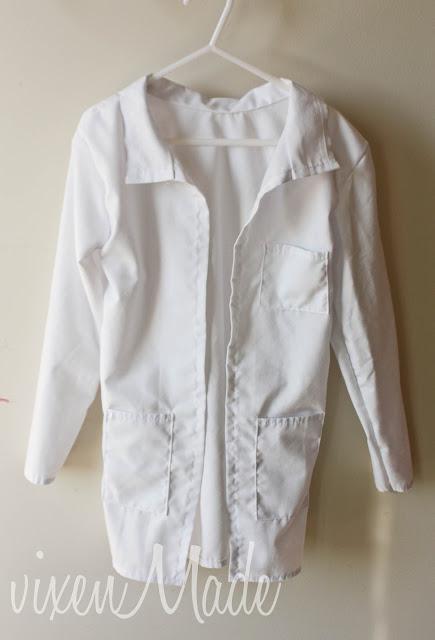
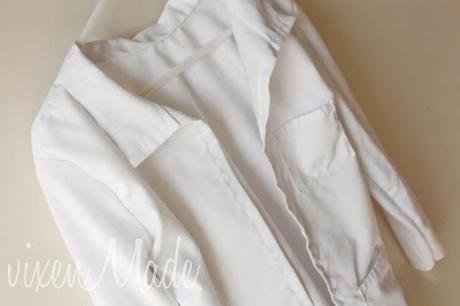
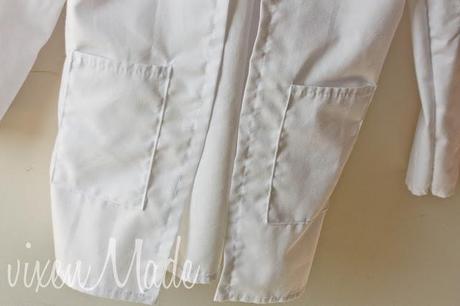
I hope this little girl will love it!
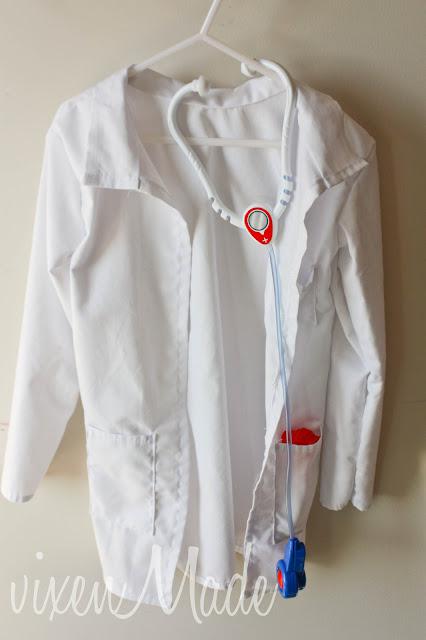
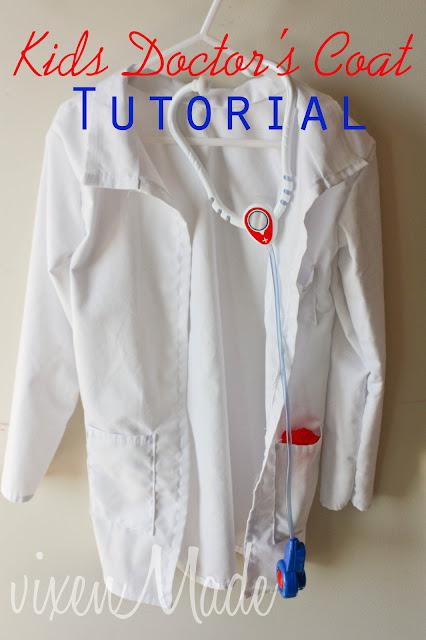
And if your child needs a Halloween costume, this is perfect for a doctor! Have fun!
