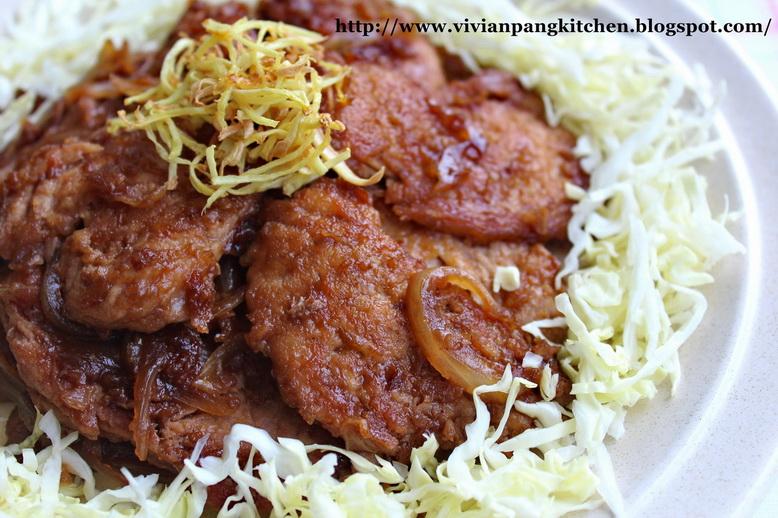

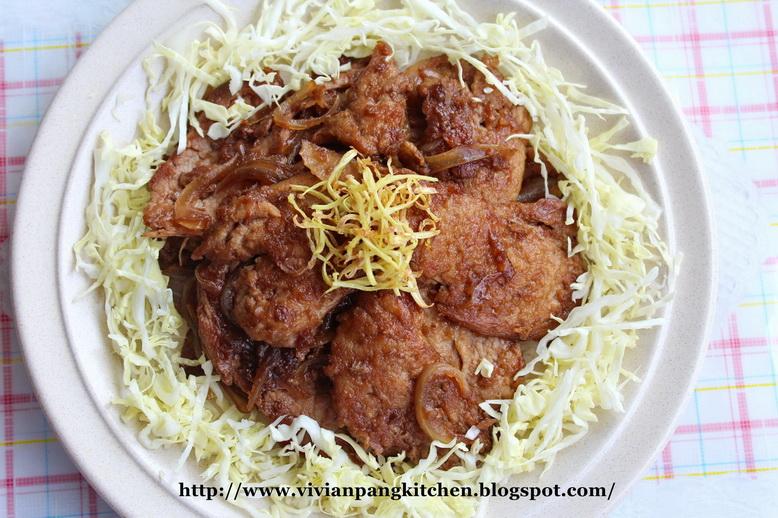
I learn this dish from Taiwanese cooking show. It is pretty simple, flavourful dish and healthy too. The amount of oil used is very little. According to chef it is sufficient as long as the coated meat is slightly browned and sealed. Non-stick pan definitely helps a lot! Once the meat is sealed, onion slices is added and lastly seasoning. Sounds pretty easy right?
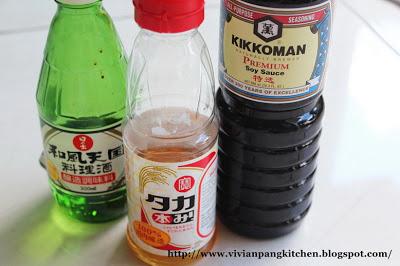
This ginger pork dish is using basic Japanese seasoning which are Japanese soya sauce, cooking wine and mirin. I’m sure it is pretty easy to get them in grocery shops nowdays.
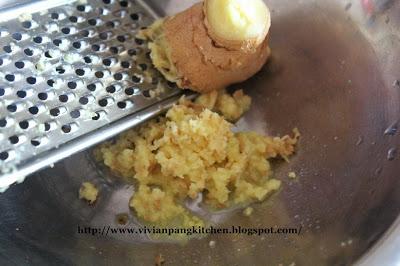
Ginger is first grated then extracting the juice. The ginger is only added when about to dish out. If you prefer more ginger pungent add in the grated ginger as well (skip the juice extracting step). Of course you can increase the amount of ginger as recommended too.
 Adapted
and slightly modified from TV cooking show
Japanese
Ginger Pork
Adapted
and slightly modified from TV cooking show
Japanese
Ginger PorkIngredients:
(A) 9 pieces pork loin (梅花肉;about half of palm size with 1cm thick)
¼ teaspoon salt
¼ teaspoon pepper
2 tablespoons corn flour 1 big onion (sliced) About half thumb size fresh ginger
(B) 3 tablespoons Japanese soya sauce 3 tablespoons Mirin 1 tablespoon Japanese cooking wine 3 tablespoons water (more if prefer more sauce) *Mix above into a small bowl. Set aside 1 teaspoon sugar (or more to taste)
Methods:
1. Tenderized the pork slices and set aside. Marinate with salt and pepper and leave it for about 15 minutes.
2. While waiting for the marinated pork ready, grates fresh ginger and extract the juice. Set aside.
3. Coat every pork slices with corn flour. Lightly coated is good enough.
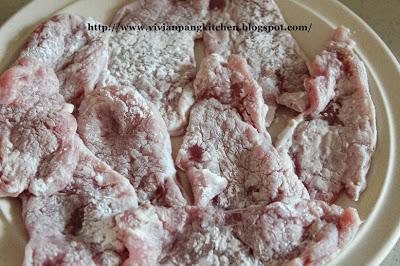 4. Heat up a wok/pan. Add
in about 1 tablespoon vegetable oil. Arrange the coated pork slices inside the
hot wok. Fry till both side slightly browned.
5. Add in onion slices in between the browned pork slices and further cook till fragrant (about a minute). Follow by seasoning. Bring all together and bring the sauce to boil. Taste and adjust the sugar accordingly.
6. Lastly add in the ginger juice and mix well. Dish out and serve with shredded cabbage at the side. Enjoy!
 I’m linking this post to the event, Little Thumbs up organised
by Doreen from My Little Favourite DIY and Joe, Bake for Happy Kids,
hosted by Alvin from Chef and Sommelier

