Why? According to Wikipedia, Castella cake or Kasutera was introduced by the Portuguese merchants to Nagasaki in the 16th century. The name is derived from Portuguese Pão de Castela, meaning “bread from Castile”.
Originally, Castella cakes are made of four basic ingredients which are bread flour, eggs, sugar and sticky syrup like honey. Notice that there is no butter or oil being mentioned?
Traditionally according to here, here, here and here, Japanese Castella cakes are made by 1) beating eggs and sugar with or without maintaining the egg mixture temperature at 43°C until the egg mixture is light and voluminous, 2) adding lukewarm honey and bread flour in a gentle manner 3) and baking slowly in a wooden frame to create an uniform spongy texture. 4) After baking, the cakes are wrapped for at least overnight or even one to two days for them to develop their flavor and texture. Notice that the egg yolks and whites are not beaten separately for this traditional method?
Characteristically, Castella cakes have to (1) be moist, soft like a yellow sponge cake with chewy and bouncy texture (2) have just enough sweetness with a fragrance of honey (3) have dark golden brown top and bottom crust for a beautiful contrasting look.
Do you think... Castella cakes that are not made originally, traditionally and characteristically like the above are not good enough to be Castella cakes? Yes and no as I have noticed that the Castella cakes made from different recipes or bought from different countries and bakeries can taste very differently. So I asked myself... How real is the real Castella cake? What does the most original traditional Castella cake suppose to taste like? Light and spongy? Dense with fine smooth crumbs? Today, I'm still struggling to answer these questions...
2010-2012: Since the day I started blogging, I have been seeing many bloggers baking beautiful Castella cakes. Based on some of the recipes that I have tried, some at here and here can be easy but some recipes at here can be difficult to bake.
2012: Finally, I baked my first Castella cake at here using the easy recipe by Biren from Roti and Rice. Like the original Castella cakes, this recipe contains the four basic ingredients which are bread flour, eggs, sugar and honey and doesn't contains any butter, oil or cake stabilizer like the recipes that are mentioned at here and here.
2014: We visited Tokyo and tasted many Castella cakes. My son who was 5 year old at that time and I were loving these cakes and we had many!!! Prior this Japan trip, we have tasted many Castella cakes from different cities like Seoul, Sydney and Singapore too. So what have I learned after many Castella cakes??? For sure, my first Castella cake that I have baked at here is too light as compared to those that we have tasted. I want to pursue and seek for my ideal Castella cake recipe and ideally if this recipe is fail proof too. Sadly, I have not manage to do so...
Today: I need to stay focus to bake a good Castella cake!!! Think Castella! Think Castella!!! Gosh... I sounded like a mad Castella cake baking woman!!!
First, I like to set an aim for my search by defining the typical taste of a good Castella cake. Base on all the Castella cakes that we tasted, I realise that my definition of a good Castella cake is like a honey pound cake, being smooth and dense (not fluffy and light!) with fine crumbs. It must be moist but must has NO buttery or greasy touch or taste.
To start, I like to start baking this most popular and traditional Castella cake recipe from Just One Cookbook. This is always the first recipe that I see whenever I searched for "Castella cake recipe" at Google. I can't help to think this is the most original and traditional Castella cake recipe because it is truly made accordingly to the original and traditional ingredients and methods like I have mentioned earlier.
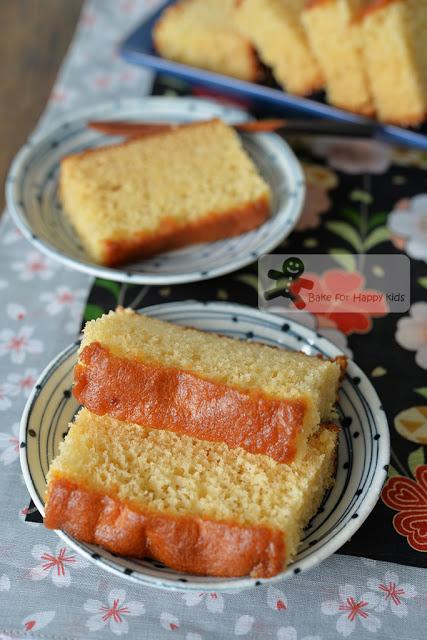
Japanese Castella Cake / Kasutera カステラ Baked with Traditional Method
Comparing with my first Castella cake that I have baked at here, this cake contains more bread flour, sugar and honey with the same amount of eggs added and so it is sweeter with heavier crumbs and bouncier in its texture.
Is this recipe my ideal kind of recipe? I can't tell at this moment because I have to try other recipes too but this cake will be my benchmark for future comparisons.
Is this recipe fail proof? Yes and no... I would say that this recipe is pretty easy to bake but can fail easily if these essential steps are not followed properly:
1) Please use the exact weight of all ingredients especially the eggs because any difference can affect the overall texture of your cake.
2) It is important that the eggs used have to be in room temperature, not chilled so that you can beat the egg and sugar into a thick, pale yellow and voluminous mixture in about 10 mins. To tell if the mixture is voluminous enough, use the attachment to scoop the batter and write a "8" on the rest of the batter and if the "8" is not disappearing, you can proceed on the next steps.
3) Can't find a bottomless wooden frame to bake your Castella cake? No worries!!! You can line the sides of your standard metal baking loaf pan with 2 or more layers of foil with reference to my previous post at here.
4) As Castella cakes are baked slowly to create an uniform spongy texture, it is important to avoid using high oven temperature and also fan forced baking function. Plus, please be aware that all ovens can operate differently and you might have to use a different oven temperature setting from mine in order to bake your cakes more successfully. Here are a few strategies that I have seen and you might want to try to see if which will work the best for you:
Strategy one: Preheat oven to 180°C / 350°F. Bake at 180°C for 10 mins. Decrease temperature to 140°C / 285°F and bake for another 60 mins or until the cake is thoroughly cooked and must has a nice golden brown top. - This is the strategy that I have been using with or without using a wooden frame to bake my cake.
Strategy two: Preheat oven to 160°C / 320°F. Bake at 160°C for 40 mins or until the cake is thoroughly cooked and must has a nice golden brown top.
Strategy three: Preheat oven to 170°C / 340°F. Bake at 170°C for 10 mins. Decrease temperature to 150°C / 300°F and bake for another 35-40 mins or until the cake is thoroughly cooked and must has a nice golden brown top.
Although strategy Two and Three uses a shorter baking time, please aware that the cake might crack if the oven is too strong with its heating. And if the oven temperature that you used is too low, the cake will not rise properly.
And if you are not using a wooden frame, it is better to use a lower oven temperature setting to ensure the heat cooking the sides of the cake is rather minimal.
5) To be on the safe side, it is always better to over-bake your cake slightly than under-baking it because the uncooked cakes will shrink into a short yucky gummy cake after cooling. To gauge, you will see that the cake is ready when it bounce back after it is lightly pressed with your finger and you can't use an inserted skewer to test its doneness.
Gosh! I think I have blah blah blah too much... Let's start test-baking this popular Castella cake recipe now.
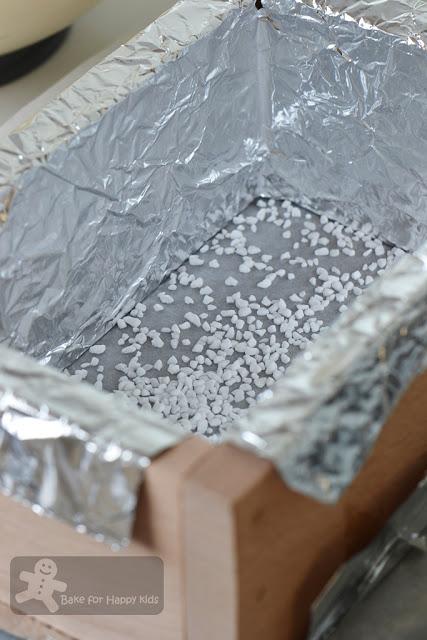
First, I lined the side of my wooden Castella pan with foil and sprinkle pearl sugar at its bottom.
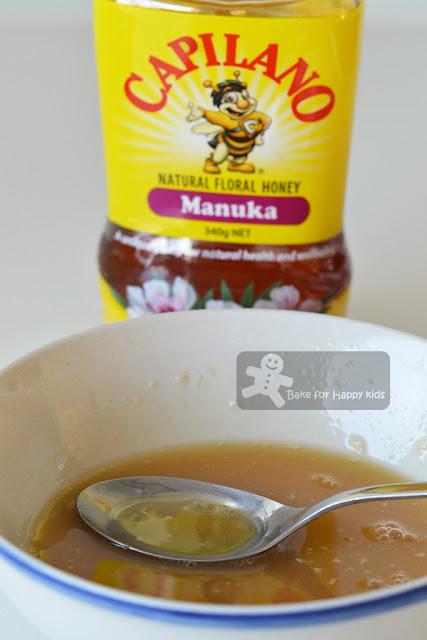
Next, I cook the honey and milk mixture until it is runny and lukewarm. Set aside to cool.
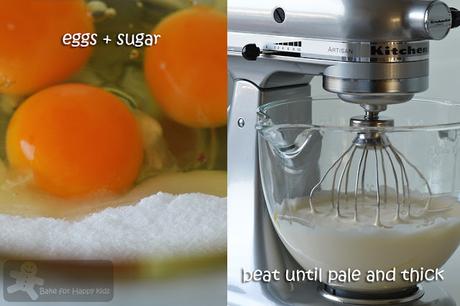
Using an electric mixture, I beat this egg and sugar mixture until it is voluminous.
Then use a low beating speed to mix in the honey mixture.
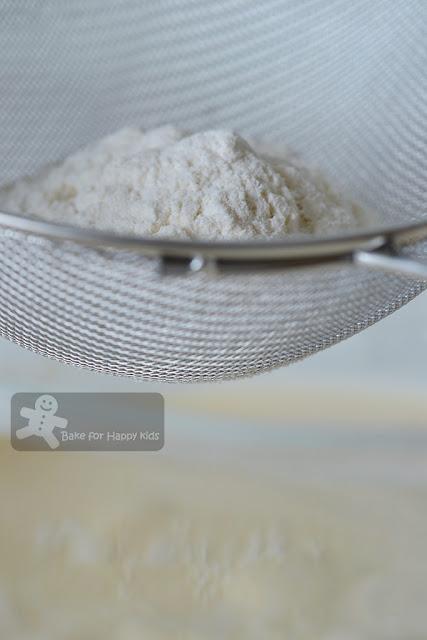
Fold in the sifted flour.
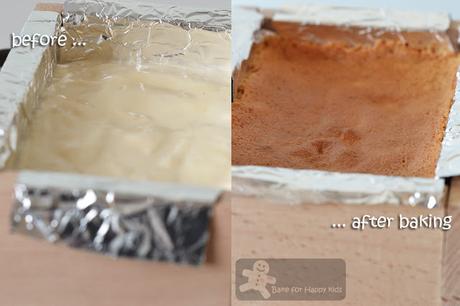
And bake the cake!
I'm happy to see that this recipe works perfectly!
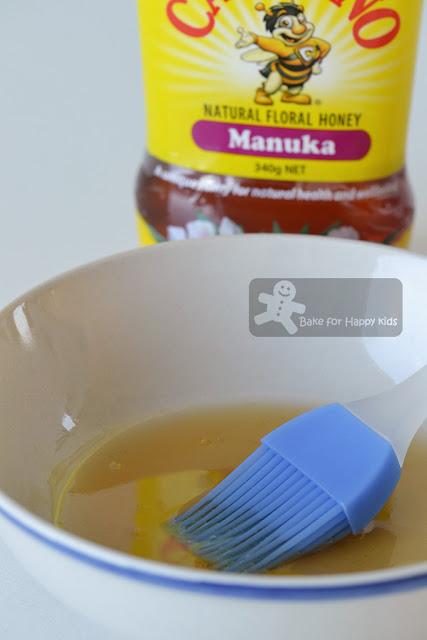
Brush the top of the cake with warmed and slightly diluted honey
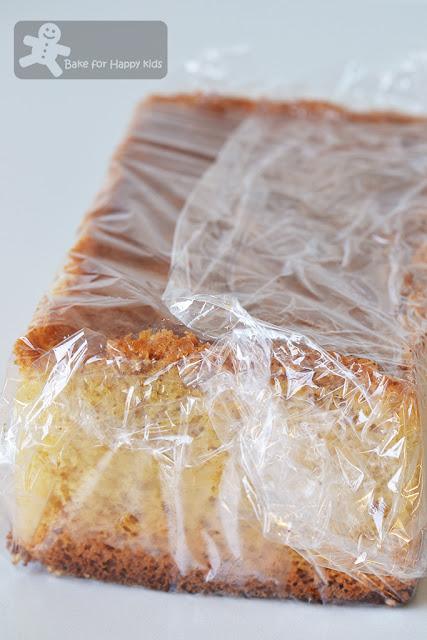
Wrap the cake in cling wrap and WAIT!!!
Gosh!!! I can't wait :p
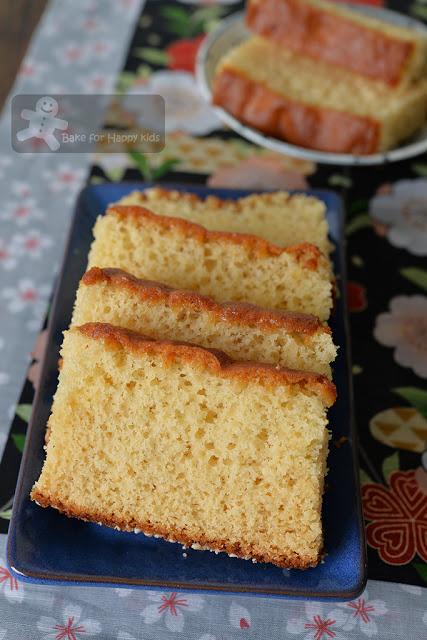
Nice!
This Castella cake is the spongy kind with rich honey flavor and chewy texture!
Want to see how I baked this intriguing cake? Please watch this one-minute video.
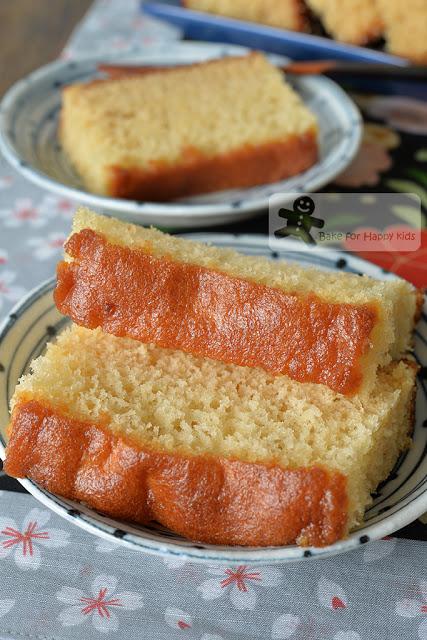
Based of its perfect look, I would say that it is 100% Castella cake.
Nice and delicious but taste-wise and texture-wise, it is NOT exactly the Castella cake that I'm after!
Huh???
Is this recipe my ideal kind of recipe? NO!!! I like it but it is not the Castella cake that I'm after.
So I asked myself...
Is the addition of oil or butter or even cake stabiliser required to bake a typically good Castella cake?
Is beating the eggs separately make the cake better? Hmmm...
Welcome to my world. This is the start of my Castella cake baking adventure :) Stay tune for A LOT MORE of my subsequent Castella cake posts...
Here's the recipe that is adapted from Just One Cookbook and Cookpad (which is exactly the same as JOC)
Make one 17.5 x 10.5 x 8 cm or 10 x 20 x 8 cm Castella cake
For the cake:
50g (about 2 1/2 tbsp) honey15g (1 tbsp) milk
165g eggs (about 3 large), including both yolks and whites without the shells
100g (1/2 cup) caster sugar
100g bread flour with about 12% protein
Extra: 2 tbsp pearl sugar to sprinkle the bottom of the cake, optional
To brush the cake:
10g (1/2 tbsp) honey5g (1 tsp) warm water
IMPORTANT: In order for this recipe to work perfectly, please ensure that all ingredients have to be in room temperature and need to be in their exact weight.
Place a baking rack in the middle of the oven. Preheat oven to 180°C / 350°F with NO fan forced.
Line the internal sides of your cake or loaf pan with aluminum foil and a piece of baking paper to fit its bottom. Sprinkle the bottom of the lined pan with pearl sugar if desired and this step is optional but my son likes this particular way of baking our Castella cakes as we have tasted something like this before. If you are using 10 x 20 cm standard loaf metal pan, please see here for instructions and photos to prepare your metal loaf pan for your Castella cake baking.
Place milk and honey in a small saucepan or heat proof bowl. Cook mixture in the saucepan using the stove with low heat or microwave mixture in the heat proof bowl with short pulses of low power until the honey dissolves into the mixture. Do not over-cook the mixture until it boils! Set aside for the mixture to cool slightly, about 10 mins.
Using an electric mixer with whisk attachment, beat eggs and sugar at medium high speed until mixture is thick, pale yellow and voluminous, about 10 mins or more. The mixture is ready when you are able to use the attachment to scoop the batter and write a "8" on the rest of the batter without having the "8" disappearing.
Reduce the mixing speed to low, add honey mixture into the egg mixture and beat until combined, about 30 secs.
Remove the mixing bowl from the electric mixer. Sift in the bread flour in at least 3 batches and use a spatula to fold in each batch of sifted flour very gently. Fold and mix until all the flour is well incorporated. Do not over-mix.
Pour batter into the prepared pan. Gently drop the pan onto the kitchen bench from a height of 10 cm to remove any large air bubbles and do this step just once. If you are afraid of doing this, you can use a skewer to draw a zigzag to remove air bubbles in the batter. You can choose to do either one of these steps or both but do not over-do these steps.
Place pan in the middle rack and bake for 10 mins. Decrease temperature to 140°C / 285°F and bake for another 60 mins, or until the cake is thoroughly cooked and must has a nice golden brown top. NOTE: (1) An inserted skewer or cake tester is not a good gauge to see if the cake is thoroughly cooked. (2) Different oven is different! To optimize your baking, you might wish to try other oven temperature setting that I have mentioned earlier in this post.
Allow the cake to cool with the foil for about 10 mins first. While cooling, mix honey and warm water in a bowl and apply mixture by brushing mixture throughout the top of the warm cake very gently. Allow the cake to cool further until it is still warm but cooled enough to touch.
Remove the cake out of the pan, peel off the foil and the baking paper at its bottom and wrap the cake in plastic wrap. Place cake in an airtight container or a zip lock bag and allow it to rest in room temperature so that the cake will moisten by itself for at least one day. The cake is the best to eat on the next day of bake and even up to the 3rd and 4th day of bake.
Slice and serve. Store the uneaten cake in airtight container for up to 5 days at room temperature and they are still moist!
Happy BakingPlease support me and like me at Facebook...
