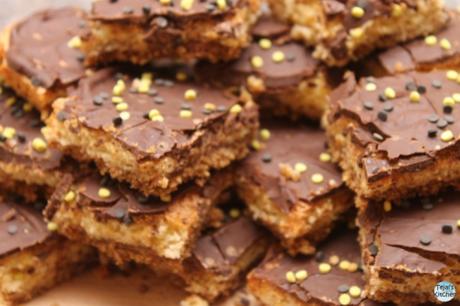
Traditional Jaffa cakes have three layers: a genoise sponge base, a layer of orange flavoured jelly and topped with chocolate. So I decided to use that idea as my basis of these Jaffa Style Bars – biscuity marmalade base, white chocolate orange brownie and topped with chocolate with a hint of orange.
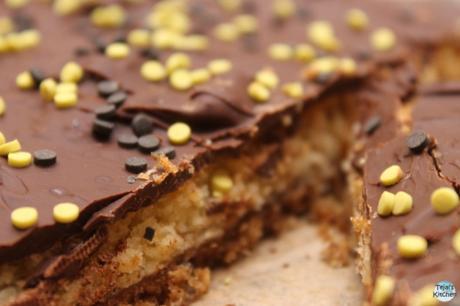
My daughter’s taste verdict was “They are not a Jaffa Cake, but its like a Jaffa bar. If I could give it a 1-10 score then it would be a 10!” and this is from a Jaffa cake lover! So I guess it had a hint of Jaffa in it.
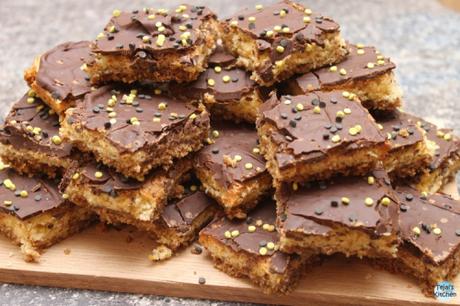
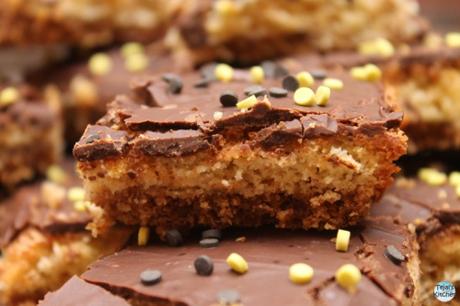
Interesting fact – Jaffa Cakes have been around since 1927 – that’s 88yrs! Because McVities did not trade mark the name you can buy Jaffa Cakes but any company – hence the different variations. However my daughter and husband can taste the difference between the cheaper store brands compared to McVities.
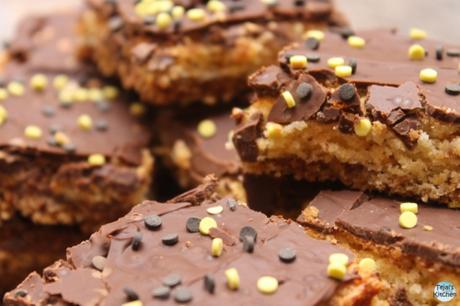
I love making inspired creations – these are my Jaffa Cake inspired bars using the 3 layered approach.
Ingredients:
30g Wafers
4 Weetabix Biscuits
50g Butter
50g Golden syrup
80g Marmalade
70g Butter
100g White Chocolate
70g Caster Sugar
70g Self Raising Flour
1 Egg
1 Orange Zest
200g Dark Chocolate
Sprinkles
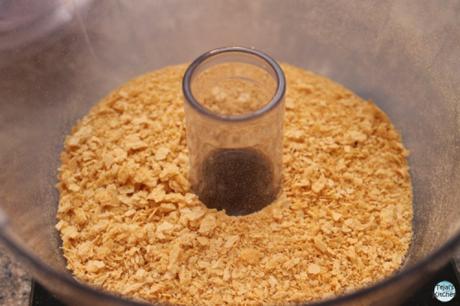
In a food processor add wafers and make in crumbs
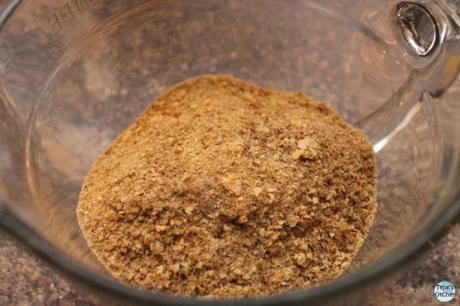
Then pour the wafer crumbs into a bowl and add weetabix biscuits to the food processor and blitz. Add the weetabix crumbs to the bowl. Stir together the weetabix and wafer crumbs. The mixture doesn’t need to be fine crumbs.
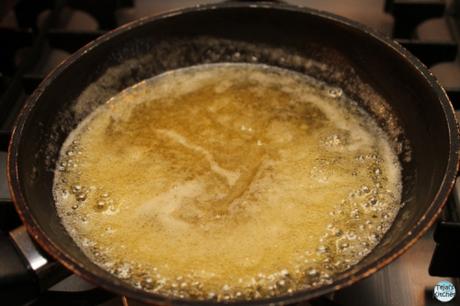
Heat the 50g butter and 50g golden syrup in a small pan until melted.
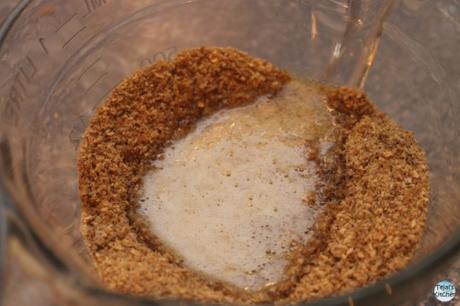
Pour the butter syrup mixture into the wafer weetabix crumbs and stir well.
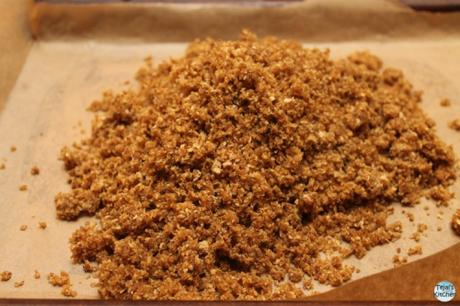
Pour the wafer weetabix mixture into a lined baking tray and spread and press evenly to make a base.
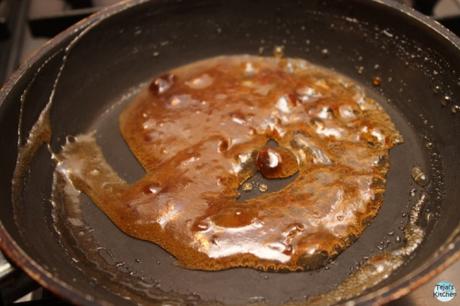
In a small pan heat up the orange jam or marmalade until runny.
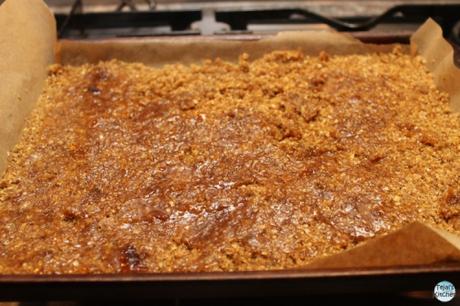
Pour over the base and spread evenly
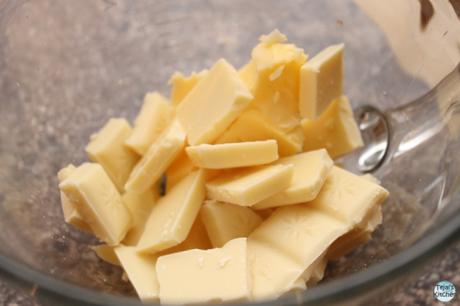
In a microwave proof bowl add the 70g butter and 100g white chocolate. Heat for 30 seconds at a time and stirring in between.
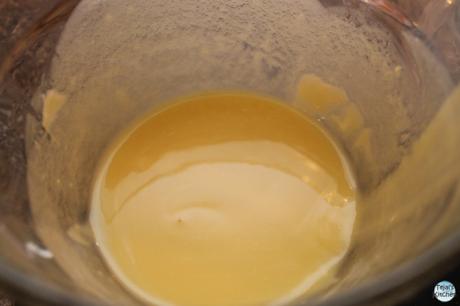
Keep heating and stirring until the chocolate has melted completely.
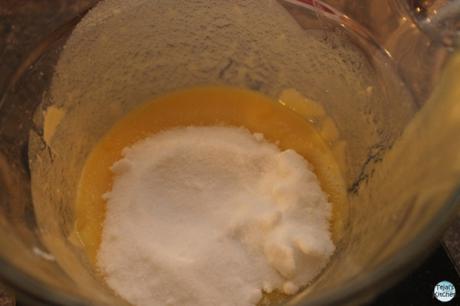
Add caster sugar and stir well using a spatula or wooden spoon.
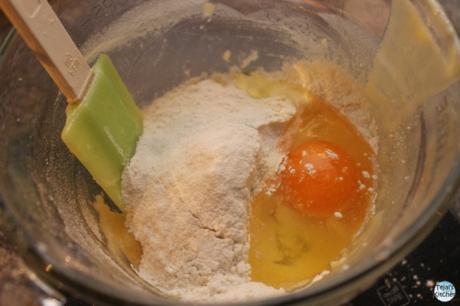
Stir in the flour and egg
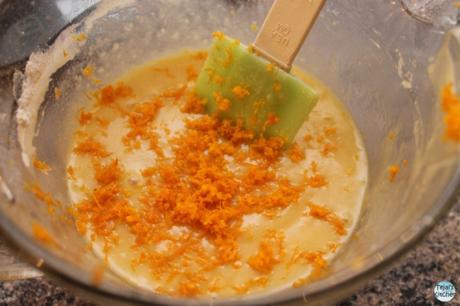
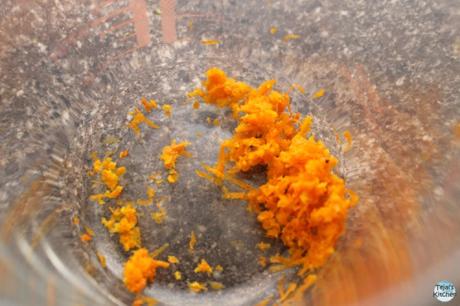
Using microplane grater zest half a large orange into the batter.
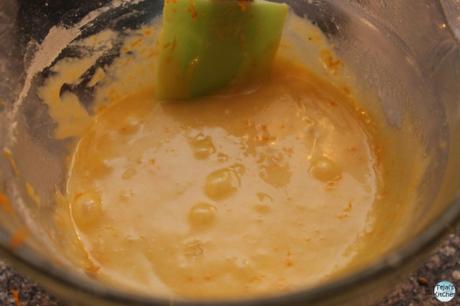
Stir the orange zest into the white brownie type mixture.
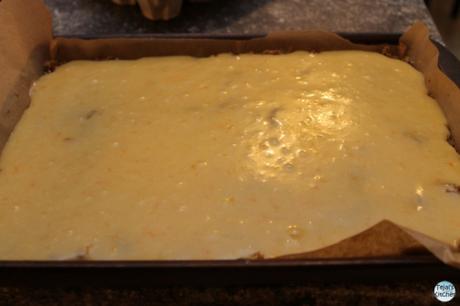
Pour the white chocolate brownie mixture over the wafer wheetabix base.
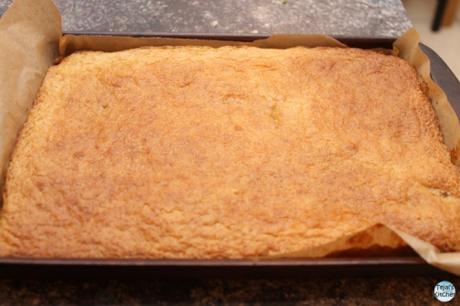
Bake the in oven for 30 minutes until bakes and golden brown on top.
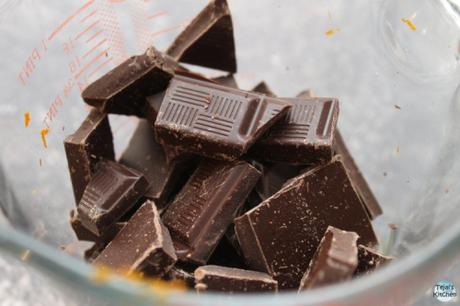
Add dark chocolate to bowl and heat in the microwave for 30 seconds at a time and stirring in between until the chocolate has melted.
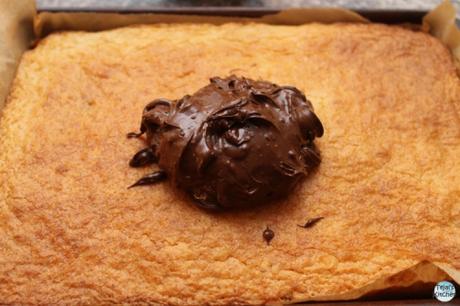
Pour the chocolate mixture over the brownie base
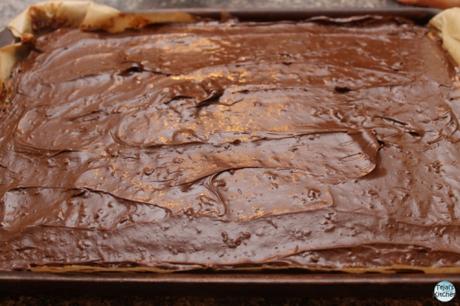
Spread the chocolate over covering the top
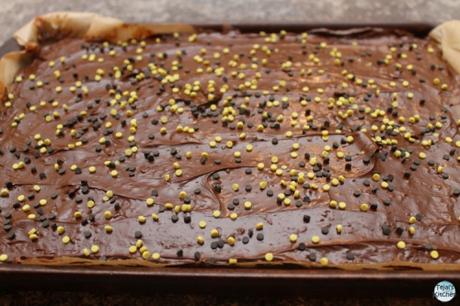
Add some sprinkles for decoration
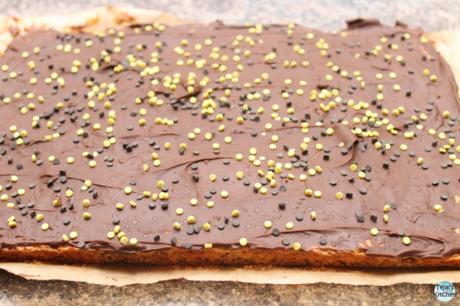
Allow to set over night or 2 hours in the fridge.
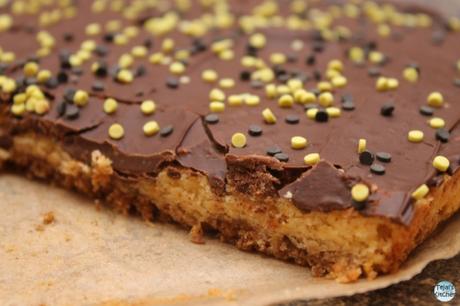
Slice the bar into smaller pieces.
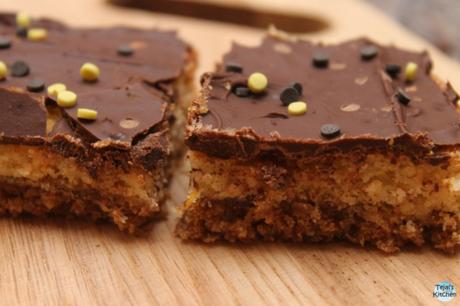
Store in an airtight container and enjoy.
