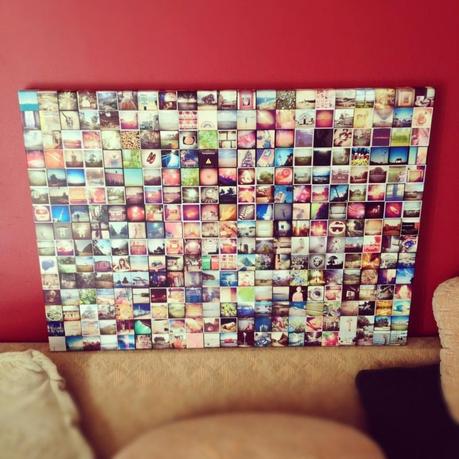
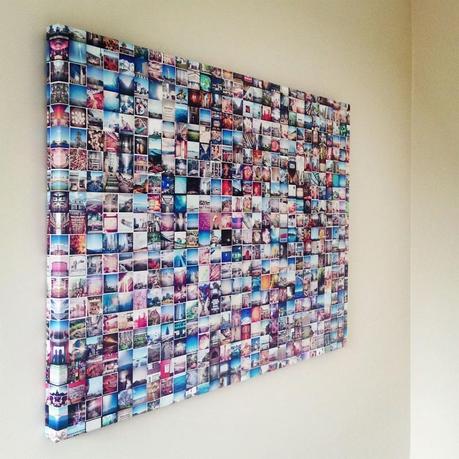
In Auckland, a print named “Instagrams 2012”, pulled onto a firm frame, came by mail. At the instance of the readers, I will tell how one can make up such a picture.
I want to let you know beforehand that it will demand some resources and will make your computer rather busy.
Gathering Materials
You have certainly made many hundreds of highly artistic photos through Instagram. How can we save them in a reliable place on a disk? There are several tools for that.
- Instaport – allows both to download the full archive and transfer your photos into Flickr-account.
- Free Instagram Downloader – PC users can apply the free utility recorded on the .NET.
- IFTTT – in a wonderful service “if this then that” there are many “recipes” which automatically allow to save all Instagram-pictures, for example, in Dropbox.
- Instarsrchive – I was told about that tool in comments.
As for me, I have used the third option. I have sorted all files and copied them, for convenience, into one folder named “Instagrams 2012”.
Size
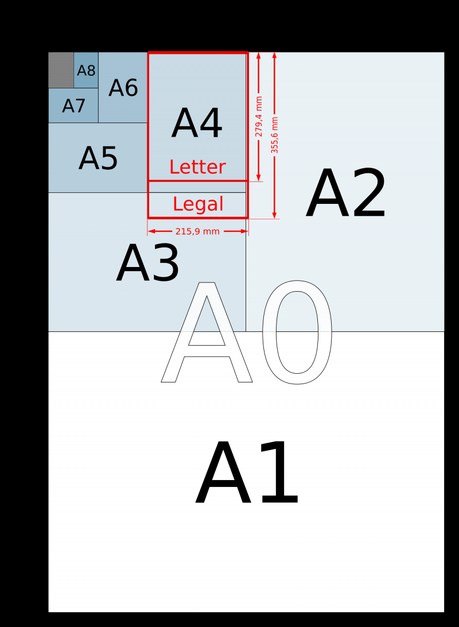
Our task is to safely and effectively generate photos splicing them together into one huge picture which can be printed in ISO A3, ISOA2 or even ISOA1 format.
As you can see, ISOA1 is really a big print. I, mainly, order a broadsheet format which is ISOA2.
Mosaic
The most labour-intensive part is a creation of a huge picture. First, let us find out how many photos we will need and how big the final file will become.
We need to weigh up the proportions, break the image into grid parts. The most easy way to do it is to base the work on the ratio of the series A sides. When the sheet size is 210 x 280 mm the proportions are 28 x 21 or 4 x 3.
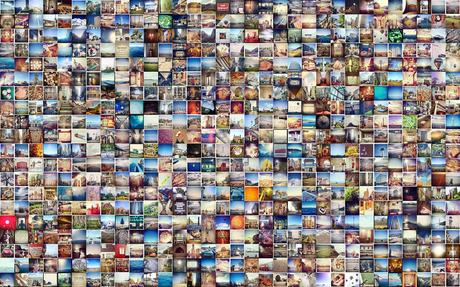
So, if you have made 300 instagrams per the last year (the amount I made in 2011, for example), and the photo size is mostly 612 x 612 pixels then the grid will be 20 x 15, and the image size - 12240 x 9180 pixels, which is enough for making a qualitative print of a broadsheet format or of a highly qualitative ISOA3 format. The result will look in the following way:
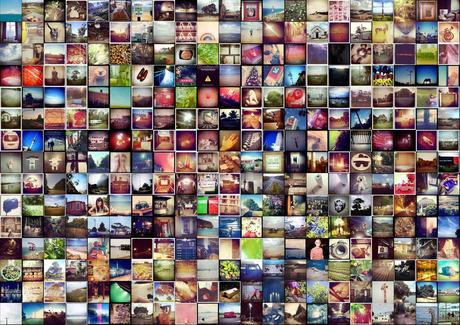
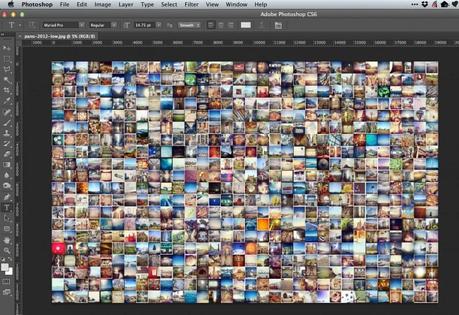
This year I have made much more pictures, therefore I have needed the size which is twice more in size. I have got the final mosaics of the size 19200 x 12000 pixels. What is the way to splice the photos together?
Universal Way for Mac and PC
I did not want to spend much time on the installation of some PC soft, so I decided to find out how I could splice all the photos together in Photoshop (you can download a free version and use it free for 30 days).
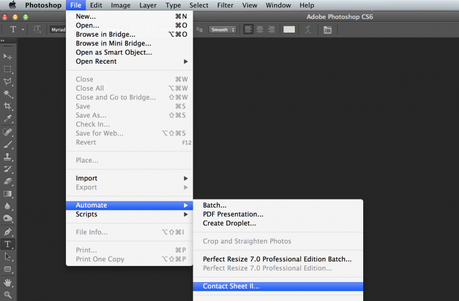
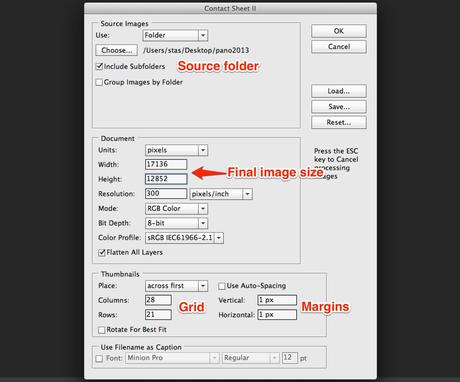
I will show it using Photoshop CS6 as an example. Start the programme and go into the menu File – Automate – Contact Sheet II.
People say that you need to deliver something into CS5 to get the appropriate menu item:
After that make all the settings on the basis of your preliminary estimation. In my example there were 600 photos, 28 x 21. The frame size is 17136 x 12852 pixels.
After you press the button OK, Photoshop will become highly thoughtful and then it will give you the result of one or two (in case there are more photos than one sheet can enclose) huge images.
Save the result, please.
Alternative Method for PC
For those who lack the resources to do things in Photoshop, I can offer another method. Under “Windows” there exists a free and absolutely unduly underestimated tool to solve nonstandard tasks on working with images. It is called IrfanView. Perhaps, it is the only soft that I really miss since I have converted to 'Apple Church'.
So, we install
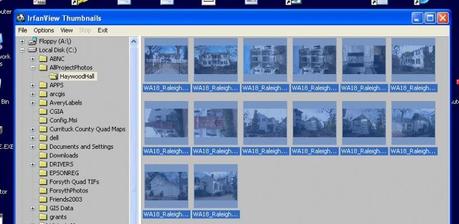
IrfanView, open in the programme any picture from the specially made folder “Instagram-2012”, press the English letter “T” to go into the Preview mode. Select all the pictures by pressing Ctrl+A (Select All).
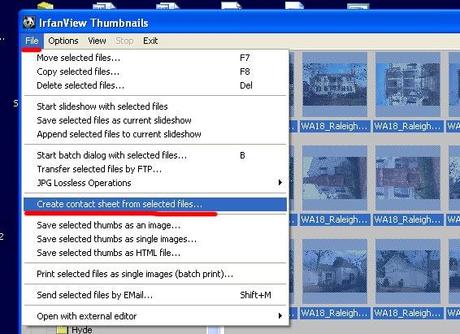
(I am now on Mac, so I've borrowed screenshots here.)
From the menu, select “Create contact sheet from selected files”.
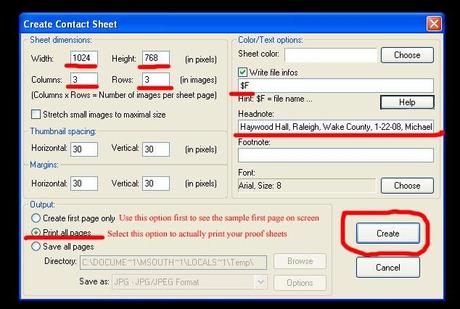
Fill in the fields in the form on the basis of the estimation made above. The distances between the “previews” (Thumbnail spacing) and the margins (Margins) equal zero. Unflag everything in the right area where you can see “$F” not to have text over the images.
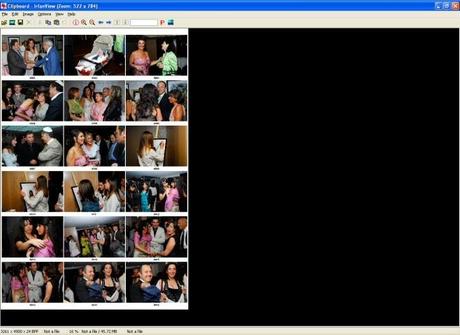
The result is a picture like the one below. Only without text.
You save the picture and the job is done!
File Size Optimization
Sometimes you get a rather big image – I mean a lot of MB. To prepare it for a print, it would be better to optimize it through such utilities as ImageOptim (free, Mac) or JPEGMini (pay app, free site, Mac/PC).
Printing Place
Usually before the Christmas (New Year) Groupon and similar services are simply flooded with superdiscounts. For example, I have printed my A2-image with a 70%-discount in one of the offices called PixelPaint which has an established reputation. It costed me 79 NZD. At least 5 such offices in our tiny New Zealand, as I have seen, offer great discounts for print on canvases.
Kodak, too, can cope with the task but the quality is a little worse there. Though it is not noticable from a distance. Before the New Year there are, usually, special offers, too.
You complete your big picture, pay with a credit card and voilà, - in three days it is at your door, and in 5 more minutes it is on your wall!
2011
You can load the original file of this print here.
2012
You can load the original file of this print here.
It is not the same with everybody but as for me, it is a cool home decoration. When the quality is good then the whole year is before your eyes in details.
By the way, add @stas_kulesh into your instagrams and you will never regret.
Permalink
| Leave a comment »
