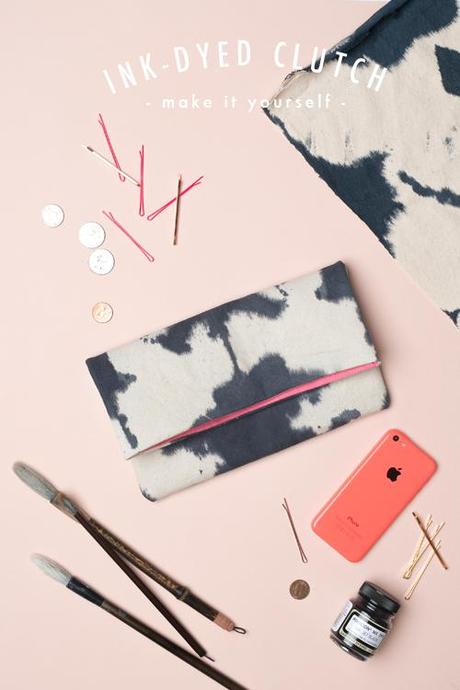
 As you might have seen from our previous projects, we’ve been loving our partnership with Craftsy. It's given us the opportunity to try out new techniques. Our final installment of the series is the The Art of Cloth Dyeing class with JaneDunnewold. This class comes at a time when ink-dyeing techniques have made a full circle in their trend cycle. No doubt you’ve been spying all the shibori and tie-dying going on? Well, this class provides you with the basic dyeing techniques to do all of that! And today you have the opportunity to win a spot in the class (click here for more info).
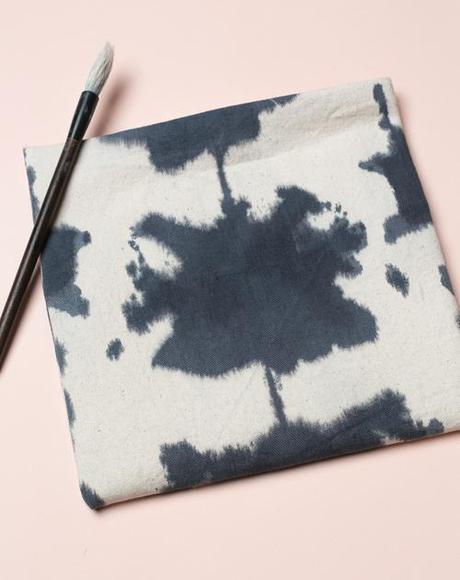 In the class you’ll learn the entire process of ink-dyeing like the following:
- color-mixing and chemistry of fiber-reactive dyes
- learning how fabrics will react to dyes and absorb color
- the supplies you’ll need to do it all from home
- basic fabric manipulations like rubber banding, folding, pleating
- how to mix dyes
- the science of calculating how much time to allow for the dyes to react, otherwise known as batching.
- The secret to a fast and easy washout.
- Some more advanced dyeing techniques (they’re so rad!)
- What to do when you’ve overdyed your project
- What to do with your fabrics afterward
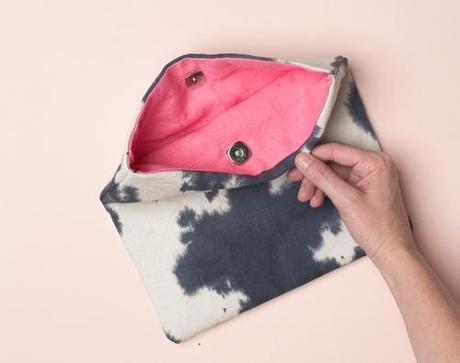
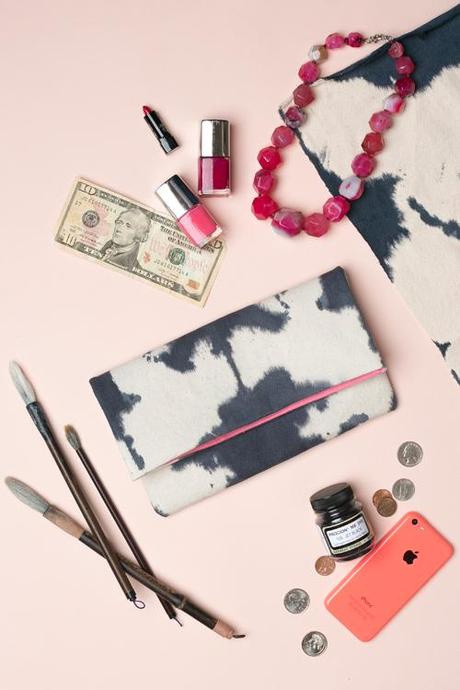
Ashley came up with a fancy application to the cloth-dyed fabric by making a black and white cloth-dyed clutch that you can take out and about on the town. It’s lined with a pink linen and I love how it turned out!
To win a spot in the Craftsy Art of Cloth Dyeing class with Jane Dunnewold, enter here.
photography by Trisha Zemp
crafting by Ashley Isenhour
Learn how to make the clutch after the jump
____________________________
Cloth-dyed clutch
Materials:
Procion MX series dye in Jet Black, soda ash, salt, face mask, 1/3-2/3 yard natural colored bull denim (100% cotton), jar with a screw on lid for mixing dye (a large mason jar works great), large pot to boil water, mixing spoon, measuring cups and spoons, scissors, thread, sewing machine, magnetic purse closure, 2/3 yard medium or lightweight fusible interfacing, iron, cardboard, tape measure, blue dawn, medium or lightweight fabric for lining, shallow disposable container for holding dye, inexpensive paint brush, rubber gloves, pencilTo dye the fabric:Step one: Prepare fabric for dying by washing and drying. Step two: Cut denim into a 12" x 22" rectangle. Step three: Lay out a large sheet of cardboard or some kind of protective covering to your work surface (where you will be dying your fabric).Step four: Prepare dye by doing the following: Bring 8 cups of water to a boil and add 3 tablespoons of soda ash and 1/4 cup of salt. Stir until fully dissolved. Add 2 cups of the water / soda ash / salt mixture to the large mason jar. Put on face mask while adding 1/2 teaspoon of the dye to the jar. Screw on lid tightly and shake well. Pour dye mixture into your shallow container. Disposable tupperware (like Ziplock brand) works great for this. I used an old cottage cheese container. Step 5: Put on rubber gloves. Fold fabric in half vertically / hot dog style. Fold one corner of your doubled fabric over (like in the photos) and roll the fabric into a point. Dip the point of the fold into the dye for about 10-15 seconds to let dye absorb. Do a similar fold on another are of the fabric and dip in dye. You can try different combinations of folding and rolling areas of the fabric until you have a pattern you like, but always make sure the rectangle of fabric is folded in half vertically / hot dog style before you fold or roll further. This ensures that your pattern will be symmetrical... like an ink blot :) Step 6: Unfold fabric and lay flat on cardboard. Some of your shapes may be a little geometric, depending on how you folded, rolled, and dipped your fabric. You can change the edges of the shapes to your preference by dipping paintbrush into the dye and painting the fabric with it. Just make sure to saturate the painted areas fairly well or these areas will end up lighter than the dipped areas. Using the paintbrush is also a good way to make your design more symmetrical. Allow to air dry for 24 yours. Step 7: Throw your fabric in the washing machine. Add a few tablespoons of blue dawn liquid dishsoap to the load. Wash on a cold cycle. When cold cycle is over wash on a hot cycle. You can also use cold and hot water rinses in your sink, but using the washing machine is easier.Step 8: Allow to air dry. Iron fabric on high heat.
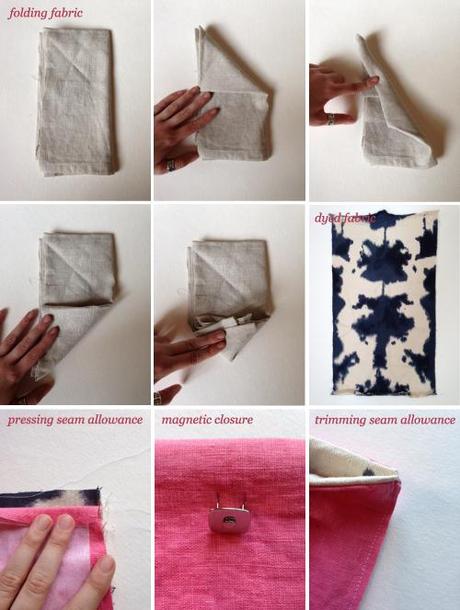 To make the clutch:Step one: Cut lining into a 12" x 22" rectangle. Cut 2 11" x 21" rectangles of fusible interfacing and iron to wrong sides of lining and dyed fabrics.Step two: Sandwich lining fabric and dyed fabric together so that right sides are together (fusible interfacings will be facing out. Make sure edges of fabric match up. Sew short sides with a 3/4" seam allowance. Step three: Fold down seam allowance of lining and iron (see photo). Repeat on other side with dyed fabric. Turn fabrics right side out and press sewn sides.Step four: Use a pencil to mark 1" down from short side of fabric and 6" in from the long side. Attach one side of magnetic purse closure according to instructions on fabric. (Cut slits through lining, slide prongs into slits, bend prongs outward). Make sure to only cut slits and attach closure through the lining layer. Repeat on other short side of fabric with other part of magnetic closure.Step 5: Fold fabric in half horizontally / hamburger style. Lining should be on the outside and dyed fabric should be on the inside. Sew up each long side with a 3/4" seam allowance. Trim seam allowances to 1/4". Turn right side out. You're done!
 Note: This post was sponsored by Craftsy but the words are mine. Thanks to sponsors like Craftsy that make this blog possible.

