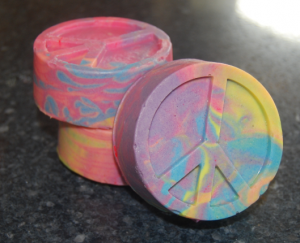
 Soaping with the cold process method allows you to create some really beautiful bars. Not only are these bars creamy, bubbly, and cleansing, but they are also conditioning. Plus, with the right recipe, bars can contain skin loving ingredients that nourish your skin too.
There are various ways to achieve beautiful designs in your cold process bars. Some of the more popular designs include: the peacock swirl, the mantra swirl, and the mica swirl. You can even try your hand at marbling your soap if you like.
When it comes to swirling, this is where you really get to let your creativity soar. Through colors and varying design techniques, you can take your wonderful soap recipe and make the visual aspect just as appealing as the skin nourishing one!
The ideal scent when making cold process soap is one that is a Perfect Pour. What this means is that the fragrance oil does not accelerate trace, rice, or discolor. However, many times with floral scents, acceleration is a part of the package. Although swirling is not impossible to achieve with an accelerator, it can be difficult if you do not move fast enough. There is however, a swirling method that can be done when a fragrance oil accelerates trace. This is known as the in the pot swirl.
Here is how to make an in the pot swirl soap. The recipe, steps, and photos are included to help. With the exemption of the lye and water, all of the ingredients for this soaping venture can be purchased at Natures Garden. Although for this recipe, the Peace Sign Mold was used, any mold that is cold process soap safe will work. To see the full list of soap molds available, please click on this link.
If you have never made cold process soap before, please click here for a Basic CP Soap Making Class. Also, before attempting to make any cold process soap, please become familiar with Soap Making Safety Class first.
The Recipe:
108 grams of water
40 grams of lye
20 grams of Apricot Kernel Oil
11 grams of Castor Oil
85 grams of Coconut Oil 76
40 grams of Mango Butter
43 grams of Palm Oil
37 grams of Shea Butter
48 grams of Sunflower Oil
17 grams of Sodium Lactate
18 grams of Peace Fragrance Oil
18 grams of Vanilla White Color Stabilizer
FUN Soap Colorants: Neon Red, Neon Yellow, Neon Orange, Neon Blue, Ultramarine Violet
The Process:
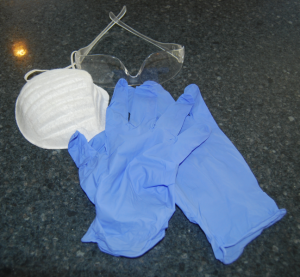
Step 1: Put on your safety gloves, apron, safety mask, and safety glasses.
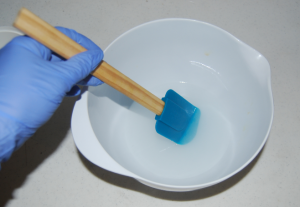
Step 2: Weigh out your lye and water. In a well ventilated area, slowly pour the lye into the water. Use a spatula to stir slowly. Keep stirring until no lye granules are left in the water. Do not breathe in any of the lye water fumes. Allow this to cool.
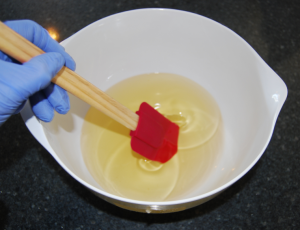
Step 3: According to the recipe, in a pot weigh out the coconut oil 76, mango butter, palm oil, and shea butter. Melt all of these ingredients down on low heat until each one is in a liquid state. Stir. Then add the apricot kernel oil, castor oil, and sunflower oil. Stir again. Remove from heat. Transfer all of this into your mixing bowl.
Step 4: Now, get your 5 mixing bowls. Assign each bowl a color. Then, weigh out 2 grams of each neon colorant in its specific bowl. The ultramarine violet bowl needs 4 grams weighed out. A great tip: Reuse the containers from the 1lb Whipped Soap Base. They make perfect mixing bowls for colorant in cold process soaping!
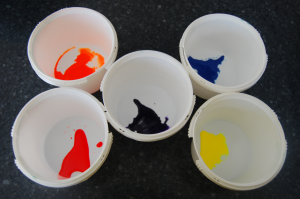
Step 5: Check the temperature of the lye water. When it is cooled, add your 17 grams of Sodium Lactate. Stir carefully. Now, once the temperatures of the lye water and the soaping oils and butters are within 5-10 degrees of one another, it is time to move on to the next step.
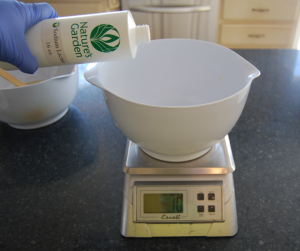
Step 6: Slowly pour the lye water/sodium lactate into your oils and butters bowl. Use a spatula to get all of this out and into the other bowl.
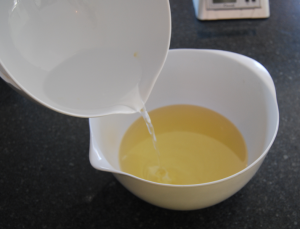
Step 7: Using your stick blender, begin to mix everything together. You will notice your batter will begin to look creamy and thicken slightly. Now, stop blending.
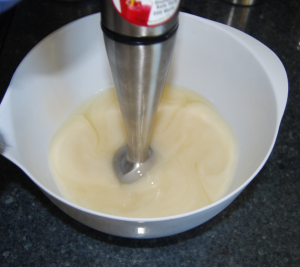
Step 8: Add your fragrance oil.
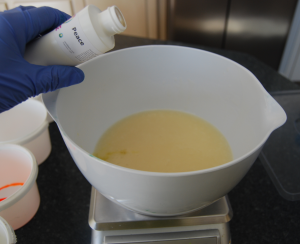
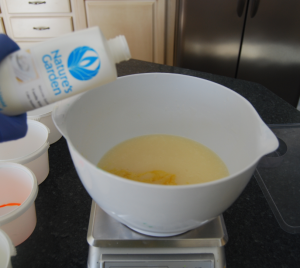
Step 9: Now add your Vanilla White Color Stabilizer. Once added, stick blend to incorporate. Do not forget to scrap the sides with a spatula.
Step 10: Now, place 90 grams of the soap batter into each bowl. Stir well with a spoon. This will help slow down trace. Then, starting with the yellow soap, pour it back into the mixing bowl. Try your best to keep it in one area.
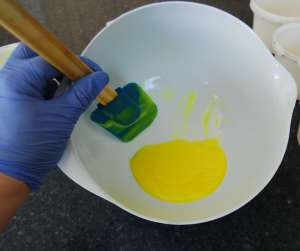
Step 11: Repeat with the orange.
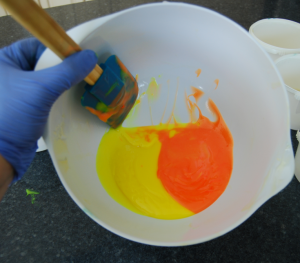
Step 12: Now, the red.
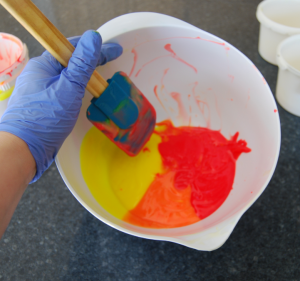
Step 13: Then the purple.
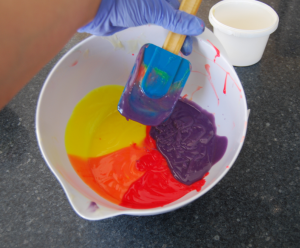
Step 14: Finally, get your blue soap batter into the bowl.
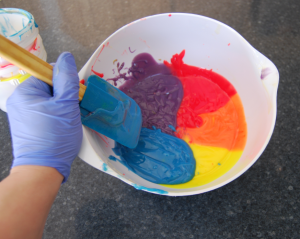
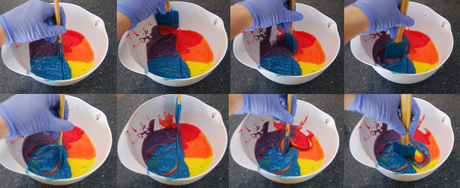
Step 15: Get your spatula, start by placing it alongside the inside bottom edge of the bowl. Then, come straight up the center of the bowl. When you reach the top, pick the spatula up. Now, starring on one side, begin your swirls (using the spatula). Repeat on the other side. Do not over swirl.
Step 16: Grab your mold. Then begin to pour the soap batter into each mold opening.
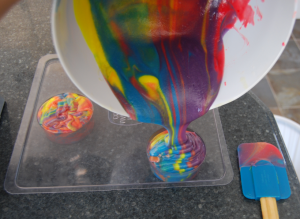
Step 17: Once the mold is filled, cover it with plastic wrap. When the soap has hardened enough to move, place the mold somewhere it will not be disturbed.
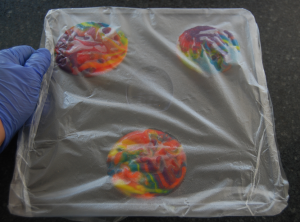
Step 18: After your soap has set for 24 hours, place it in the freezer for about 10 minutes. This step will help to release the soap from the mold. Then, carefully remove the soaps from the mold.
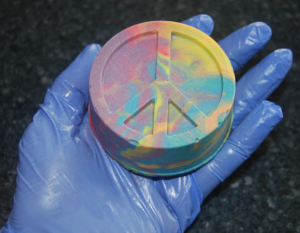
Step 19: Now, allow your soap to finish curing before use.
Congratulations, you just completed an in the pot swirl technique!
After the cure, your in the pot swirl soap is now finished. The ending bar will be nice and firm. The lather will be creamy and filled with lots of bubbles. These bars will cleanse, yet still provide your skin conditioning elements. Enjoy!
Natures Garden is not responsible for the performance of any of the recipes provided on our website. Testing is your responsibility. If you plan to resell any recipes we provide, it is your responsibility to adhere to all FDA regulations. If there are ingredients listed in a recipe that Natures Garden does not sell, we cannot offer any advice on where to purchase those ingredients.

