How to Add Reflections to images with masks in Adobe Illustrator
- Insert a photo go to File>Place and select a photo from your computer
- Place it by left clicking on the artboard
- Scale it down
- Edit>Copy
- Edit>Paste in Place
- Object>Transform>Reflect (horizontal axis for pasting below or above rather then left or right)
- Drag the reflection / refelected image down, until it snaps in place
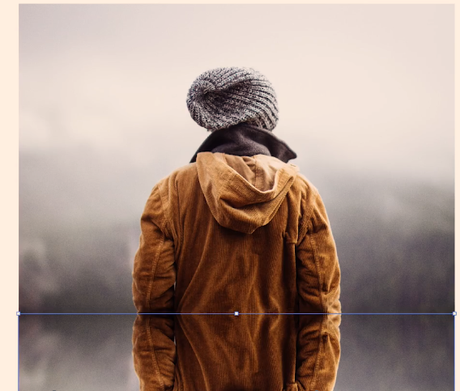
- Select Rectangle Tool – create a black rectangle
- Press CMD (or CTRL) and Y to see outlines
- Line up the rectangle to cover the bottom photo
- Select the black rectangle and the bottom photo which is underneath
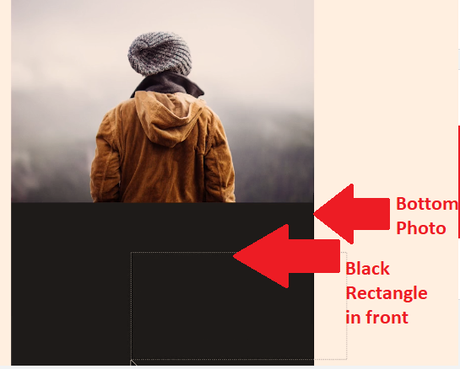
- Select the Transparency Pallet
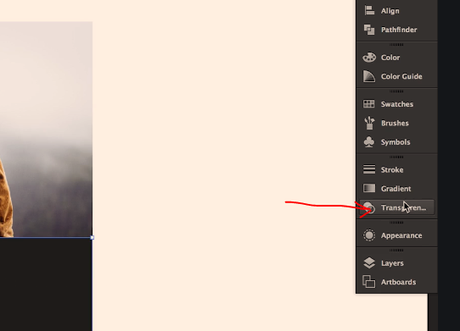
- Click “Make Mask”
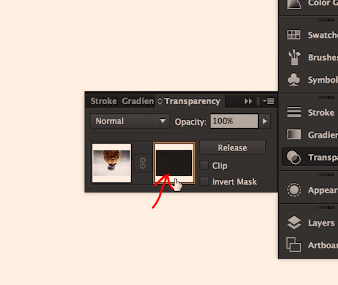
- Untick “Clip”
- Click to select the black rectangle in the panel:
- Next Click on Gradient
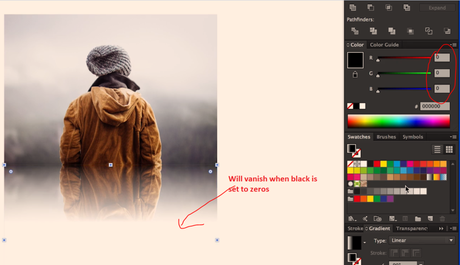
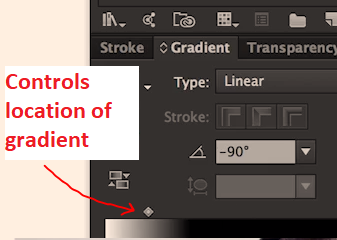
- Adjust the gradient – anything that is black blocks part of the image, white keeps the image:
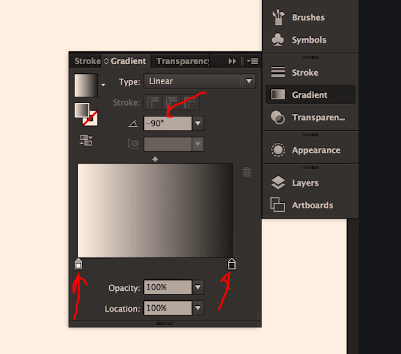 change to -90 degrees to fade bottom more
In the color panel, change the RGB to all zeros to completely cover part of the photo
