For most of 2019, I was struggling to adapt to life inside a smaller bedroom and without sacrificing the generous accommodation of my double bed. That change may come in another couple of years, when my memory foam mattress nears the end of its recommended life expectancy (they generally say seven to eight years). When I moved in to my previous flat, I swiftly bought a 4ft high tallboy off Gumtree and those drawers gave me plenty of storage space for clothes. But I've struggled to accommodate both this and my poor man's wardrobe (a clothes hanging rail) in my current place.
My decision was to downsize and, after weeks of online browsing and contemplation, I decided to return to Ikea (yes, I'm using that word again).
I came home one evening after work, with a pair of Ikea Rast three-drawer units, all neatly boxed up as you would expect from the Swedish firm. Some may argue that a single person might be able to get away with just one of these units... At only £25 each, it was no great expense and I knew from previous visits that they'd be made from pine (I never buy any chipboard or MDF products from them).
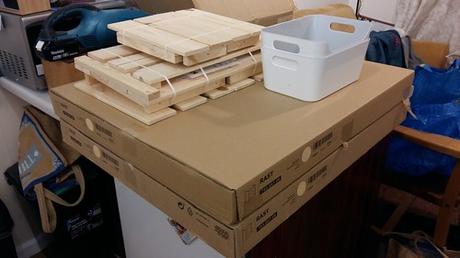
It wasn't easy getting it all up two flights of stairs on my own and this was only a number of months after I'd moved in to this flat. On top, you can see a pair of wooden and a pair of plastic boxes that I purchased at the same time for other kitchen-based storage means.
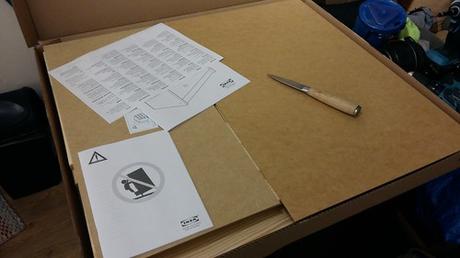
Along with the instructions, the 4mm MDF panels are laid on top of the other components. I know what I said about man-made materials earlier... But these are only for the back panels (which some may deem unnecessary) and the drawer bases, which could be upgraded and replaced in the future, if I wanted to.
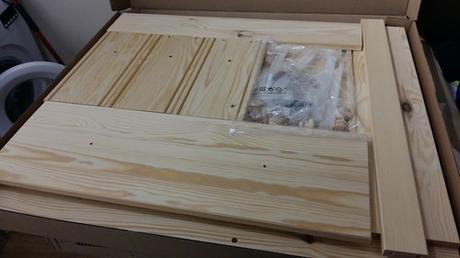
Whatever opinion you may have of flat-packed furniture, I love the smell of unboxing pine. When the strong scent of resin hits you... I think back to my early days in college. It's almost a shame that furniture doesn't retain these odours over time. You can also see the plastic bags of fixings pack 'inside'.
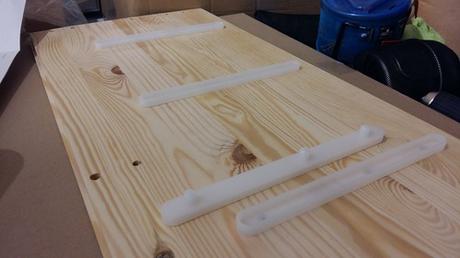
Following the given instructions, the first thing I did was to fit the plastic drawer runners in to place. No screws supplied or necessary; they clip in to pre-drilled holes. Someone did warn me that these can be a weak point in the design but, I'm only using this to store clothing, where I know he was using them to hold workshop odds...! Each of the drawers is grooved to slide over these and is impossible to get the runners in the wrong way round, due to the offset middle holes.
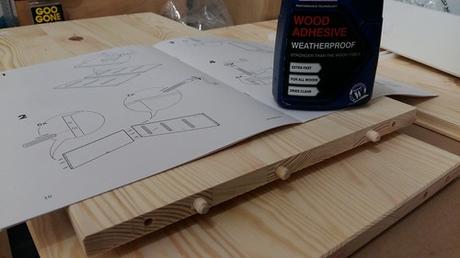
Then I would fit the supplied wooden dowels in to pre-drilled holes in the ends of the top piece (this fits in between the sides, rather than on top). I like to glue them in to one half of the joint but there's no need or instruction to do so.
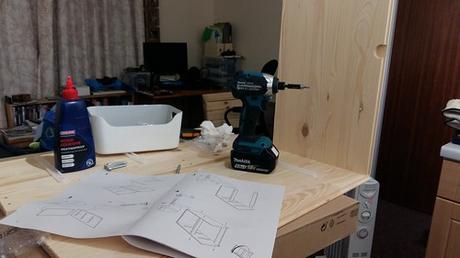
With one of the carcass sides laying down on its outer face, I could align and fix one end of the top (no glue) with the supplied metal screws. As with previous Ikea product assemblies, I'm using my impact driver because I find it's much easier and quicker than the tiny allen keys they supply. Any battery powered drill/driver would also be adequate.
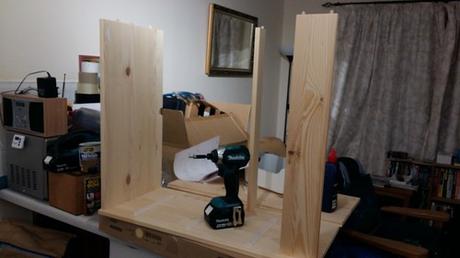
Keeping it upright in the same vein, I could then attach the plinth towards the front and bottom of the carcass. There is no base to this unit.
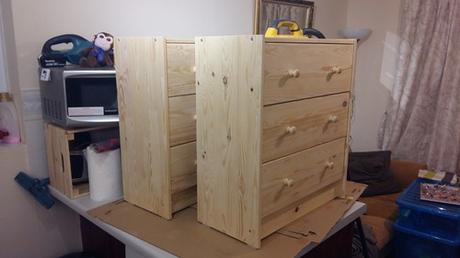
After that, I could screw on the opposite side and complete the main assembly of each carcass. I'm missing a couple of photos here, which is why you see them with the drawers installed.
Assembling the drawers...
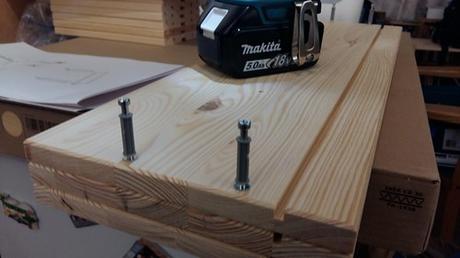
These use your classic knock-down fittings with these male components screwed in to the inside face (again, pre-drilled holes) of each of the drawer fronts.
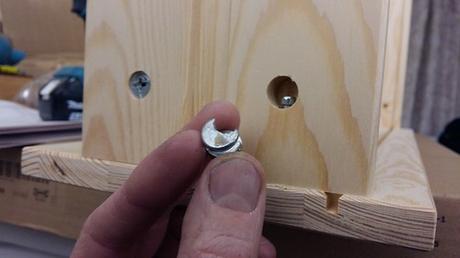
To secure the front end of each of the drawer sides, insert these metal female components and rotate them with a screwdriver to fasten the joint.
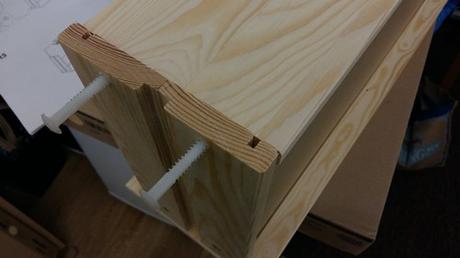
It's a little bit different with the drawer backs, which fit between the two sides. All holes are pre-drilled but there are no dowels and just these... Coarse nail-like fixings made from nylon, which you need to hammer in to place while keeping the components aligned. It's a bit tricky until you have one fitted in to each end. I think they'd used these because the nylon will held to reduce friction, racking and allow the drawers to slide quite easily.
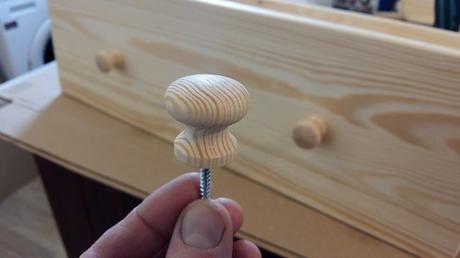
Drawer knobs are simple and effective. Screws supplied to fix with pre-drilled holes. Two per drawer. Some may prefer to different style or design altogether.
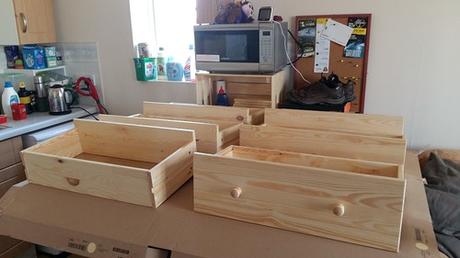
Then you can slide the MDF bottoms in to place and I believe that you're supposed to fix them with panel pins... But, as with the back panels on each carcass, I decided to use some 3mm diameter screws that I had on hand, which makes them easier to remove and replace in the future.
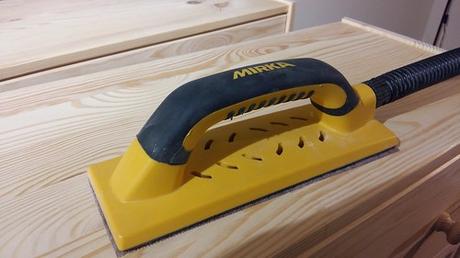
I used my Mirka Handy Sander and the Henry hoover to control most of the dust while sanding all surfaces, inside and out. I wasn't going at it as vigorously as I would with a power tool; but working through the grits of 80g, 120g and 180g, I achieved a surface that was better prepared to receive three coats of a water-based varnish.
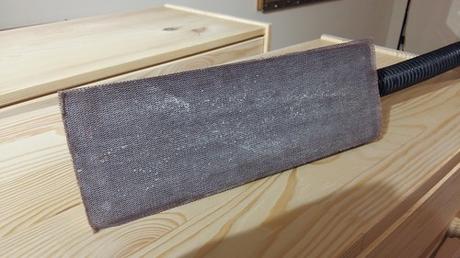
I'd long forgotten that water-based finishes will cause the grain to raise on solid timber (I've been working with plywood for too long). It's advisable to first use a sanding sealer or be prepared to sand-back a portion of that first coast, as I had to.
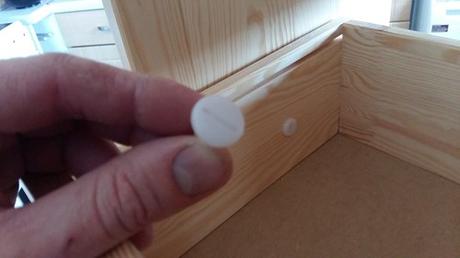
Several days and evenings later, I could install the drawers. These short nylon screws fit in to pre-drilled holes on the inside of each drawer side.
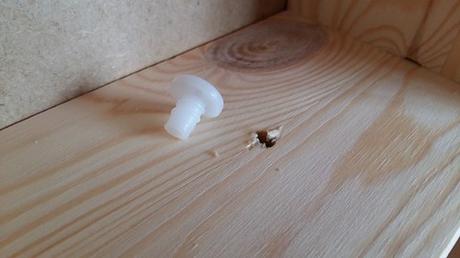
You can only do this with the drawers in position, as they must engage within the slot of the plastic drawers slides and prevent each drawer from tipping or falling out. They are a bit tricky and getting them started it a challenge. But I've had no trouble in the months since.
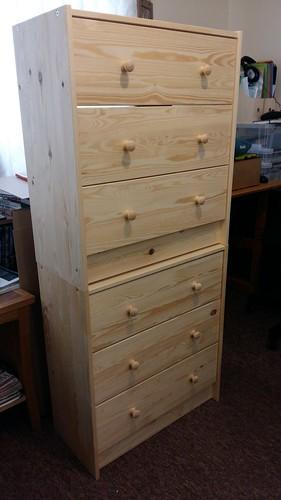
After all of that, I had two units ready to meet my bedroom. At around 600mm wide and 700mm tall, they stack on top of each other quiet nicely, which may present another opportunity in contrast to the one I'd about to present...
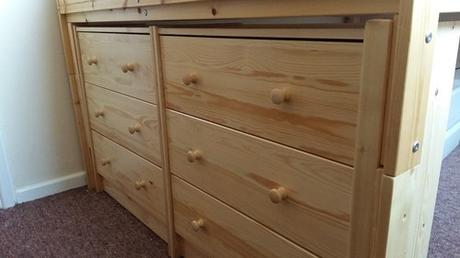
My plan all along was to fit these units side by side and underneath my Ikea Neiden double bed... Which meant increasing the height of the bed frame by 500mm and this, in turn, revealed other challenges - all of which I'll document in another post.
Thanks for reading. I hope you've found this to be useful.

A few months prior to this, I purchased a Bosch screwdriver bit set for use at home as my other one seems to stay in work. Within the first day, I managed somehow lose the bit holder and one of the slotted bits...
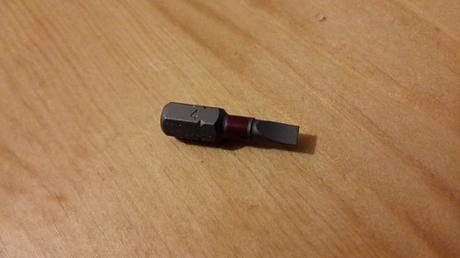
I trod on the bit that I'd been missing in my bathroom - and I'm still not sure how it had not been vacuumed or mopped away. While the bit holder remains elusive and my search continues!
