It was probably a couple of months ago that I went out and bought myself a new bed frame. Replacing my old one (which was given to me in 2011 and second-hand at the time) is something I’d been thinking about and, while I had aspirations towards making my own frame, I’m still lacking the facilities and space for doing much in the way of woodworking.
So, it was with another trip to Ikea that I would come away with the Neiden double bed frame.
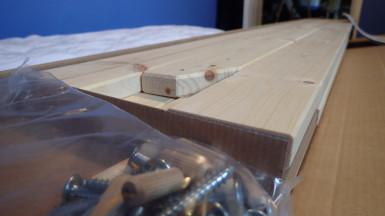
It’s made entirely from pine, came with all the fittings, the slats for the base and, well, it was only £59. I’m sure that the material costs alone would’ve consumed most of that, had I looked to build this model or similar by myself.
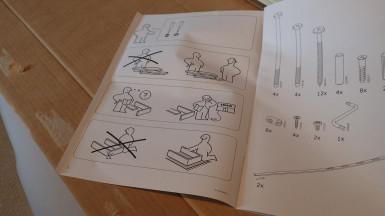
You also get the usual Ikea instructions with that strange formation of a human depicted in each diagram. I was confident that I wouldn’t need to be picking up the phone anytime soon after starting!
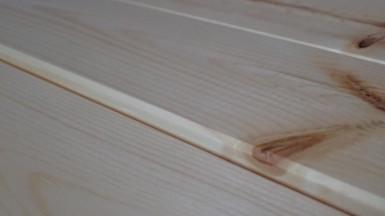
I’ve talked before (if not here then, on my YouTube channel) about my preference for a properly smooth surface on a piece of timber, before I come to apply any kind of finish. These pine boards felt nice under my fingers but I could still see the marks of a rotating cutter block. At least the operative had used a sharp set of knives and a steady feed rate.
Honestly, I find that brushing or rolling over any ripples is akin to painting a rough sawn fence panel. It’s hard work, you can waste a lot of liquid and the end result suffers.
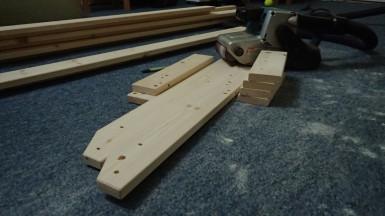
So, it was out with the belt sander and, with some of these pieces close to 2m in length, I had no choice but to do this on the floor of my living room (carpet is okay at providing friction to stop longer pieces from running away).
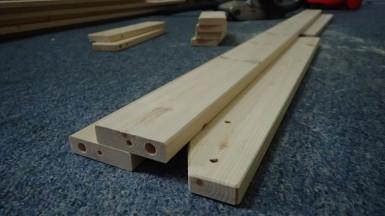
Of course, I had my vacuum connected at the other end and the whole process took a good amount of time. I think I sanded from 80g to 120g with the belt sander and finished at 180g with my Mirka Handy Sander (not pictured) as I did not have any finer belts.
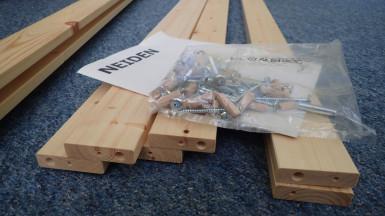
Some of these components have been stapled together in an overlapped fashion, which creates a rebate on either side. You can see, above, how I’ve balanced one over one of the single thickness boards.
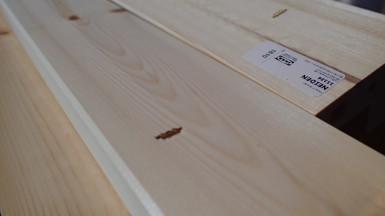
As the assembly would later continue, I’d be careful to ensure that all staples were facing the inside of the frame, where they would not be seen. Also, Ikea will typically stick labels on to items that are concealed within a box… I found a heat gun worked quite well to remove these, followed by a dose of GooGone for the residue.
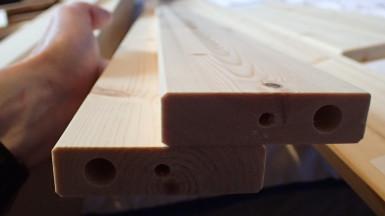
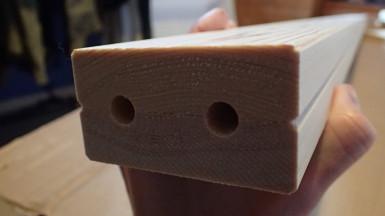
All of the components are pre-drilled, as you would expect from a piece of flat-pack furniture. Doing this accurately without the use of horizontal-boring machinery (again, these are around 2m long) would otherwise be a challenge for most people.
One of the most complicated parts of this construction was in my decision to pre-finish the components before assembly… I applied three coats of Liberon Finishing Oil over a number of days; allowing time in between each coat for drying and a light denibbing. I don’t appear to have any photos on hand as this time-consuming process demanded most of the space within my kitchen and I had to leave the windows ajar each night, in order to avoid making myself ill.
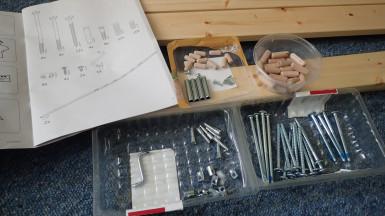
When all was dry and the time would come for assembly, one of my first steps was to organize the deep mixture of fixings in to containers rescued temporarily from my recycling bin. I find this makes the process of assembly much more efficient, as you can see and reach for what you need, as you require it.
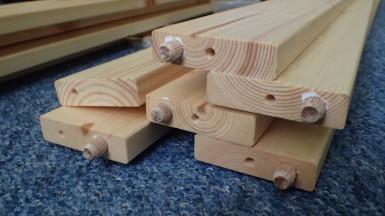
I would continue by knocking 10mm dowels in to the ends of each of the rails. The instructions do not advise you to glue them in place but I decided it wouldn’t hurt, as long as only glued them in as if they would become tenons.
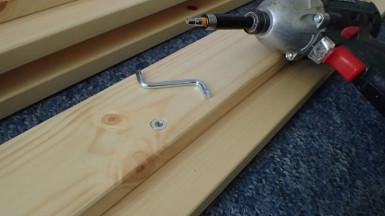
Some of the faces would require threaded inserts to be driven in. Ikea typically supply The World’s Smallest Allen Key to do this, while I always favour my impact driver.
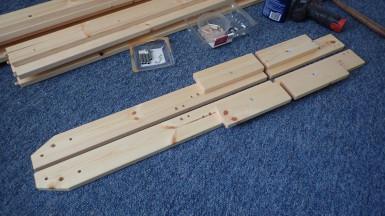
Here, you can see the leg assemblies, with shorter pieces screwed on top and, again, creating a rebate on each side. The longer legs are for the rear of the bed while the shorter ones go at the foot end.
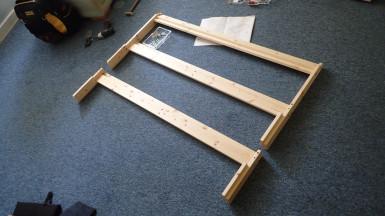
I continued by completing the foot and head end frame assemblies, attaching the corresponding rails.
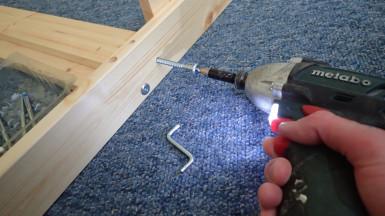
They supply these pan-head coarse-threaded screws – very much like coach screws – that were close to 90mm long, from memory. I do feel for anyone who would endure the suffering of that inferior tool that comes with the kit… This was quite a struggle for my 10.8v impact driver. I think I’d have given up without it!
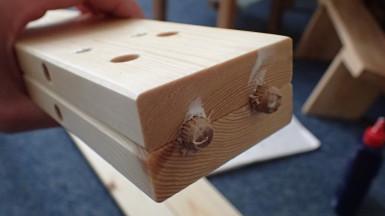
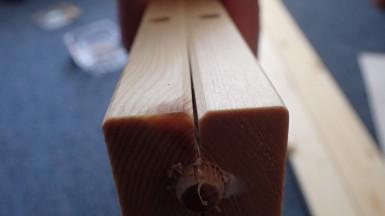
Getting carried away with myself, I got carried away knocking dowels in to the ends of the center rail, which is evenly double up in thickness. Whatever you may think of Ikea furniture, I think this piece is relatively well designed and makes good economical use of ex. 3x1in timber.
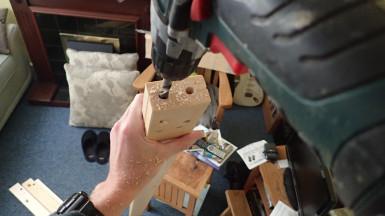
I fought with pliers, pincers and even tried drilling a screw in to the end of each dowel, in an attempt to lever them out… But, as the glue hardened, I knew I would end up having to drill them out!

This still left me with four unused dowels, which I can only assume is an error in the packing department.
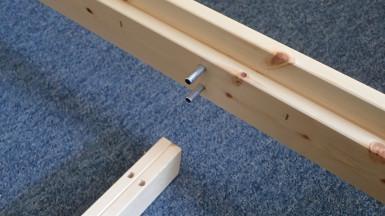
These steel (or aluminium) bushings are the only items that should be inserted, here.
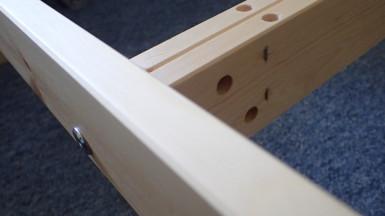
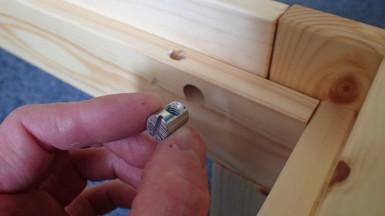
For a knock-down construction, barrel nuts (also known as cross dowels) are used. In the past, I’ve found these can be difficult to source and slightly expensive when you do find them. If, for some reason, I one day send this frame in to someone’s wood burner, I could have most of the hardware with which to build my own bed.
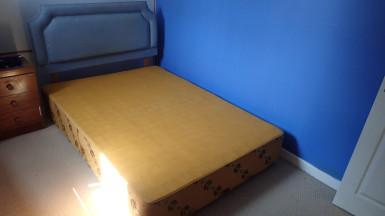
With the bed frame assembled, it was time to get my old bed out of the way.
As I said; this was given to me in 2011 and its age was unknown at the time. It’s essentially a sprung mattress-base with no storage options and it’s difficult to clean around with the vacuum. I tried giving it away to people on Freecycle and Facebook but they either didn’t turn up or couldn’t confirm their interest. As I write this, it’s in the process of being dismantling ready for a trip to the local recycling center.
Good riddance! Although it does fold in half, it’s an absolute pain to move. I hope that, as a society, we can do away with this form of construction. Especially when a large proportion of the material used will end up in landfill.
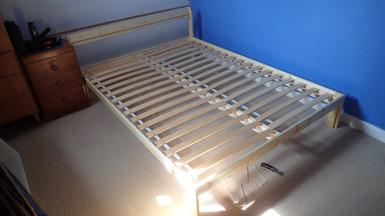
My Neiden Bed Frame comes with the Ikea Bed Slats that I know other furniture makers have used in their own bed designs. You can even buy the frame without the slats, I believe.
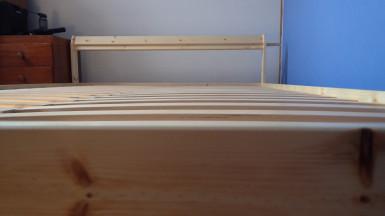
Looking closely, you can see the ‘sprung’ form of each slat. I’m not entirely sure how they do this and I presume these slat just rest in place without being fixed. Instructions are a bit vague, here and I’ve had no trouble with them moving under the mattress.
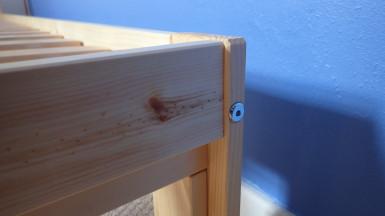
Also absent is the photo of the completed bed with mattress and bedding on top. I’m not a fan of headboards and so, this design suits me well. If I read in bed, I’m typically lying down and not sat at some awkward angle. I wasn’t sure about the idea of these bolt heads being visible but, to be honest with you, I’ve barely noticed them since.
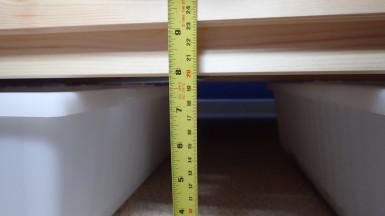
For reference, I measured almost 200mm between my carpet and the underside of the long rails. This should allow for a decent amount of storage although, with my own bed design, I probably would’ve gone for something closer to 300mm.
I’d always imagined making my own bed from 75x75mm timber for the uprights and with rails perhaps 150x50mm in section… But this Swedish design, it’s more minimalist and I’m impressed with how sturdy it really is. There’s also a metal brace (in a V-formation) that spans the width of the underside of the bed and prevents racking (you’ll see this in the video, when I get around to editing and uploading).
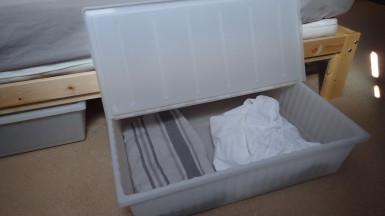
While I was in Ikea, I bought a couple of these Gimse Bed Storage Boxes for my spare sheets, blankets and towels. Items which can be too large for my narrow chest of drawers.
I hope you’ve found this useful. I’m very happy with the purchase and feel it offers great value for money while being easy for one person to knock-down, move and reassemble in future.
