One of my favorite makes has happened though and I am so in love, even my quinoa porridge tastes good this morning. So, without further ado, I introduce you to the Presley Pencil Skirt.
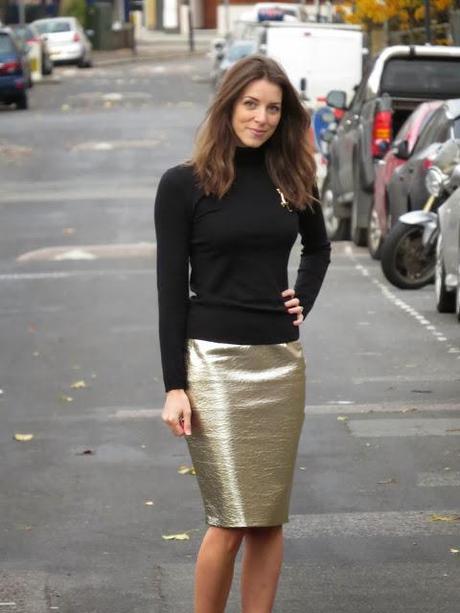
Man, I love this and it was so quick to make. You could knock one up well within an evening.
I first saw this fabric while out on a Spoolettes outing, meeting Amity from Lolita Patterns. After dragging Sally around Regent Street and Oxford Street in search of the holy grail of burgundy velvet ties (long story) we met up with the other girls and proceeded to do what we do best: fabric shop and drink cocktails. Somewhere between the two, Sally and I fell in love with faux gold leather fabric in The Cloth House and we knew it had to be a gold pencil skirt as blogged by the awesome Cotton and Curls. The fabric was £25 p/m but I only needed half as there is no grain so you can squeeze out your front and back skirt blocks easily.
The gold I chose is this lovely white gold distressed faux leather. It's a beauty.
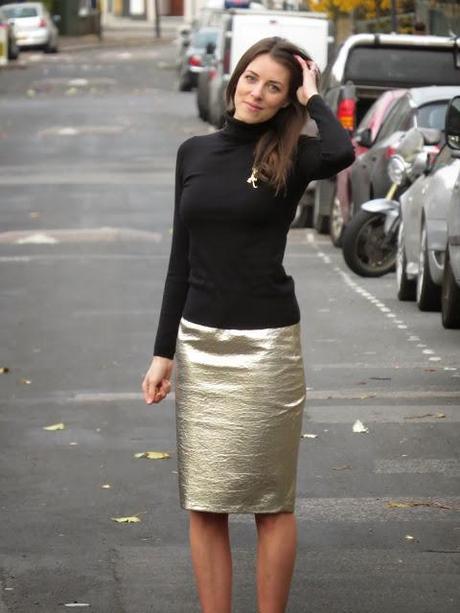
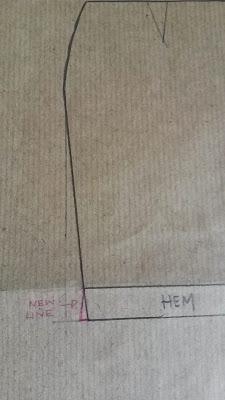
To make this up, I used my basic skirt block and tapered it into a pencil skirt at the bottom. If you're adapting a skirt pattern to a pencil skirt, always remember to angle out your hem allowance so that when you go to fold the hem up, the circumference of the hem matches the circumference of the skirt. Make sense? No? Okay here's what I mean:
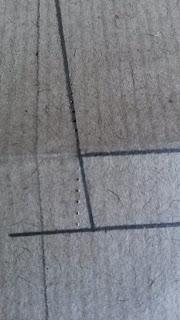
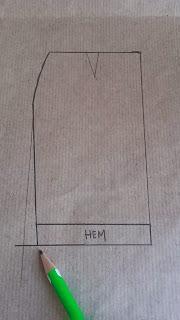
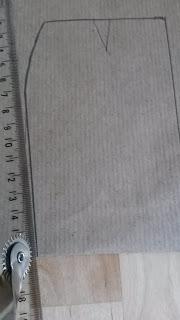
The first pic shows the original line and hem allowance. The second pic shows the hem allowance folded under the pattern so that you can trace the skirt line (trace just your hem allowance). The third pic shows the hem unfolded and the tracing marks on the hem allowance. Notice how it comes out at an angle to match the skirt? You'll then have a new cutting line. You do this so that when you come to hem your skirt, the circumference of the hem matches the skirt. In other words, because the hem tapers down the circumference gets smaller which causes problems when you try to fold it up and hem - there will not be enough fabric to sit nice and flush.
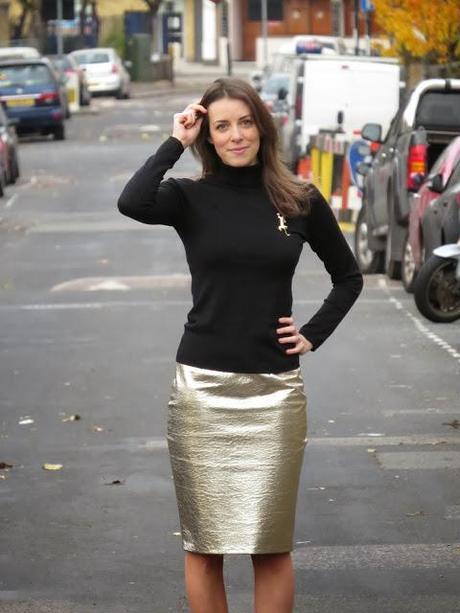
To stitch this baby together I first tried a standard needle and polyester thread and it worked fine. I stitched the side seams, darts and back seam from slit up to the zipper point. My warning here is be sure of your fit. Definitely make a muslin first or use a pattern you're really happy with. This type of fabric will not allow you to unpick as holes are permanent. Yep, not cool. So you have to be sure as you can only taper in not out - you have been warned.
Next, I inserted an invisible zipper, which really wasn't a problem at all. I pressed my seam allowance gently using my organza pressing cloth and once I had that crease the rest was straight forward. You can press all the other seams in this way too.
Now for the cool part - I glued the hem and waistband! This fabric has a nice black silky backing and because of the fit, I didn't bother lining it. Instead, I grabbed some super glue and got sticking.
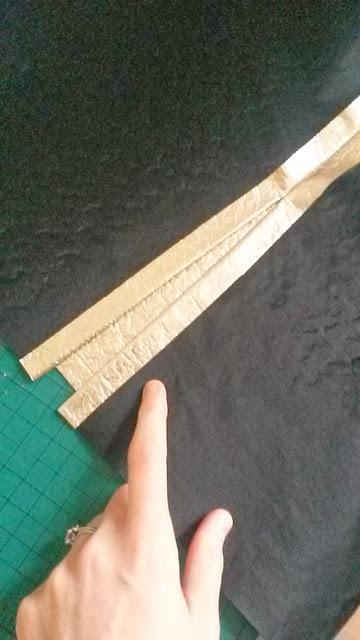 Back slit after being glued
This meant the project was done in a jiffy and I could wear it for Christmas drinks with my colleagues on Monday. We went for a delicious Moroccan meal at Momo's and then on for cocktails at Bob Bob Ricard in Soho where I discovered my new favorite drink - salted chocolate martinis. Oh my!
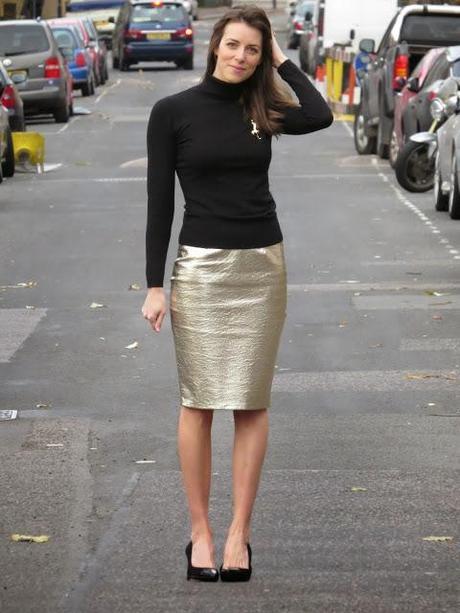
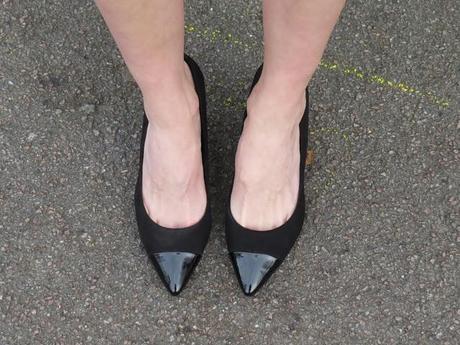
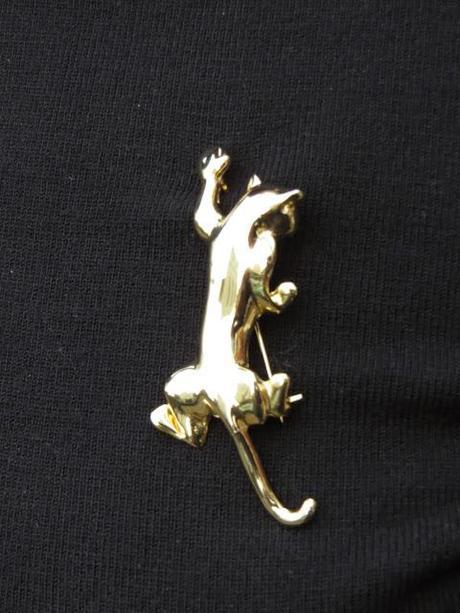
To finish my outfit, I teamed this skirt with a new black roll neck from Phase Eight and black heels from Marks & Spencer's, which I am crazy about. Not only are they vegan but they are just the right height for me and so comfortable. And let's not forget my vintage panther brooch. Elvis is smiling upon me.
So, that's my latest make and something special for this season. What glitzy things are you making to rock around the Christmas tree?
<Playlist: If You Talk in Your Sleep - Elvis Presley>
