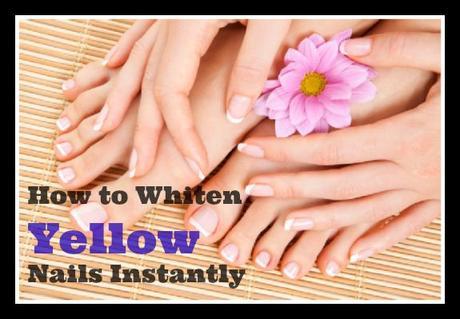
After wearing L’Oreal’s Rendezvous nail polish for the last week or so it was time to change my nail polish. I realized immediately (screech!) that I had yellow, icky nails underneath. Now what?
No sweat. Whitening your nails at home is easier than you think. And, best of all, everything you need is already hang around the house. Easy enough!

Only four things stand between you and whiter nails. They are:
- an old toothbrush,
- peroxide,
- baking soda and
- a whitening toothpaste.
You can easily achieve whiter nails with just a whitening toothpaste and toothbrush. For extreme whitening, like after using a really deep red nail polish like L’Oreal rendezvous, you may need a bit more whitening power.
Create a nail whitening soak
For a normal whitening treatment that you would do every 6 to 8 weeks, apply a whitening toothpaste on your nails. Let it sit and soak for about 15 to 20 minutes. Then use a soft bristled old toothbrush, scrub the toothpaste off your nails using circular motions. Don’t forget underneath your nails as well!
Whitening extremely yellow fingernails
Need extreme, mean-green whitening? Then the toothpaste method may not be enough. Follow up with a homemade bleaching paste. Create a paste using baking soda and peroxide. Apply it to your nails and using the same old toothbrush buff away yellow, discolored nails. Do so for about 3 to 5 minutes. Once again don’t forget under your nails. Rinse thoroughly.
There you go! You will see nails transform from yellow and dingy to white and appealing. Now you are ready to apply a fresh manicure and/or pedicure.
Whiter nails at home start with a good base
Always always always apply a basecoat before using polish. And that’s for light-colored polishes and dark-colored polishes alike. A good quality top coat will create a barrier between your nails and the polish (which prevents nail yellowing) as well as extend the life of your manicure.
Have you tried any of these tips? If so let me know what you think! in the comments below.
