A Chromebook is a popular laptop that runs with a Chrome OS as its operating system. It has a lot of features which makes the laptop a convenient buy. This is especially a great laptop option if you want to connect to the internet and store data in the cloud. Many applications run very well with the Chromebook and are available with Acer, Samsung, Lenovo, HP and Google. To be able to use the Chromebooks well, it is necessary to understand all the key features that a Chromebook provides. The following are some of the features that a Chromebook offers:
Features offered by Chromebook:
1) Print Feature on Chromebook
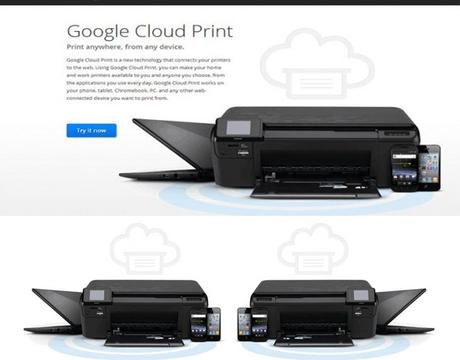
To print via Chromebook the users will have to connect the printer to the Google Cloud Print. The next step is to follow the setup instructions on the Google Cloud Print website. Select the printer that you are using in the options and simply print whatever you want from your Chromebook using Google Cloud Print.
2) How to Shift to Chromebook from Windows OS or OS X
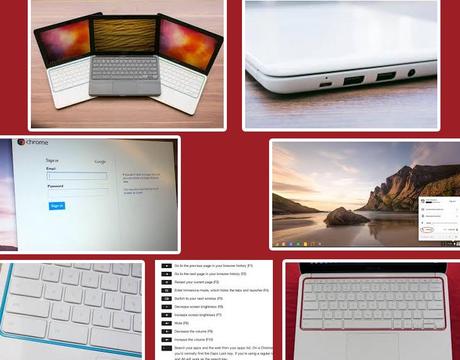
Simply sign up or sign in to your Google Account. The next step is to explore the settings of the Chrome OS which are quite simple to understand because of the OS’s minimalistic approach. Then you can personalize your Chromebook and make adjustments in Sound and Settings. Wi-Fi and Bluetooth Settings are also available so you can get this information easily. Deciding the theme and wallpaper for the Chromebook is available in the Settings Option. Adjusting to the keyboard can be a challenge when you shift from Windows OS or OS X. Some keys are missing from the Chromebook keyboard and some keys have functions that a regular keyboard does not. So getting used to the Chromebook keyboard is not that easy.
3) How to Make Chromebook Work like a PC or a Mac
The Chromebook has some Gestures inbuilt in the laptop which helps open tabs and quickly switch between applications and works just like an OS X because of the touchpad gestures experience offered by Chromebooks. A Chromebook allows the users to open applications and services in a manner that is convenient to them. They can open applications using the Chrome Browser or simply open applications by clicking on app icons on the screens. It also has an App Launcher Shelf at the bottom of the Screen that helps access apps and services conveniently for the users.
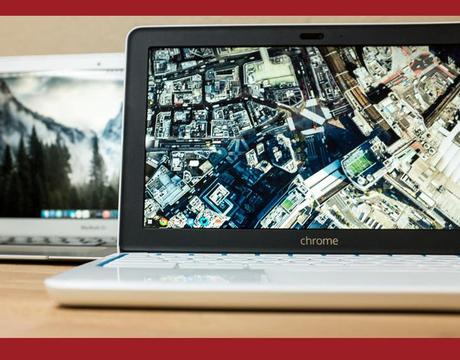
4) How to Manage User Accounts on Chromebooks
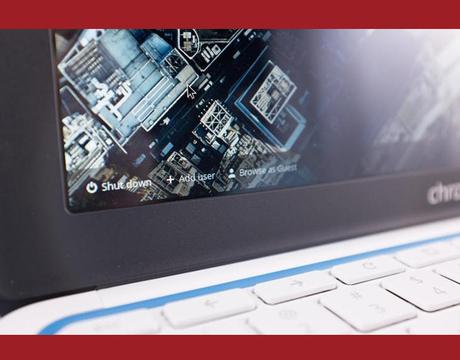
Adding the primary account to the Chromebook is really simple. All you have to do is sign up from your Google account and then the Chrome account settings will sync with the Chromebook. You can even add new accounts giving them full privileges to the Chrome OS by simply clicking on “Add User” which is at the bottom left of the log-in screen. You can also add a supervised account for your child so that you can monitor the accounts activity. Also you can add a “Browse as Guest” Account with the Guest Mode option. User accounts can also be deleted easily on a Chromebook.
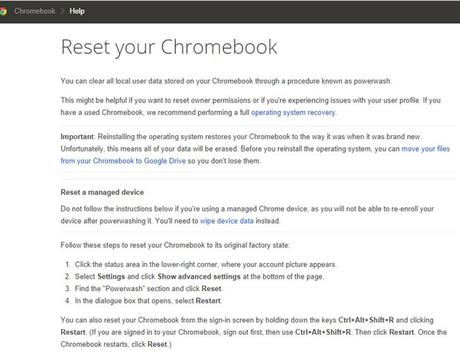
5) What is the “Powerwash” in Chromebook
Chromebook’s Factory Reset button is called Powerwash. Basically Powerwash enables the user to wipe off all the accounts and user content on the Chromebook.
6) Access to 1Password in Chromebook
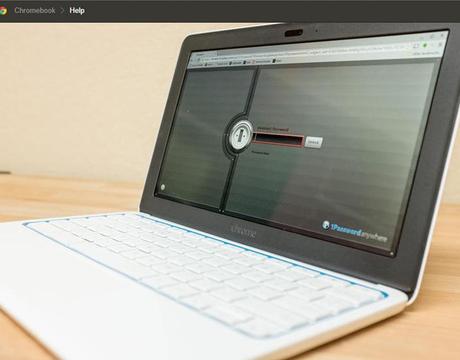
1Password is a password manager that is used for various operating systems and accounts by users from all over the world. 1Password stores all passwords, software licenses and sensitive information for the user helping the user manage this key information well without losing it or making it vulnerable. The Chrome extension does not work with 1Password. However there is a way around for this situation and 1Password can be accessed through Chromebook. By syncing your 1Password vault between devices using Dropbox is possible to access 1Password using Chromebook.
7) How to Take a Screenshot on Your Chromebook
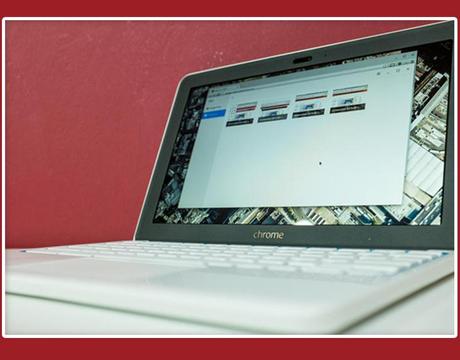
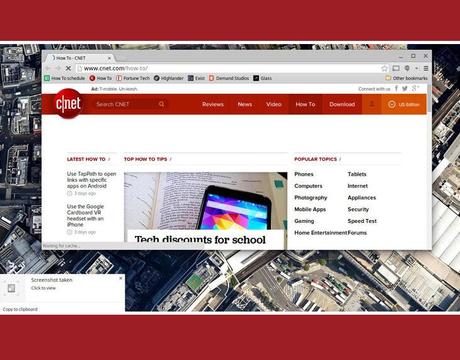
Taking a screen shot of the display screen is very easy on the Chromebook just like other operating systems and devices. For a standard screenshot of the entire screen on the Chromebook, the users simply have to press Control (CTrl) key along with the “switch window key”. After a few seconds, notification will appear that says that the screenshot has been captured. If you want to get a screenshot of just a section of the screen, there is also an option to do this, simply press on Ctrl Key, Switch Window Key and Shift Key at one time. Then a crosshair will appear which will help you select the section for which you want the screenshot to be taken. The screenshots will be saved in the “Downloads” folder.
8) Testing the Chrome OS Features
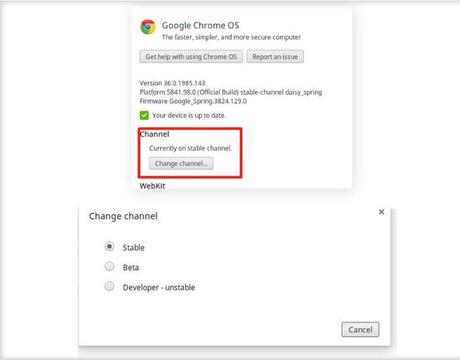
Google is known to get users involved in testing the latest features and new products introduced by the company. Usually these products like Gmail and Google Glass are introduced to early users in the beta stage of the development of the product. With Chromebooks however, Google offers the users with three OS options. The first version of Chromebook is the Stable Channel offered by Google. It is updated every few weeks with bug fixes and update features. This is the most reliable version of the Chromebook. The second version is the beta channel. This version gets latest features a month before the Stable Channel however there are some minor bug issues with this channel. The third version is the Dev Channel which is updated once or twice a week and gets all the latest features first. However there are more bug problems and issues with this channel as compared to the other two. The Chromebook user can simply access Settings and then the “About” link where there is an option of which channel they want to choose for their Chromebook.
The Chromebook has many innovative features as well as some features that are similar to other laptops. Google has developed a good device and with regular updates and good features it is definitely a competition to other laptops with different operating systems.
Image Via : cnet.com

