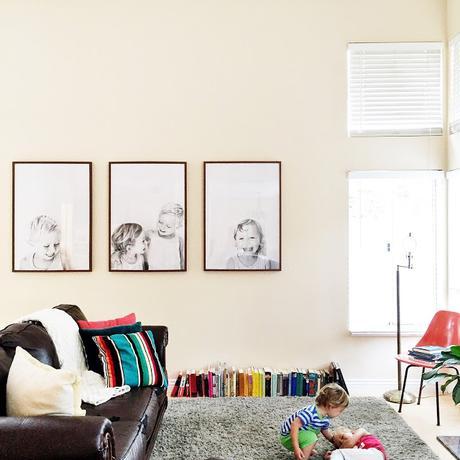
I posted this picture of the boys playing in our living room on Instagram a few days ago, and I had smattering of questions about our engineer print portraits. I aim to please, so here is a little tutorial on how I did them!
More than likely you have seen them floating around Pinterest, and the genius who started it was Julia Marcum of Chris Loves Julia. I am merely a copying, literally and figuratively, with these prints, and I am glad I did!
The ceilings in our living room are enormously tall, meaning there was this giant blank wall staring at me every day. I needed something that was clean, crisp, yet impactful to go on there. I toyed with the idea of a gallery wall, but since I don't have a Smithsonian supply of art or pictures, it was a deal breaker.
One day I was scrolling through my home inspiration board looking for a very specific steel framed window, when, what to my wondering eye should appear! The engineer prints! Bing! It was a done deal.
Here's a list for my process of making them and putting it all together, because I am a list-maker and that's just how my brain works.
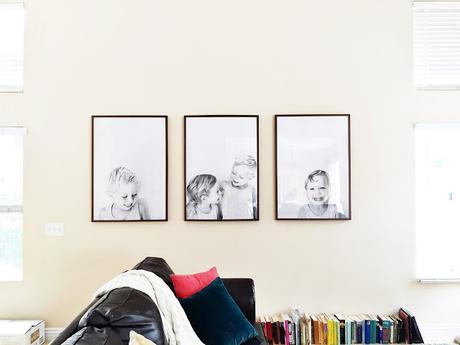
Step 1: I started with buying the frames, which are the 27½ x 39¼ RIBBA frames from IKEA in medium brown. At $24.99 you cannot get a more sturdy and nice looking frame for that price. I promise, promise. We decided to go with three since my sister is a pulpit pounder about The Rule of Three. Good thing I obediently followed her command. We centered them and spaced them seven inches apart—I was also schooled about hanging objects—always space in odd numbers, she said! Yes, ma'am! I took the mat out because I wanted the drama of negative space and a laser sharp focus on the subject.
Step 2: Three months later after hanging the picture frames, I finally got my act together and took THE portraits to hang in the frames. I dressed Luke and Wes in neutral matching tank tops, and had them sit against a blank wall. The key to getting a good shot is the lighting. I shot in natural light next to a north-facing window around 3:30pm. That's when the light hits the sweet spot in that room and it worked like magic. I made sure to leave plenty of negative space on the top half of the portraits, so I would only have to make small cropping edits and have a better image to print.
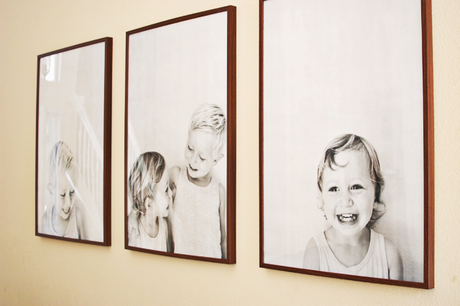
Step 3: Editing! I have a very intense passion for editing photos. Whether it is in Photoshop or on my iPhone, I love it all. Need someone to edit your Instagram photos? I will be your editing assistant! ;) Anyway, I edited the portraits of Luke and Wes in Photoshop. First and foremost, I cleaned up the lingering dirt smudges on their faces, because boys. Then, I used Pioneer Woman's B&W action. I did, however, delete the ugly edge burn. Next, I used A Beautiful Mess actions to enhance and sharpen. My favorite action is Stella, which does a mix of brightening and sharpening. After adjusting that action, I went back to the light on the B&W action until it was closer to a pure black and white, and vibrant.
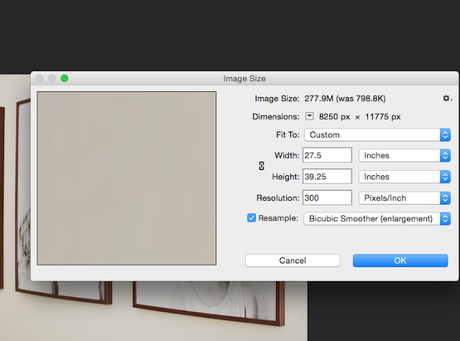
Step 4: Resizing! I wanted the photo to be as clear as possible, so I made sure my resolution was 300 dpi. Next, I selected inches and sized it to my exact measurements of 27.5 x 39.25 inches. I saved it as a PNG image file (I always feel like they give my photos a better finish versus a JPG) to my flash drive and was on my merry way to Staples!
Step 5: The folks at Staples were friendly and helpful as always. Initially, they said the file wasn't showing up in the correct dimensions, but that it wasn't an issue and they would have them ready and cut down to the exact size. After twenty minutes of roaming the back to school supplies and waxing nostalgic about my Lisa Frank folders from third grade, I heard my name being called. They showed me the finished product and I was incredibly impressed with my skills. I felt like a professional! Such exhilaration! Upon calming down about my finest works of art (my children) I finally got to the register. Because I live in California and everything here is about double from any other state, my prints were $5 each to my surprise, instead of the $3 cost you will hear about engineer prints anywhere else. Meh. The $2 difference did not matter. The outcome is WORTH. IT.
Step 6: I raced home and hung these bad boys immediately. The one downer was the stupid little groove thingamabobs jacking up my thumbnail. So, yes, word of advice: use a knife or something other than your fingernails to pry them up! There are like, 25, on each frame. Multiply that by three and that's one sore thumbnail by the end.
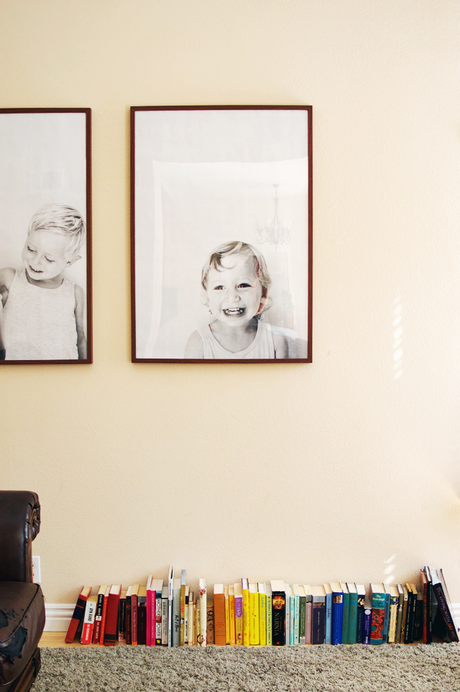
Ta-daaaaaa!!! I think the wall looks beautiful. (And yes, our couch is ripped and peeling. 🙈 Don't look too closely! We are in the market for a new, sturdy couch that can withstand boys. Holla if you have any good suggestions.) For under $100, it's nothing short of a miracle.
