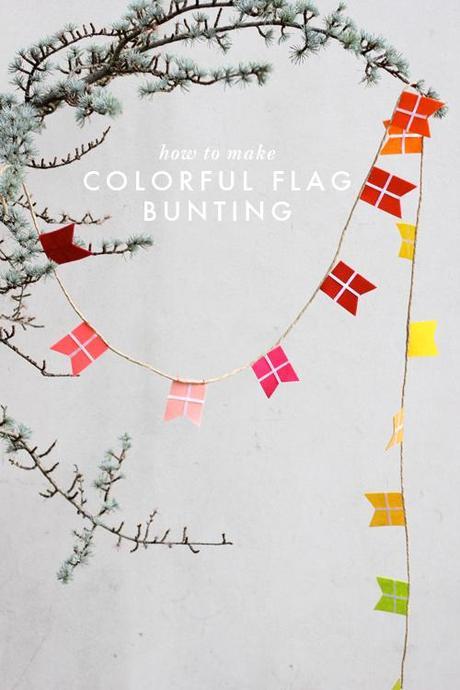
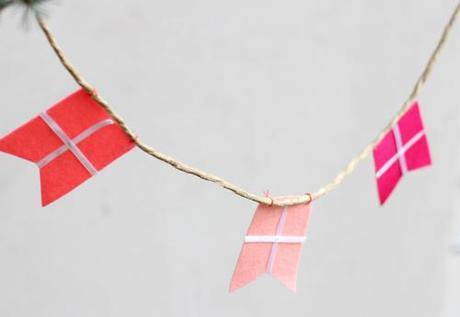
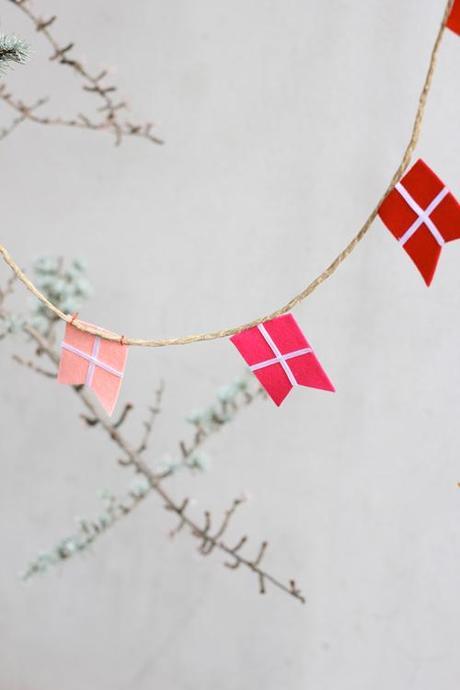
 When it comes to birthdays there are certain things that you definitely must do here in Denmark. You MUST go to the birthday aisle at the grocery store and pick up little all sorts of Danish flags like this (pic from Lisa Congdon's trip to Denmark. She pointed out things to me that I completely forgot were novel!): Danish flag toothpicks, garlands, candles, etc. And if you can, you definitely hang a Danish flag outside. You can imagine that birthdays start looking the same after while so I was overjoyed when one of my favorite stores, Søstrene Grene, came out with a flag garland in various colors. Søstrene Grene is the type of store where you go in never knowing what they'll have in stock so you're lucky to find something awesome one day and then something not so awesome the next. Sadly, I haven't seen the garlands since and I've been wanting to pick a bunch up so what do we do? WE DIY IT! We celebrated Paul's birthday this weekend so I tried recreating the garland here today and show how to make it applicable to your own country's flag.
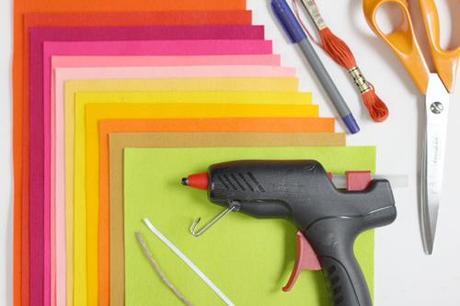 Materials: felt, marker, glue gun, 3mm white ribbon, 2m twine, scissors for fabric, red embroidery floss, needle
Step 1: Cut out the shape you desire on a thicker piece of paper to use as a template. You can download the free PDF template here.
Step 2: Trace the shape onto the felt with the marker. A word about the felt: I used really nice wool felt which is a bit pricey. Acrylic would work well too it just doesn't feel or look the same. I might suggest making this with friends since you only need one of each color and then splitting the cost.
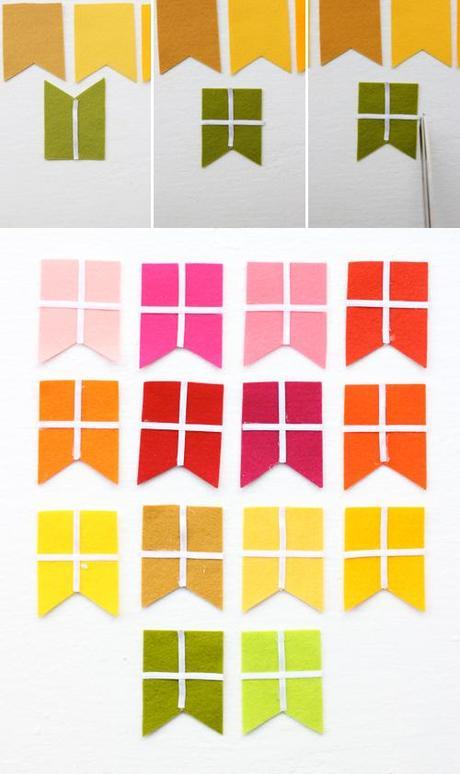
Step 3: Cut the felt in all the colors you plan on using.
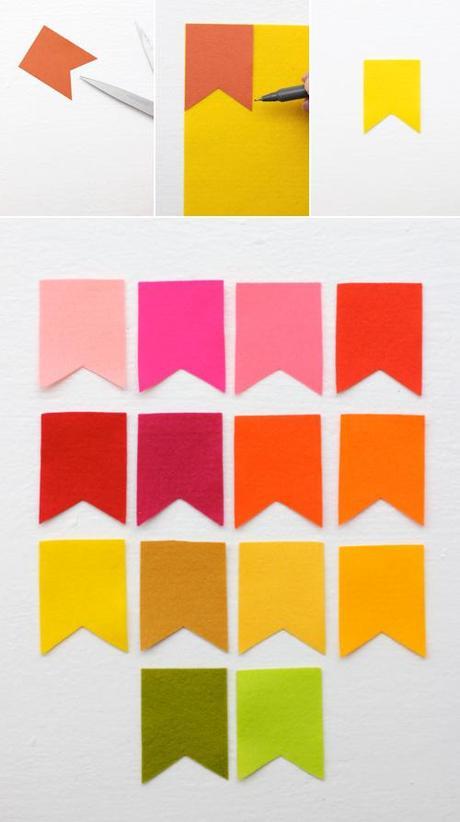 Step 4: Apply the glue to the felt and lay the ribbon on top.
Step 5: Do the same to the next line of the flag.
Step 6: Cut off the ends of the ribbon so they are in line with the felt.
Step 7: Repeat to the rest of the colors.
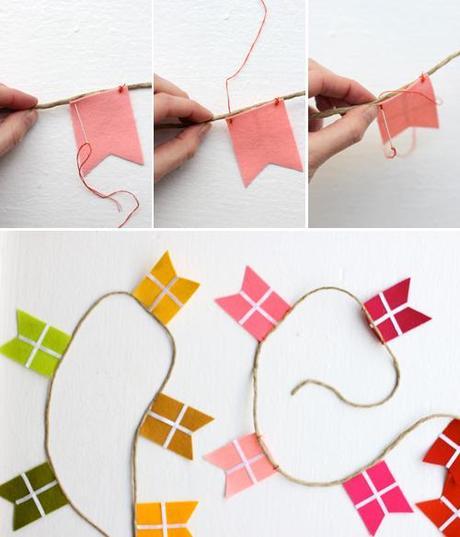
 Step 8: Use only 2 strands of the embroidery floss and thread it into needle.
Step 9: Thread it from behind and into the twine.
Step 10: From the back, go around the twine so it creates a loop around the flag.
Step 11: Secure with your thread.
Step 12: Repeat to all the flags making sure the flags are placed equidistantly on the twine.
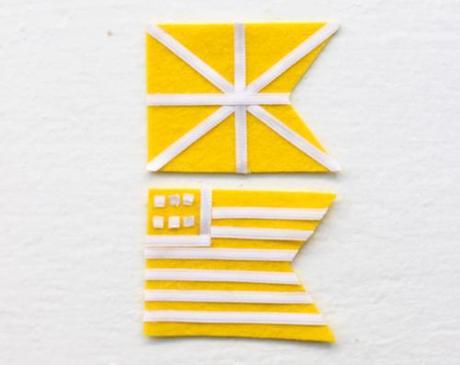
 You can do the same with your own country's flag. I tried it out with the Union Jack and the US flags.
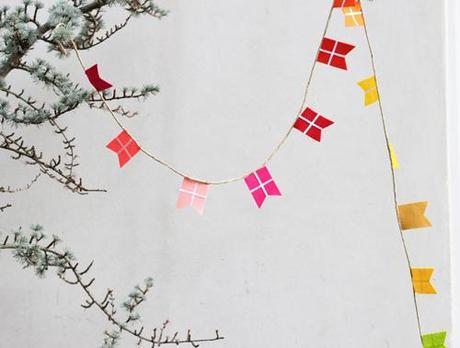
 Happy flag day!
 all photography by Brittany Watson Jepsen

