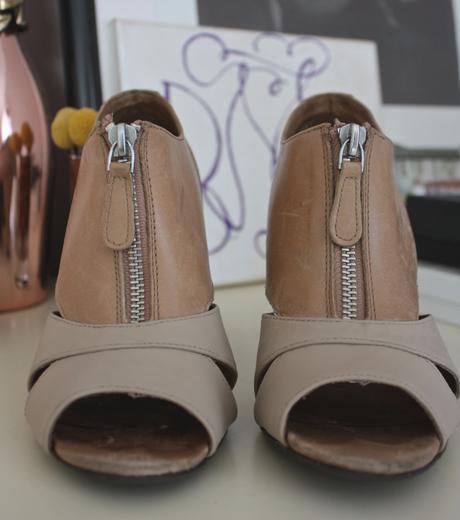
 I love these pair of heels, they are my favorite, if you couldn’t tell by all the scuff marks below. But they were worn plenty of times with love to weddings, with summer dresses or casual dates. They aren’t these amazingly beautiful shoes, but I love the skin tone color, the medium but super comfortable heel, and the thick gladiator like criss cross pattern. They really were my go to pair because they went with just about every outfit I wore. So you can understand my sadness when the scuffs on the heel and sides were just too “unpresentable” to wear. I tried to have them painted by a shoe repair, but he suggested it wasn’t worth it. I disagreed, the shoes were in perfect condition and I knew I could just paint them myself!
  There are so many how to’s on Pinterest, but you really don’t need instructions, just some acrylic paint or nail polish. This is actually the second time I’ve painted a pair of heels. The first were a pair of pink, sparkly heeled pumps, with fabric straps that of course scuffed so easily with just a few wears. With a few coats of silver paint onto the straps, I totally transformed them into even prettier party shoes that I totally rocked as a bridesmaid. So I know from experience, painting your shoes totally gives to new life to them, no matter the material.
This how to did take me three afternoons to do, but you could always dry each coat with a hair dryer to speed the process. I originally was going to just use acrylic paint, but then experimented with the nail polish on the heel and back of the shoe. The paint will produce a matte finish which I liked on the front of the shoe, while using nail polish will produce a high gloss shiny finish. I loved the tan color blocking and combination of matte and shiny finishes on my newly updated heels. I can’t wait to bring them on vacation with me next month, and finally wear again come spring!
You’ll Need
- Shoes of choice
- Rubbing Alcohol + Cotton Balls
- Acrylic Paint + Nail Polish, in desired colors {I used Craft Acrylic Paint in Tan and Essie’s Sand Tropez, my favorite nail color}
- Paint Brush {for paint – for the nail polish, use its own brush, it paints much easier}
- Nail Polish Remover + Fine Tip Paint Brush
- Painter’s Tape, optional {I found I didn’t need this extra step}
- Hair Dryer, optional
If you’ve decided to tape off your shoe in sections, then begin by taping off all the areas you don’t want to paint.
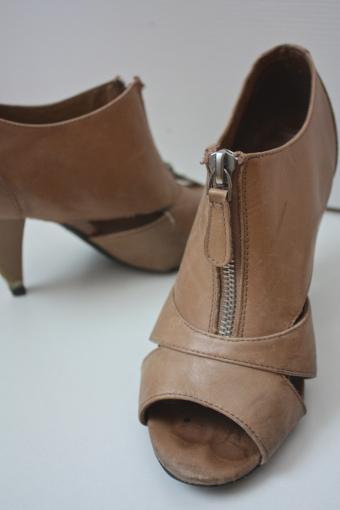
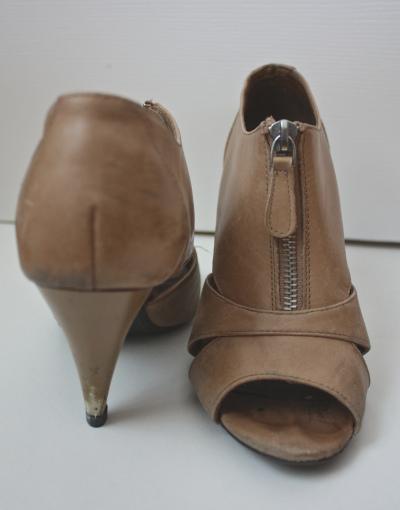
Before painting your heels, clean the soles, heel and inside with some rubbing alcohol and cotton balls. I’ve read to clean the leather with it too, but I wouldn’t suggest using it on leather or any material that isn’t plastic or veneer. If you do, experiment on a small section, before cleaning the entire shoe and in turn damaging the parts you didn’t intend to paint. Allow them to dry completely.
I didn’t need to prime my heels, as they were a neutral color and I was sticking to the same color palette. If you are choosing different bold colors, begin by priming with two coats of white paint or nail polish, covering all the areas you will be painting. It might be easier and faster to use medium to larger brushes for this step, especially for the heel.
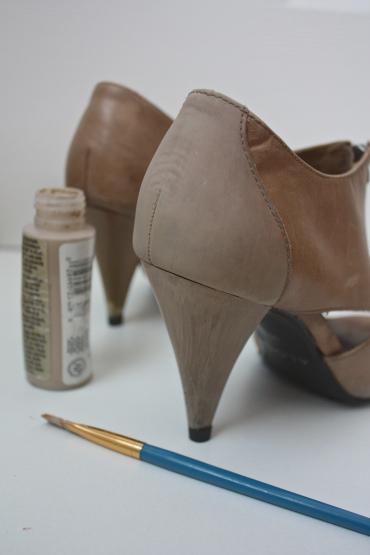
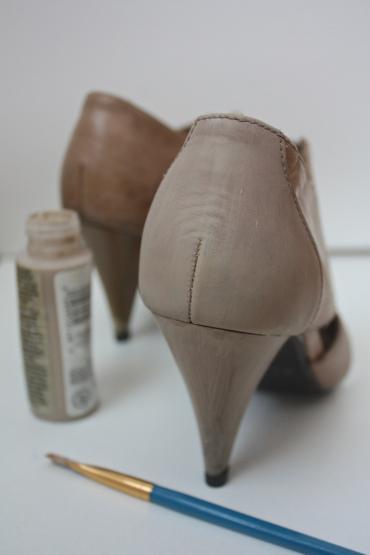
If you’re not priming, like me, then paint all the sections you want with at least three coats of the paint, allowing to dry completely, at least 30 minutes, between each coat. I began with the heel and back of the shoe, then moved to the front and sides. I used three coats of paint on my desired sections, then let them dry overnight so that I could see how the color would develop on the leather, so I suggest you take this step too. {The same goes if you’re using nail polish}
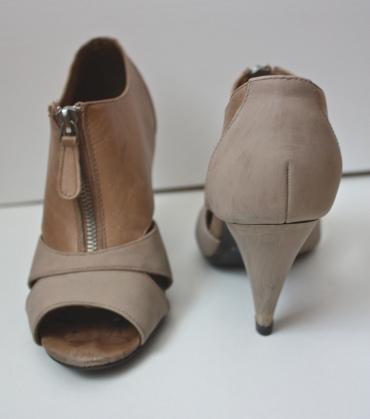

If you’re using different colors, use the lighter shades first, as they can be easily painted with darker colors. 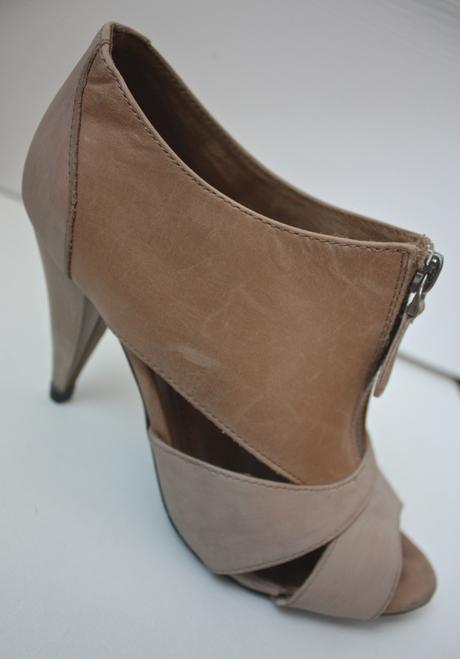
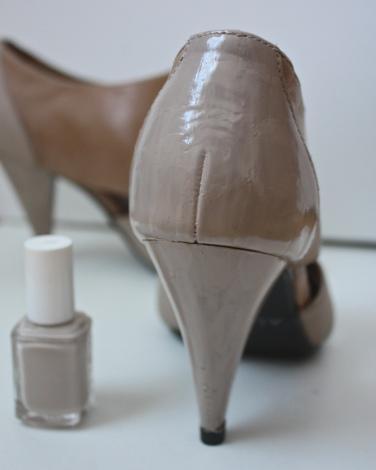
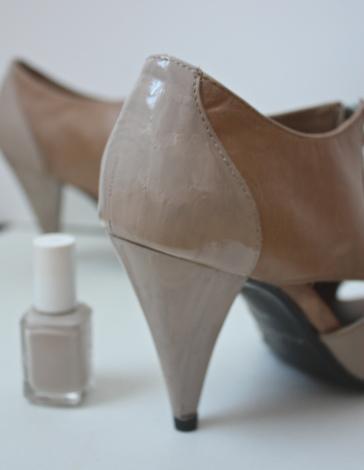
Once the paint is completely dried, and you’re happy with the final look, use the fine tip paintbrush and nail polish remover to tidy up any mess ups. I ended up using four coats of acrylic paint and two coats of the nail polish. If you want a shiny look, finish off with a clear top coat. 