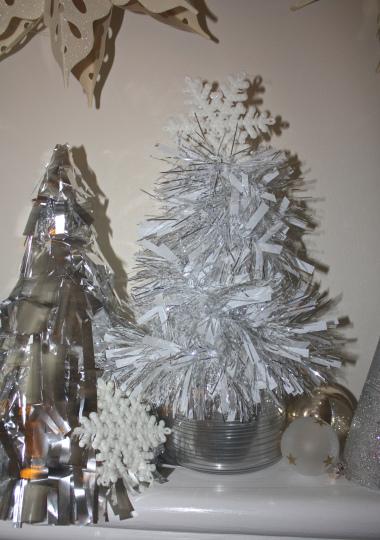
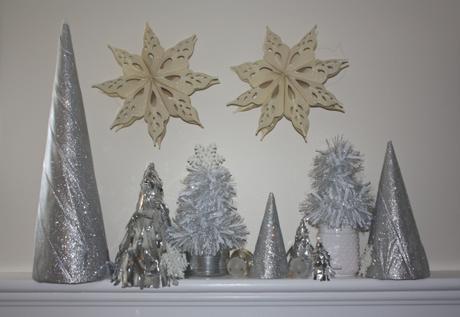
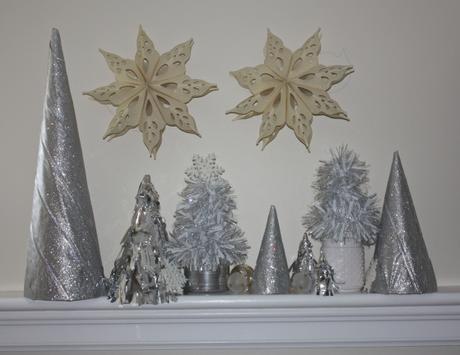
 Most houses are decked in lights, and you might already have your tree looking special, but I’ve got an easy diy to add some extra sparkle into you Christmas decor. I’ve been working on decor pieces for a winter wonderland party, and to save costs I decided to make my own version of those pretty shimmering trees you see in stores, but can be a bit too pricey. And for about $15, I was able to make eight adorable trees in three different and super easy styles.

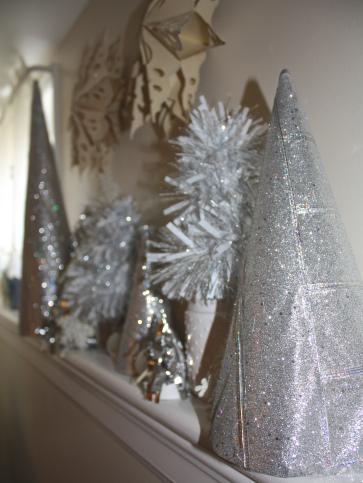
You don’t have to ask me twice to craft decor pieces, especially during Christmastime alongside the glow of the tree, while listening to beautiful holiday music. Seriously, every time I think I’m done decorating, I always find a way to add a few more holiday touches. And these sparkly trees are the perfect festive touch and just lovely this season.
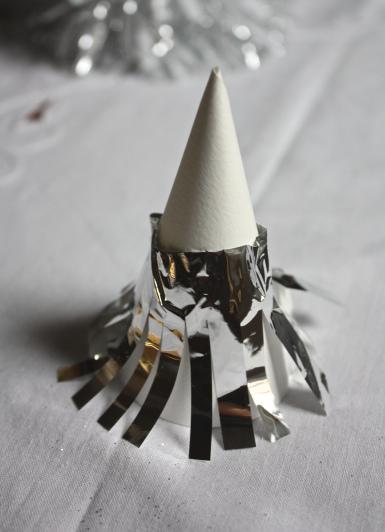
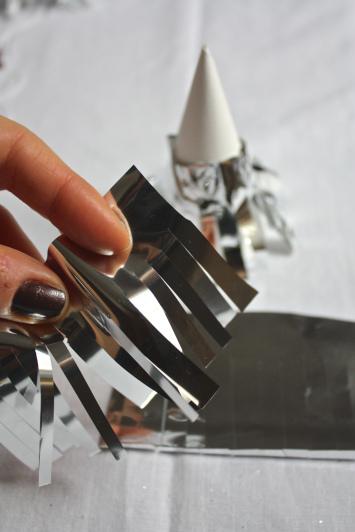
I made my own cones from poster board to save even more costs, but you can use paper mache or foam cones to save time, but they will be pricer. Then I covered my trees with silver glitter ribbon, silver fringe, and white and silver tinsel garland {which was all SUPER discounted at Michael’s. Seriously I’m obsessed with beautiful ribbon, and their holiday sales are a crafter’s dreams, so stock up on decorating and gift wrapping supplies while you can!}. This year my Christmas decor played on different metallic hues, but you can create these trees to fit your holiday style, with different ribbons, garland, or maybe even pine cones. Have fun with them!
You’ll Need:
- Poster Board {or paper mache/foam cones – just skip steps to create cone}
- Hot Glue Gun + Glue Sticks
- Scissors
- Pencil
- Decorative Pieces: Ribbons, Silver Foil Tissue Paper, Tinsel Garland {or pine cones, berries, ornaments, etc..}
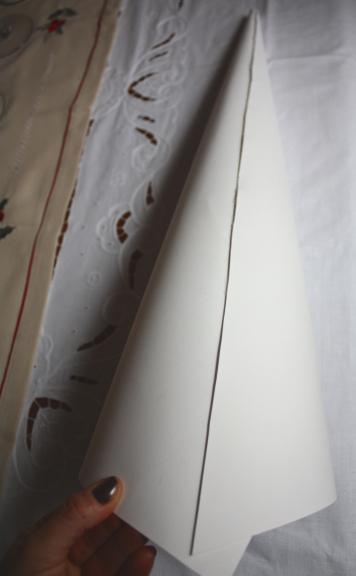
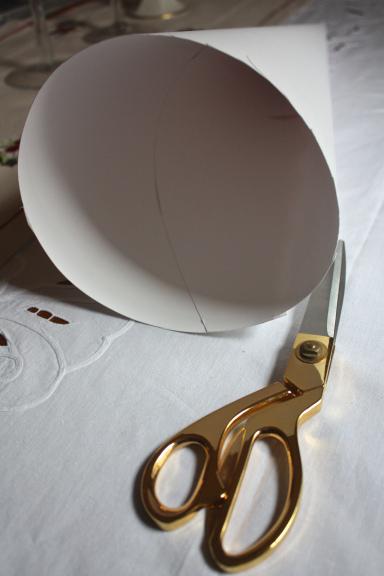
To make the poster board cones, roll the poster board into different sized cones, then use the pencil to mark where you will need to cut. Place a line of hot glue alongside the seam to secure the cone in place. Carefully cut off the bottoms, so that the cone sits flat.

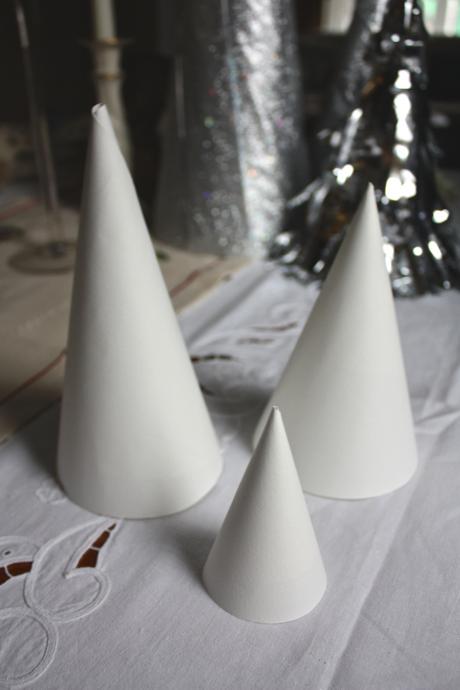
Tree #1: Tinsel Garland
Starting at the bottom of the cone, at the seam, place a line of hot glue along the bottom rim. Adhere your tinsel garland around, then work your way upward, placing glue at the top to secure the garland. Fluff just a bit. Leave as is, or top with a snowflake or ornament, or place atop a vase for added height.
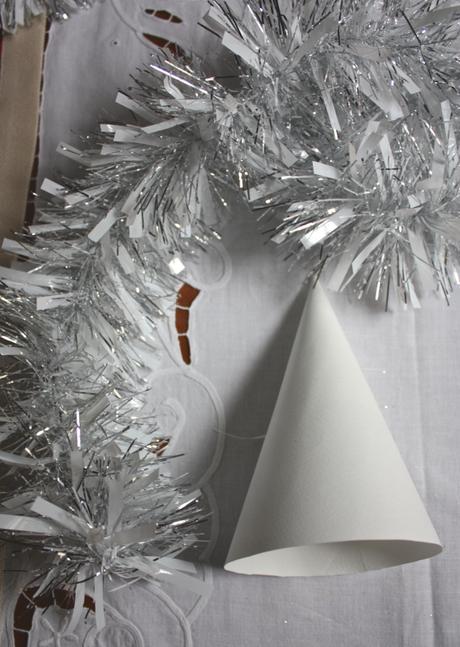
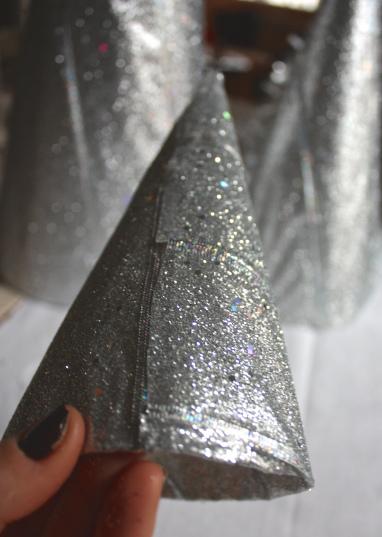
Measure the first strip of ribbon by wrapping it around the top and bringing to the bottom, with about 1/2″ on the bottom to fold inwards. Place a few dots of glue at the top of the cone, wrap the ribbon around the top and then stretch it towards the bottom. Place a few dots inside the cone where there ribbon will go to secure it in place.
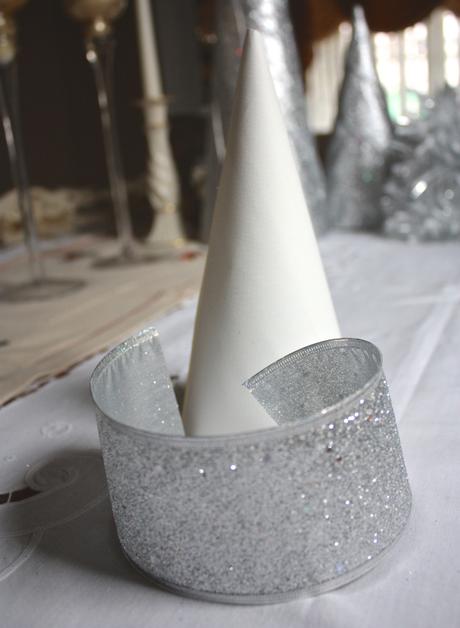
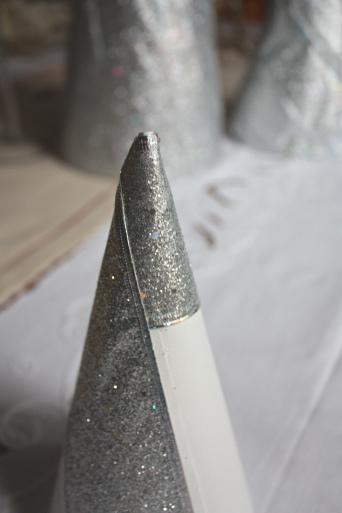
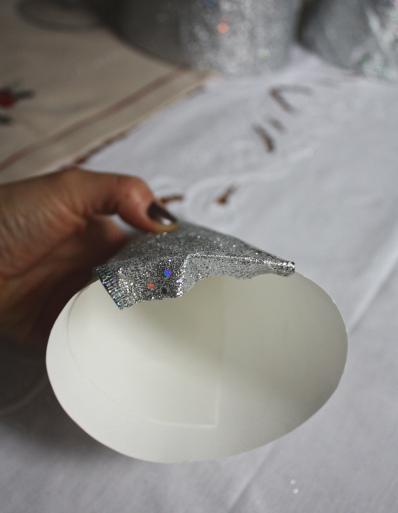
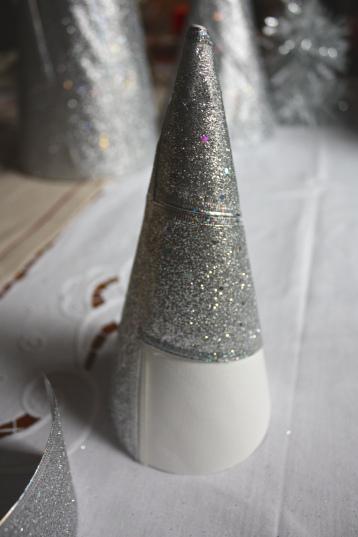
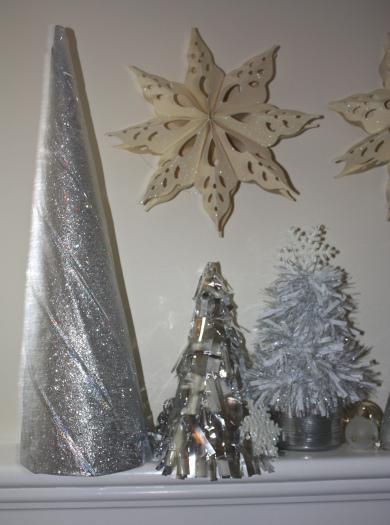

And that’s it! How festive and pretty do these Christmas trees look, and they’re affordable! You can group them together on a mantle with some snowflakes and ornaments nestled between or on your holiday table for a sparkling statement centerpiece. {On a side not, don’t the fringe and tinsel garland trees slightly look like New Year’s Eve hats? I totally thought so, so keep them around and sparkle into the new year with them!}
