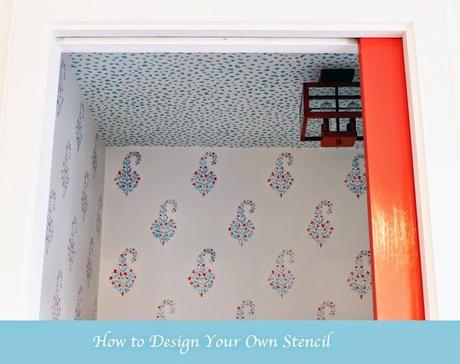
I realized I've stenciled a ton of stuff on this blog. I've even done tutorials on how to make complex pattern repeats. I've just never done a basic post on how to design and make a stencil. It is such an easy thing to do, and it allows you to quickly add pattern to any flat paintable surface (even fabric). I prefer it to wallpaper since its much less of a commitment, and all I have to do is paint over it if I change my mind. So lets get started...
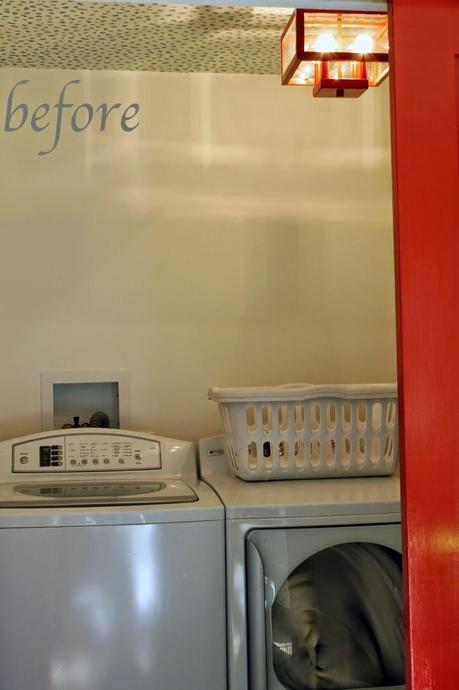
I've got a laundry room that has been begging to be finished, after all I did wallpaper the ceiling well over a year ago! I have been living with white walls in there and had a vision of a red and blue design. I had so many pattern ideas, and it was actually my indecisiveness that has held up this project. When you make your own stencil you control EVERYTHING... the scale, color and layout. You can design your own pattern, or access the many free pattern downloads available online . You can use a single motif (which is what I did, and I recommend it for beginners) or make a continuous overall repeating pattern (click here for a tutorial on that). Best part is that is costs just a fraction of wallpaper, and you can get the supplies you need a your local True Value!
To get started you will need:
-a pattern/design -stencil material: sheets of clear mylar; also called transparency or clear overlay (often sold in art and office supply shops) -hobby knife or snap-off knife and/or heated stencil cutter -Sharpie marker - painter’s tape -paint applicators (4" foam roller, stencil brushes) -paint in the color(s) of your choice -small paint tray -tape measure -pencil with eraser -large piece of cardboard to practice on
-cutting board/surface
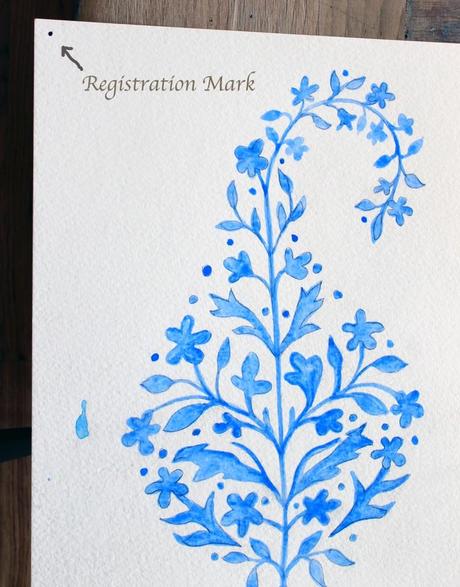
1) First choose your design. I actually designed a single paisley pattern, but you can use anything you like. Get it to a scale you like and make a dot on the upper left hand corner. This is going to be your registration mark and will come in very handy. Now photocopy this image a few times.
2) Now it's time to figure out the size of the pattern repeat. Since this entire process is customizable you can make your pattern lay out perfectly on your walls.
Here's the trick I use. I take my photocopied images and tape them on the wall. I arrange them in a layout I like. It definitely helps you visualize what the end result will look like and you might decide you want the image to be a little larger or smaller.
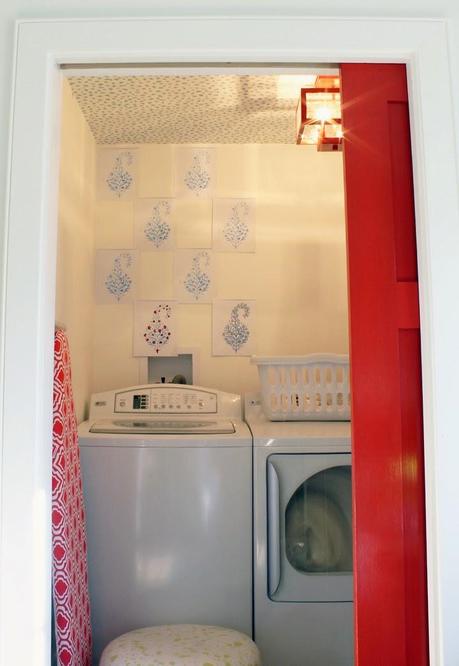
When you are happy with the layout, measure the horizontal and vertical repeats. Take a ruler or a tape measure and simply measure the distance from that little dots in the upper left hand corners. Make note of these numbers.
3) Next you are going to be tracing your image onto the clear mylar. You can do just a single stencil, or stencil that has several repeats on it. I wanted to have two motifs on my stencil to make the painting part go faster, so I taped my images down on the table using the same repeat measurements from the last step. I laid the mylar over this and taped it down as well. For a one color stencil simply trace your images using a fine Sharpie marker. Be sure to trace the registration dots too.
If you are only tracing one motif be sure to measure and mark your repeats off of the left hand corner dot. Example: If your repeat was 8" horizontal and 10" vertical you will measure and mark 8" to the right of your first dot, and then 10" down from both of these. You will be using these later to align your pattern on the wall.
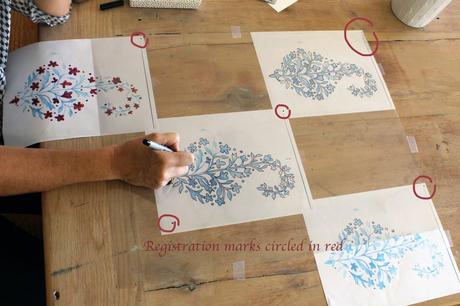
3a) This next step is if you are doing a two or more color stencil. I was doing a red and blue stencil. I made sure to colorize one of my photocopies first to get the color placement right. Next I traced the areas that would be blue first. Then I laid a second piece of mylar over the previous one and traced all the areas that would be red. In the end I have two separate stencils, but the registration marks and patterns line up perfectly.
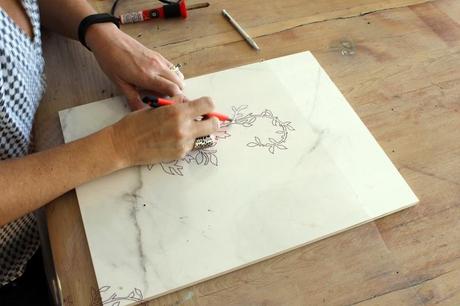
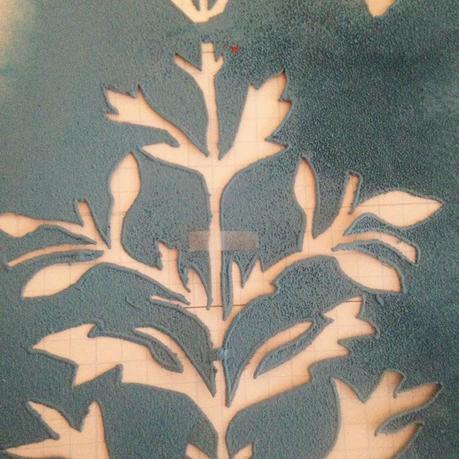
4) Time to cut your pattern out. You can use a heated stencil cutter (best for curvy patterns) or an Exacto knife (best for straight lines). I tend to use both. You will need an area to cut on. If you are using the heated stencil cutter I recommend a hard surface like a piece of glass or a smooth piece of ceramic tile. You don't want to burn your table! If you are only using a knife I recommend a rubber cutting board or mat. Carefully cut out your stencil. Be sure to cut out the registration marks.
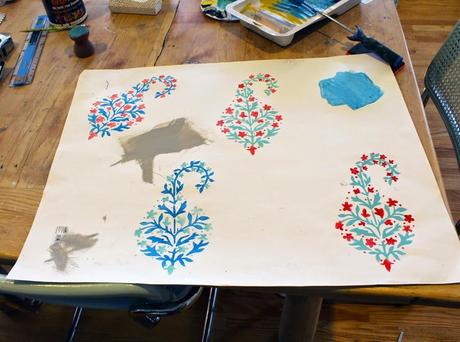
5) Once you have your stencil cut do a few practice runs to get your color and look perfected. You can use regular latex wall paint (which is what I did), artists acrylics or paint specifically made for stenciling. I suggest testing out a few types to see what you are most comfortable with. The same goes for applicators. Stencil brushes are great for small details, while high density foam rollers work great for larger areas and make quick work of it. Just know that a little paint goes a long way. If you have a lot of paint bleeding under your stencil you are using too much. Wipe your brush or roller off and keep practicing until you feel comfortable and get a hang of how much paint to use. Whatever you do, DO NOT water down your paint. It will be too runny and bleed easily. You can use a latex glaze or gel medium to dilute your color if needed.
6) Now for the fun part, painting! Make sure your walls are smooth and clean. I don't recommend stenciling on textured walls. I like to start in the upper left hand corner and work across and down. Tape your stencil to the wall in a few places. Use a pencil to mark your registration dots.
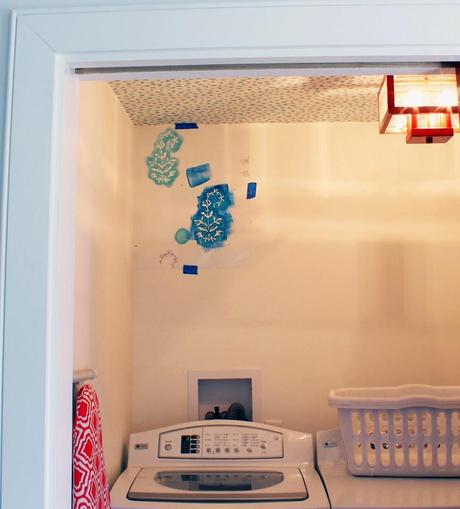
Now paint your stencil using a brush or roller (whatever felt more comfortable when you were practicing.)
7) After you finished your first repeat, remove the stencil from the wall. If you had any bleeding you can quickly clean these areas while they are still wet. Make sure the back of your stencil is clean. I like to place mine face down on a piece of cardboard between repeats so it can dry and I can wipe any paint that bleeds through the back off.
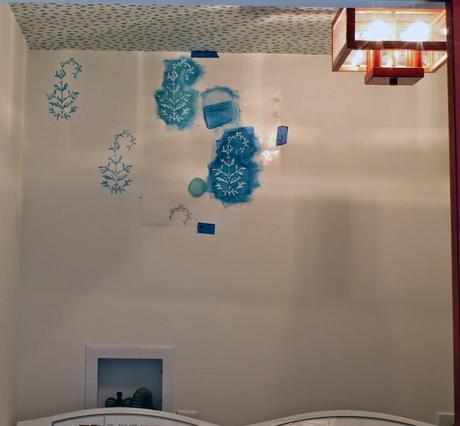
Align the registration marks with your next section to the right or below. Repeat step 6 until you have finished your wall. If you are using two colors you will now repeat step 6 and 7 with the next color.
Once you are finished erase your registration marks and touch up any smudges with your base wall color. And you are done!
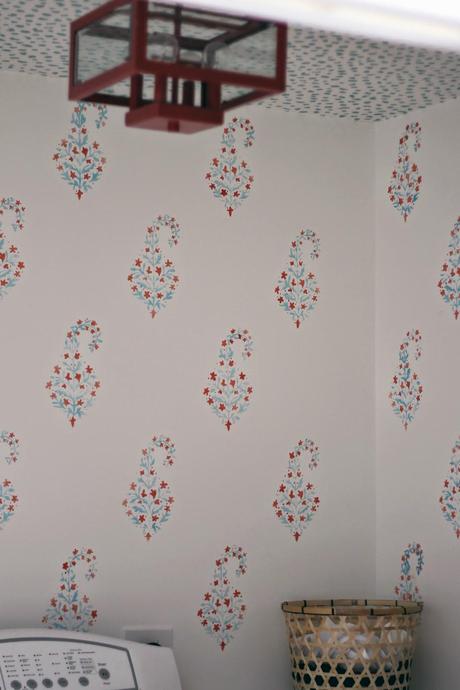
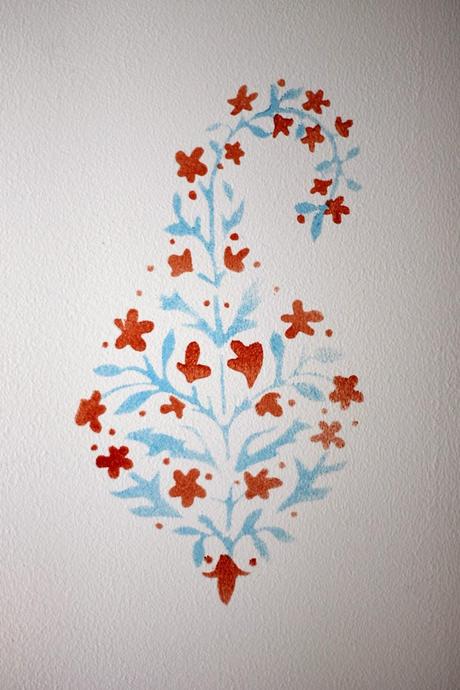
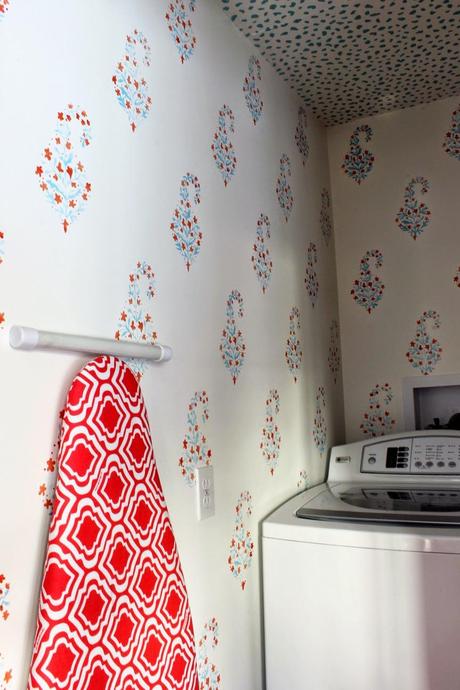
Tips and tricks for corners or tight spots: It is almost impossible to not have a spot that only requires a part of your pattern. Sometimes you can bend the stencil to fit the area, and sometimes you might need to cut it. -I like to paint the majority of my room and leave the tight spots for last. It isn't a bad idea to make two stencils, one for main areas and one for cutting. If you find you have an area that requires the same piece over and over (like the bottom of the wall or corner) you can cut a new section just for that application. -In cases like base boards, I like to use painters tape to cover the edge of the molding, and then I lay the stencil right over it and can apply the paint right up to the edge. Just pull the tape when you're done and you will have a clean edge. -I like to tape my stencil to a door opening so it can quickly dry on both sides. -If you totally botch a section, quickly try to wash it off. If all else fails, use your base color and paint that section out. Once it dries redo it.
-Sometimes you might cut a pattern and realize it is too flimsy, or a section lifts up too easily. Use very thin pieces of Scotch tape to make a connector to hold that section down and strengthen the stencil.
For more DIY ideas and tips, check out True Value on Facebook, Twitter and Pinterest!
I was one of the bloggers selected by True Value to work on the DIY Squad. I have been compensated for my time commitment to the program as well as writing about my experience. I have also been compensated for the materials needed for my DIY project. However, my opinions are entirely my own and I have not been paid to publish positive comments.

