Hi everyone! Hope you all been well! It’s been forever since I had a hair ‘how to’ post. So today I have a treat for you, I’m going to show you how to create a fishtail braid using the Scunci Criss Crosser. Please excuse the pale face in my photos. I was having a makeup free day (also known as lazy face day).
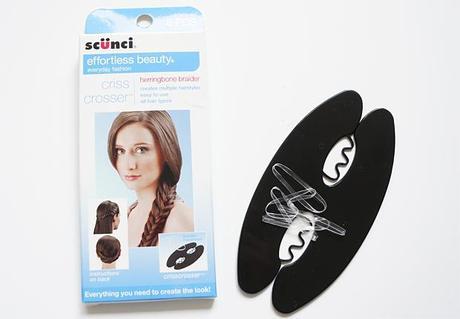
I was sent the Criss Crosser kit which comes with the criss crosser and 5 polybands.
Start off by dividing hair into two even sections and placing each section into the criss crosser slots.
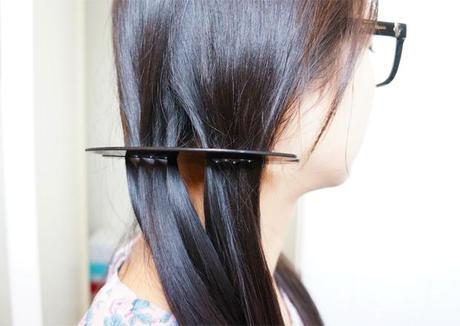
Using the thumb and index finger, pull out a small section of hair from the outside left side (you can start from any side you are comfortable with).
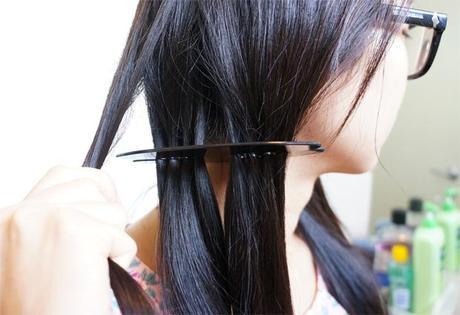
Using the small section of hair, pull it over the criss crosser and slide into the slot on the other side. So the strand of hair has now gone from the left to the right side. An important thing to note here is that, make sure when you slide hair into the opposite slot that the hair is pulled towards the middle of the criss crosser – this will tighten the braid.
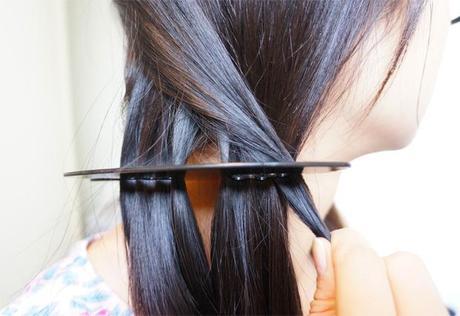
Taking another small section of hair from the opposite (right) side, pull it around the criss crosser and slide into the slot on the left. Hair has now gone from the right to the left side.
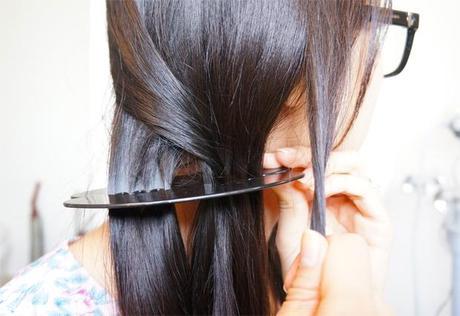
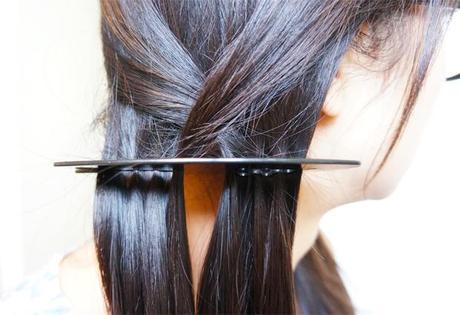
Keep repeating the above steps, criss crossing from side to side until you are happy with the length.
Using a hair tie or polyband, tie the end of the fishtail braid to ensure it is secured.

There you have it, nice and easy!! The tool does need some getting used to. It took me about 4-5 attempts until I got the hang of it. As you can see from the above photos, the sections I took were quite large. The smaller the sections the tighter the braid will look. I hope you enjoyed this post and as always thanks for reading!
Will you be trying the Scunci Criss Crosser?
Product was provided for consideration. This has not influenced my opinion in any way.
