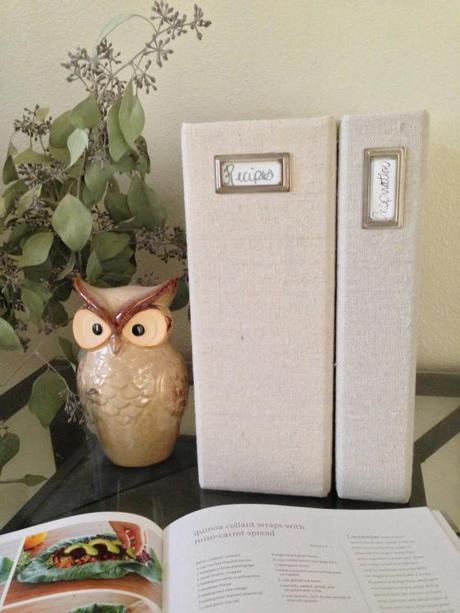
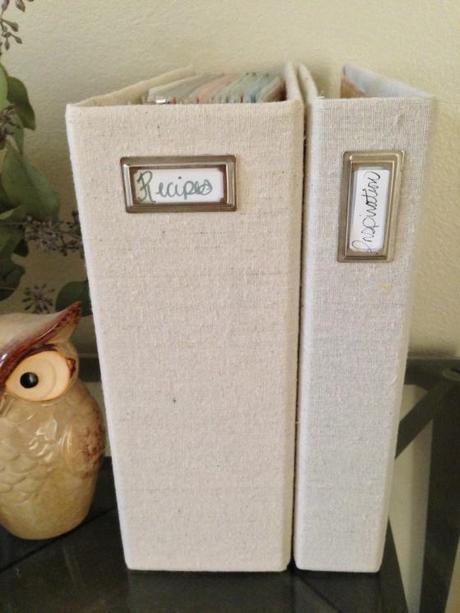
 Admit it, we’re all guilty of pinning and re-pinning endless ideas that start becoming a procrastination board rather than a to-do one. I decided that another one of my goals this summer would be to stop putting things off and finally do those inspiring pins! My Saturdays have now become filled with relaxing craft time and discovering great new music on Spotify like Kina Grannis. I inherited a few binders from my mom’s office clean out, as well as my own, but they were in no condition to be displayed. After finding this on The Uncluttered Lifestyle and with tons of extra burlap just waiting to be used, I could finally organize my recipes and inspiration clippings into a more eye-appealing and functional way.
You’ll Need:
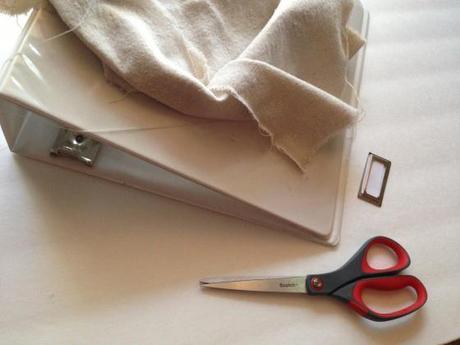
- Fabric {I used about 1 yard for 2 binders}- Binders- Glue Gun {or you can use Spray Adhesive too}- Book plates (I love these from Martha Stewart}- Ribbon {I used approximately 7 ft, cut into 6 strips}- Scissors
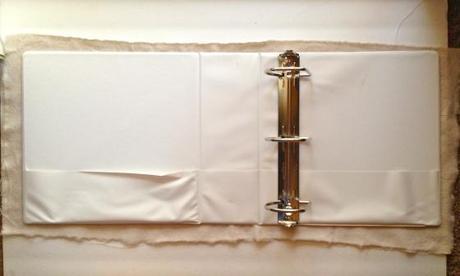
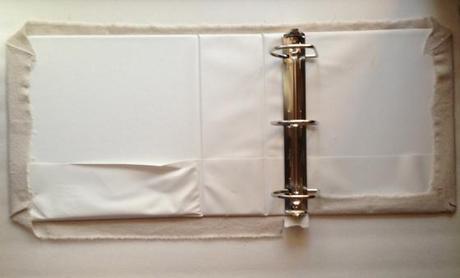
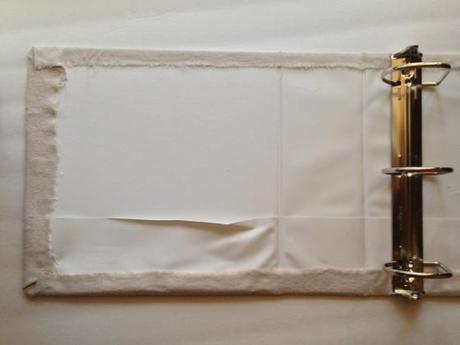
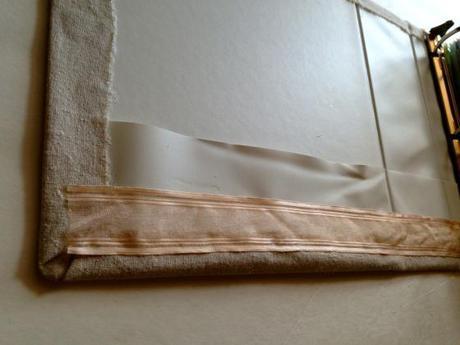
Prep your fabric, by ironing it if it is wrinkled, then cut it leaving a 1 inch edge around the binder. Make slits in the center binding, place a line of glue and secure the fabric so you cover the tiny edge. Then glue each edge where the fabric is cut, and each corner. Fold the corners as if you were wrapping a present, and yes I know my hems are quite sloppy but that’s where the ribbon comes into play. Open and close the binder to make sure the fabric isn’t loose.
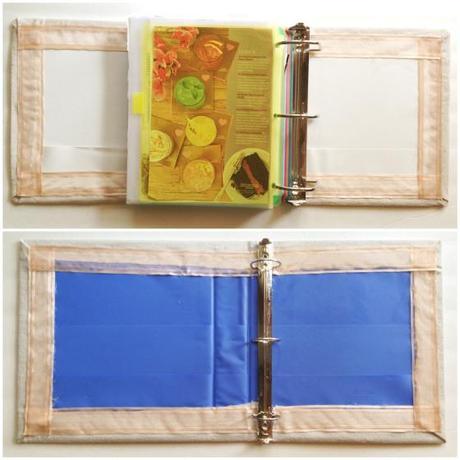
Cut the ribbon to the length of each side of the binder leaving a 1/4″ from the edge. Glue both the top and bottom of edge of the ribbon. I really liked how the ribbon and burlap looked together. I would’ve covered the entire inside of the binders for a cleaner look, but I find the inside pockets of binders to be a necessity.
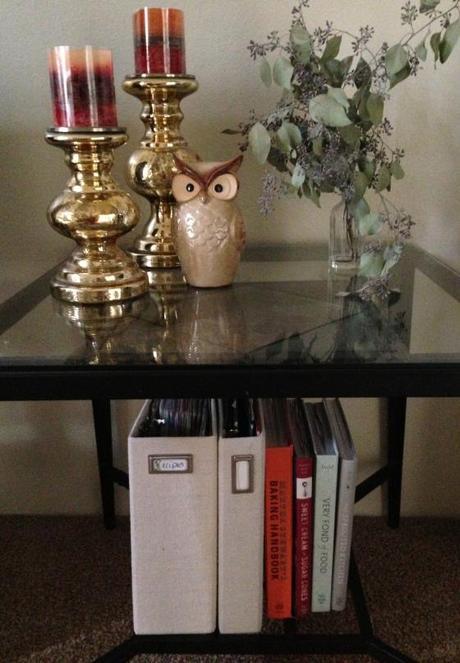
The last thing is to place your book-plate, and neatly organize all your documents. I placed all my recipes and magazine clippings into sheet protectors and organized them into categories. This is definitely an organization lover’s perfect project!
 Admit it, we’re all guilty of pinning and re-pinning endless ideas that start becoming a procrastination board rather than a to-do one. I decided that another one of my goals this summer would be to stop putting things off and finally do those inspiring pins! My Saturdays have now become filled with relaxing craft time and discovering great new music on Spotify like Kina Grannis. I inherited a few binders from my mom’s office clean out, as well as my own, but they were in no condition to be displayed. After finding this on The Uncluttered Lifestyle and with tons of extra burlap just waiting to be used, I could finally organize my recipes and inspiration clippings into a more eye-appealing and functional way.