Running an online shop in self-hosted WordPress is pretty simple. Thankfully, there are so many plugins are available for turning your blog to a great online store like the Easy Digital Downloads, WooCommerce, etc. And in this post, we are going to show you an excellent addition to every WooCommerce store.
We have seen that most beginners are not using the Google Analytics service on their blog or shop. Google Analytics is a free service, some with so many unique and advanced features for the website owners. While you run an online shop, you probably want to integrate it into your WooCommerce store.
And in this post, we are going to show you how to add Google Analytics to WooCommerce and improve your overall tracking.
MonsterInsights
When you need to integrate Google Analytics with WordPress, you probably have two options.
- Manually.
- Via a Plugin.
The manual method is pretty simple. But you will need to log in to your Google Analytics property for checking every stats.
Read Here: How to add Google Analytics to your WordPress website manually?On the other hand, if you use a plugin for authentication, you can see every report right in your WordPress dashboard. Probably it will save a lot of time of yours.
In our case, we recommend MonsterInsights as the best WordPress Google Analytics plugin. MonsterInsights is one of the freemium plugins created by the Awesome Motive team. It is the same company behind plugins like WPForms, OptinMonster, SeedProd, and RafflePress.
MonsterInsights’ free version plugin is available on the WordPress plugins repository.
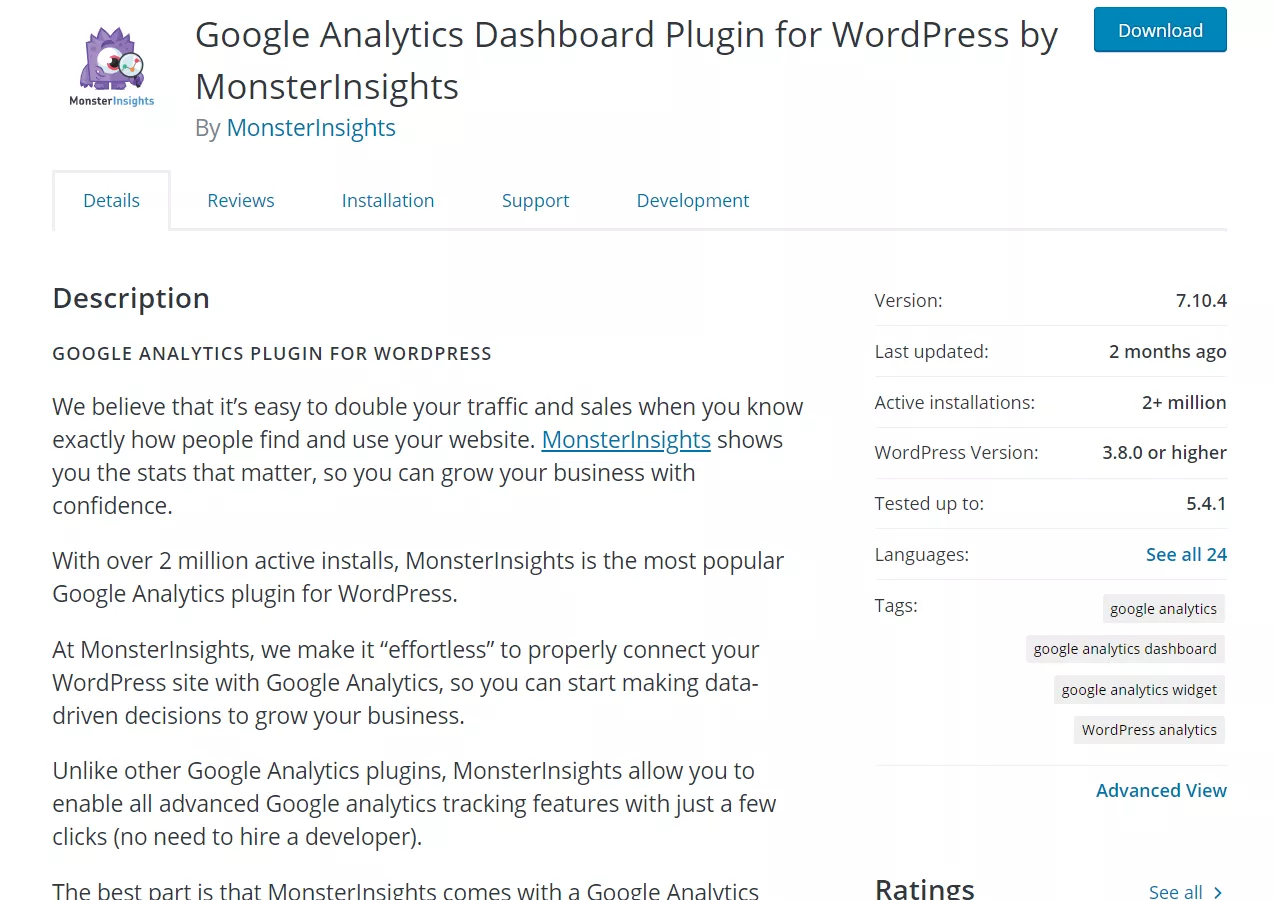
As you can see in the above screenshot, more than 2 million active WordPress blogs are using the free option. As you know, the free version plugin comes with some limitations. For testing it and for small websites, the free version is good enough.
But, if you have purchased the premium version plugin, it comes with a lot of unique, advanced features. A business or professional blog might want to consider buying a premium plan.
You can check out our MonsterInsights review for more features, pricing options.
Tracking Traditional vs Enhanced eCommerce Tracking
Google Analytics allows us to track the whole website just by pasting the tracking id in the website header. That would allow you to get started with the traditional tracking feature of Google Analytics.
But what if you need to enable more in-depth tracking, you will need to make some changes to your Google Analytics property settings.
There is an optional feature in Google Analytics called Enhanced eCommerce Tracking.
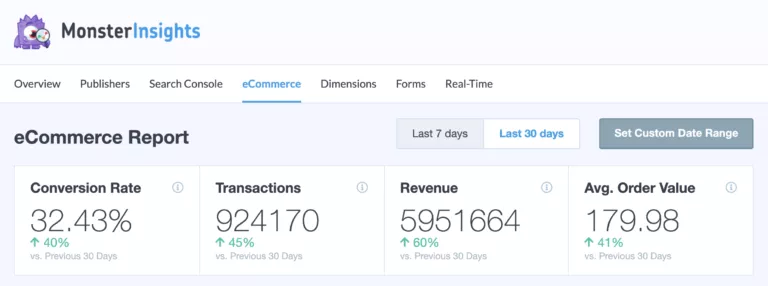
Once you have enabled it on your shop and check the stats through your Google Analytics property, you will be able to see more detailed stats.
![]()
Something like the products’ performance, sales performance, shopping, and checkout behavior. These reports will help you to understand how your shop is performing, how customers interacting with your site.
How To Add Google Analytics To WooCommerce?
To enable Enhanced eCommerce Tracking with MonsterInsights.
You will need to purchase the pro version of MonsterInsights. Right now, it doesn’t come with the Basic plan. You will need to buy the Pro or Agency plan. You will be able to purchase the plugin with your PayPal account or Credit Card.
And after that, you will be able to log in to your MonsterInsights account, download the pro version plugin files. Once you have downloaded the ZIP file, you will need to install and activate the plugin on your WordPress website.
Installation and Activation
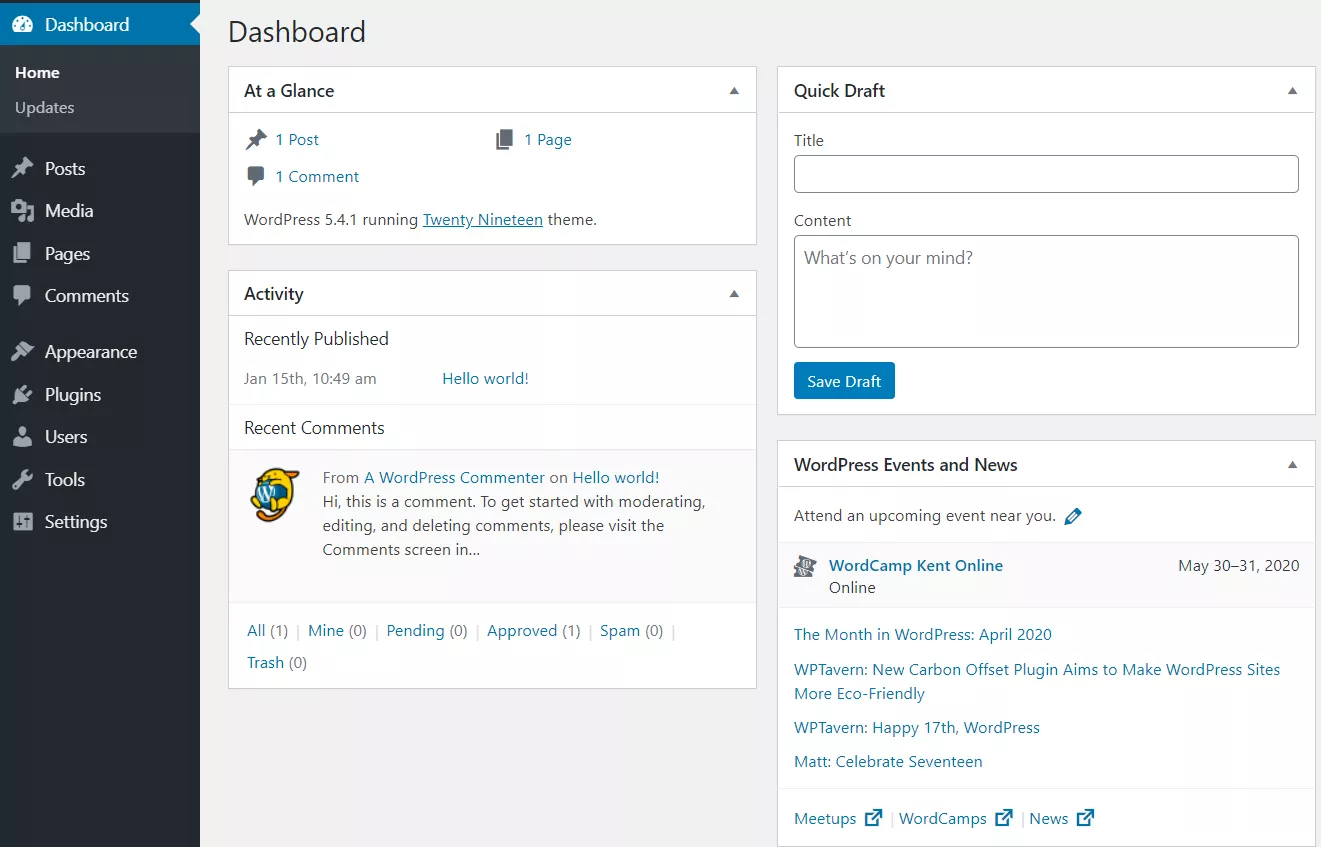
Log in to your WordPress dashboard.
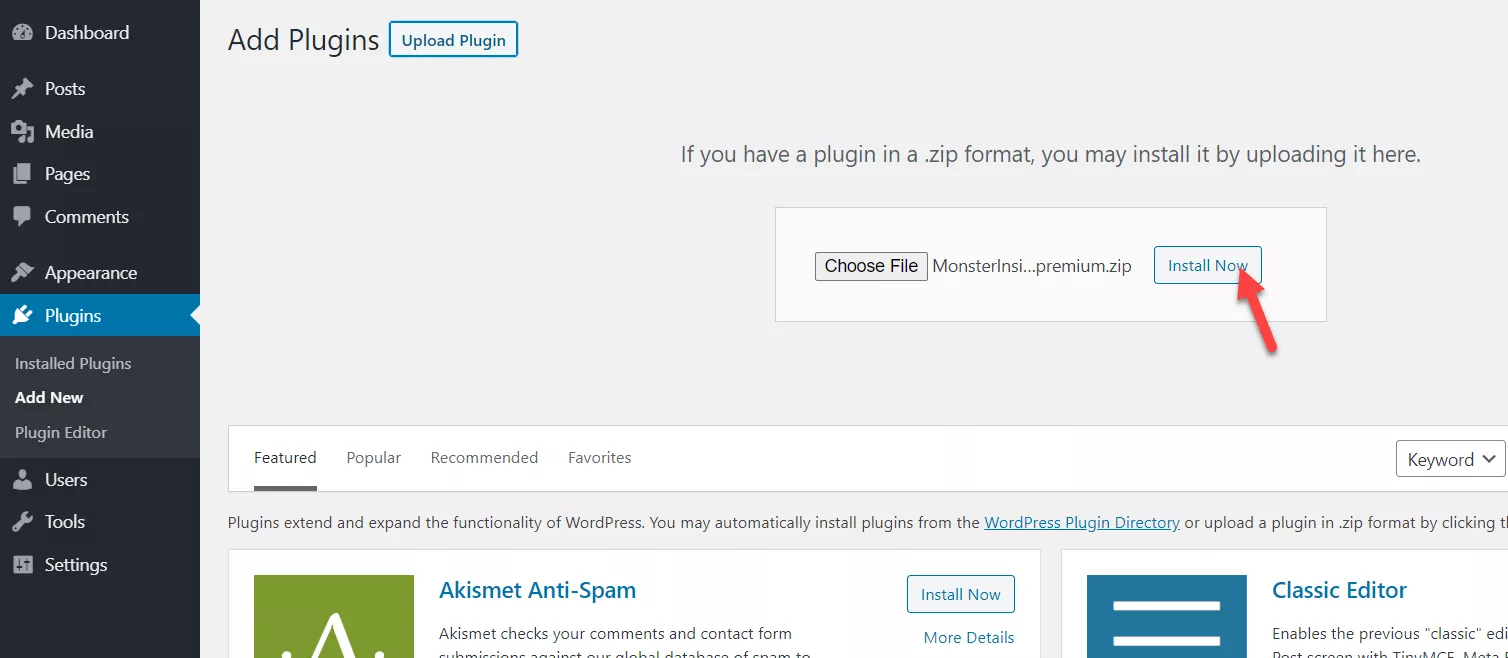
Go to the add new plugins section and click on the upload plugin option.
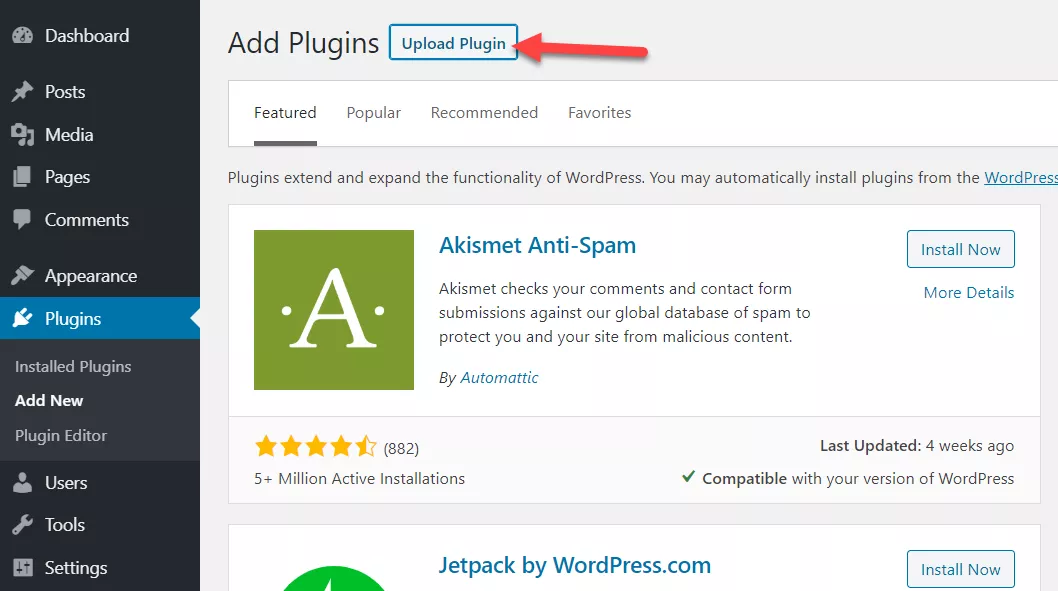
From your local storage, you will need to upload the MonsterInsights premium file.
After installing the plugin, you will need to activate it on your WordPress website. We do have a guide on this topic. If you need more help, feel free to check out our article on installing WordPress plugins on a blog.
Verifying the license key is mandatory. So you will receive support and updates for the plugin from the author team. You will be able to find the MonsterInsights license key from your account.
After activating the copy with the valid license key, you are good to go. After that, you will get access to their add-ons too. The first thing you need to do is to enable the eCommerce tracking add-on in your shop.
![]()
With this feature, you will be able to track your WooCommerce, LifterLMS, MemberPress, and also Easy Digital Downloads stores more accurately. Once you have activated this feature through your MonsterInsights settings, you will need to enable the enhanced eCommerce tracking on your Google Analytics property.
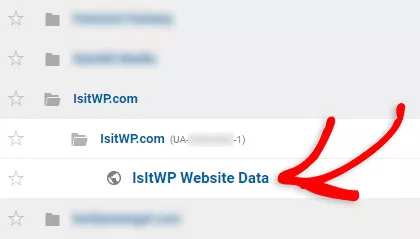
You will need to select the Google Analytics property that needs to be edited. If you have multiple properties, you can choose one from the Google Analytics dashboard dropdown.
The very next thing you need to do is go to the admin section.

This is where you manage the whole analytics property. From that page, you will be able to see the eCommerce settings.
![]()
You will need to turn on the eCommerce tracking for your website. Plus, we advise you to also enable the related product tracking on the domain.
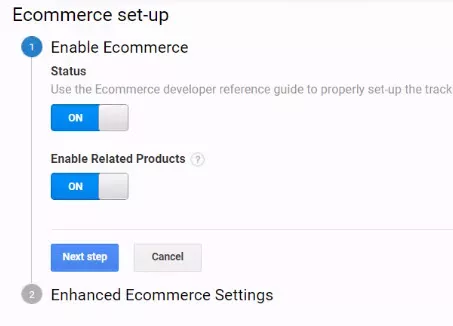
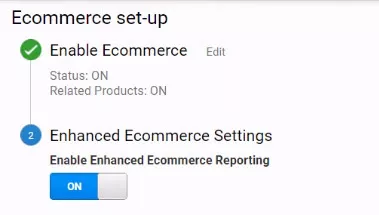
Move to the next step when you finished it. From there, you will be able to enable enhanced eCommerce tracking.
Now, you are right. You will need to do the same on your WordPress dashboard – enabling the enhanced WooCommerce tracking. Go to the MonsterInsights settings and eCommerce section.
From there, you can enable enhanced eCommerce tracking.
![]()
The system will automatically detect the plugin you are using for your store. Once you ave enabled this, you will need to save the settings. Within a few minutes, the data will be updated in your Insights, eCommerce section.
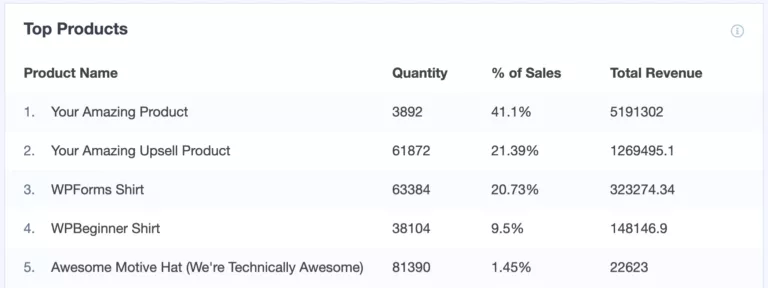
From the same page, you will be able to see the specific product reports too.
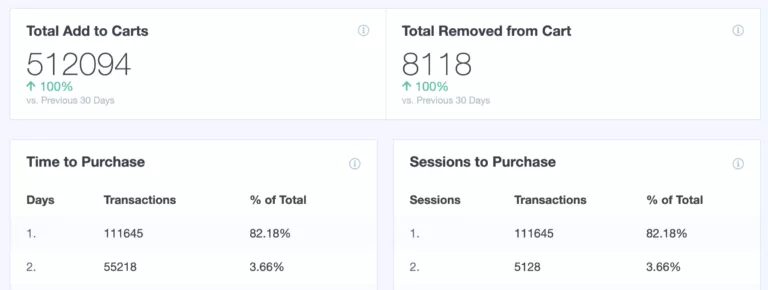
On top of that, you can also see the cart abandonment section on the page.
There are so many ways available for preventing cart abandonment, like making use of pop-ups, enabling exit-intent powered by OptinMonster, using WPForms for capturing abandoned entries, etc.
One another feature they will give you is, view the traffic sources.
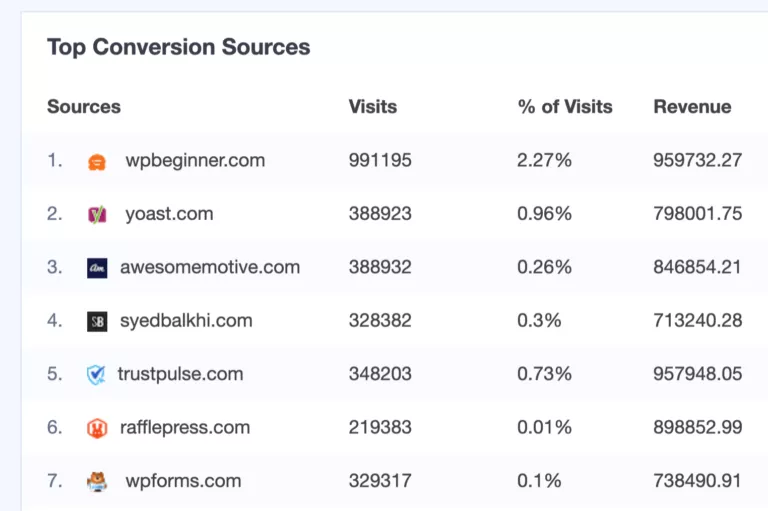
One plus point of this feature is, you will be able to see the generated review also. So, you will know which traffic source is performing well in your store.
That’s it!
This is how to add Google Analytics to the WooCommerce store and take the tracking to the next level.
Get Started With MonsterInsights
You can get the pro version of MonsterInsights from below.
Get MonsterInsights
$This is an affiliate link
We hope you have found this article helpful and learned how to add Google Analytics to WooCommerce. If you have enjoyed the read, feel free to share it with your friends and fellow bloggers on social media.
More awesome WordPress tutorials, theme reviews, and plugin reviews can be found on our WordPress archives section.
Related Articles you might like:
- How to track Affiliate Link Clicks in Google Analytics?
- Do you know the keywords people use to find your Website?
- How to easily set up File Downloads tracking on your WordPress website?
- How to set up Author Tracking with MonsterInsights? (Easy Way)
")
Did you find the article useful?
Then pin me to your Pinterest Board, so that more people will find me
(Remember: The more you give to the Universe, the more you will get from the Universe)
