Do you want to accept credit card payments on your WordPress blog? I know there are so many WordPress plugins and third-party services are available for collecting payments online.
Well, when you need to enable it on your business website. you need to hire a developer for creating the payment form, embedding it and securely sending the payments to your PayPal account or Stripe account.
And sadly, this will cost you hundreds of dollars!
Well no more…
If you are with WordPress for a while, you probably know the WPForms. And in this post, we are going to show you how can you accept credit card payments using WPForms plugin on your WordPress blog.
WPForms

WPForms is a freemium WordPress form builder created by Awesome Motive, Inc. The same company behind OptinMonster, SeedProd, MonsterInsights, RafflePress, etc…
The free version is called WPForms Lite got more than 2 million active installations.
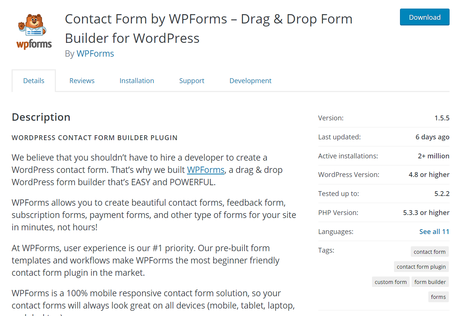
For the basic contact form, suggestion form and newsletter subscription form, the lite version is good enough. When you need more powerful features like Conditional Logic, file uploads, form abandonment, etc, you might want to consider the premium version of WPForms.
For accepting payments, you need the premium version of WPForms.
How To Accept Credit Card Payments Using WPForms?
First of all, go to WPForms. You need the Pro or Elite plan for the PayPal/ Stripe addon. Once you got purchased the plugin, log in to your WPForms account, download the premium version of WPForms.
After downloading it, log in to your WordPress blog, install it and activate the plugin. Plus, make sure that you have verified the license key.

This is how you will get access to their updates and premium add-ons. In our case, we are having a Pro license key of WPForms. So just like I said above, the PayPal/ Stripe add-on is available in the plan. These are the add-ons that will help us accept credit card payments on WPForms.
Now go to the addons page and search for Stripe.
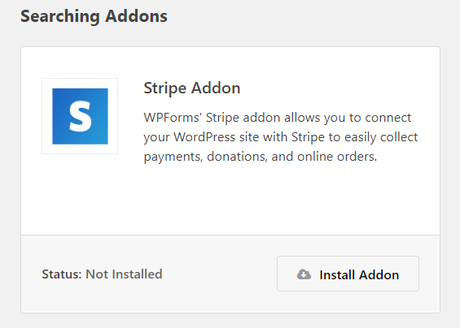
Install the addon on your blog.
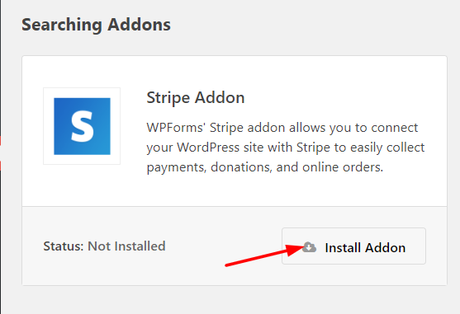
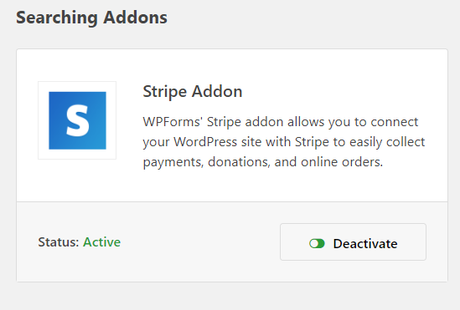
And within a few seconds, the addon will get installed and activated.
Alright. Now it is time to create a new form.
Go to the form builder. You could see a verity of templates there.
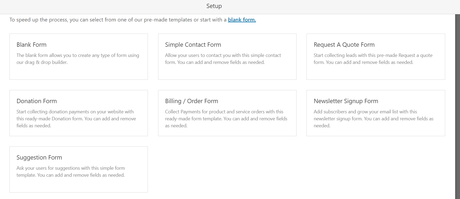
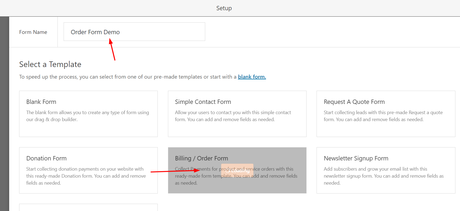
You could easily get started with a pre-made template or can create a form from scratch. Here, I am going to go with the billing/ order form.
Name your form and choose the template.
You’ll be redirected to the form building wizard then.
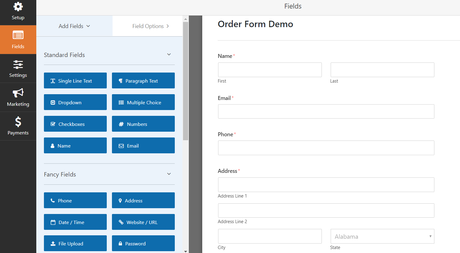
The team will add essential fields automatically to the form. Such as:
- Name.
- Email.
- Phone.
- Address.
- Message.
etc…
But we can always add/ remove those fields.
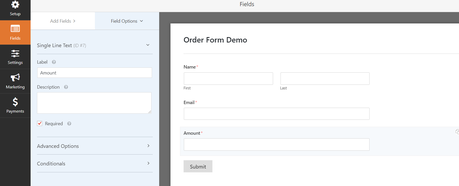
Under the WPForms payment field, you could see every field that you need.
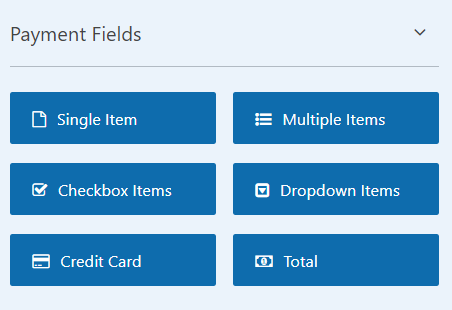
Just drag the wanted fields from there, drop them in the form builder wizard and you are good to go.
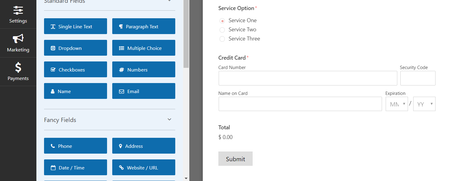
Save the form. We will come back here later.
Next thing we need to do is, go to the payments tab, enable Stripe.

Under the WPForms settings, go to the Payments settings. Choose the currency. This will act as your default currency.
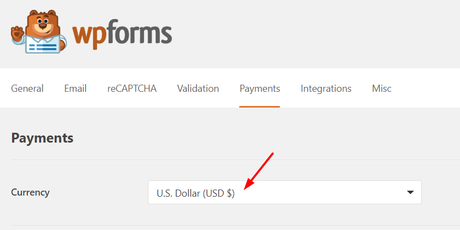
If your audience is from the USA, set USD as the currency. If you are from India and targeting Indian customers, probably you need to choose Indian Rupees as the currency. Well, we recommend you using USD as the currency.
Now, paste the Stripe publishable key and secret key.
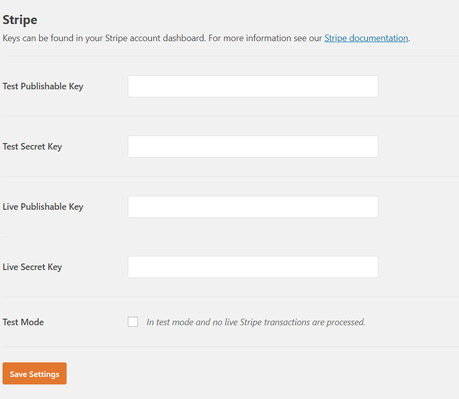
For these, log in to your Stripe account and go to the API Keys section.
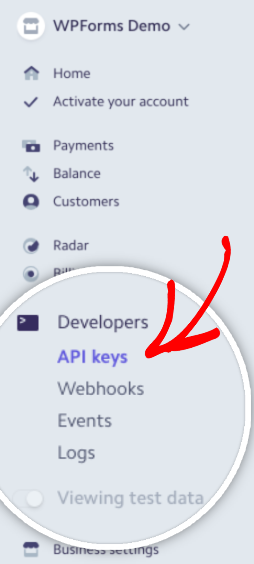
You could see the tokens there.
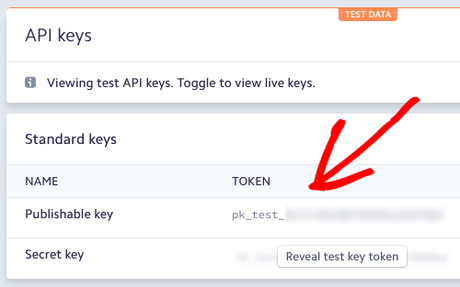
Paste the test keys to your WPForms settings.

Next thing you need to get is the live publishable key and the live secret key. If your Stripe account got fully activated, you’ll be able to recover them.
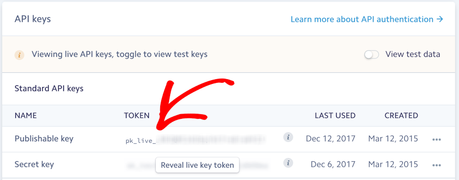
Paste those keys also to the Stripe settings and save.
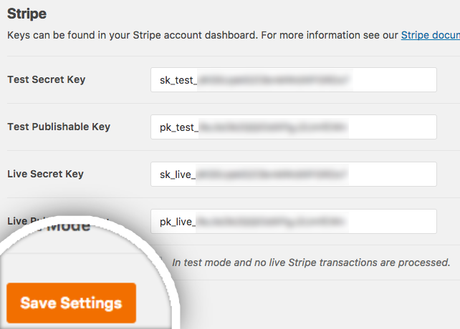
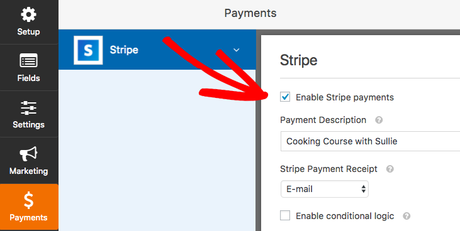
Now get back to your order form, go to the payments tab, Stripe. You will see that the addon got activated successfully. Enable the Stripe add-on and save the form. You are good to go.
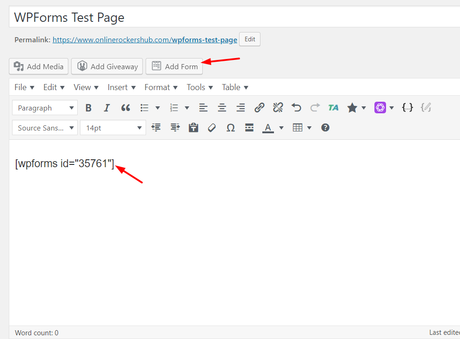
And embed the form any of your pages or posts. No need to add a single line of code. You could use form specific shortcodes for it.
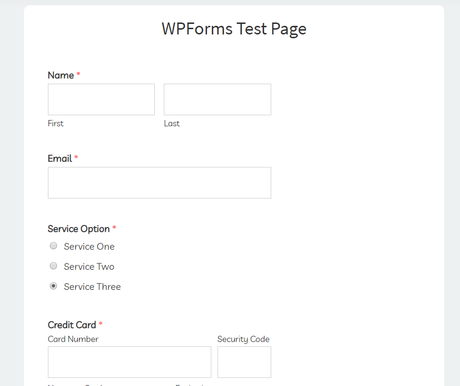
If you check the page from the front end, you could see the live action of the form.
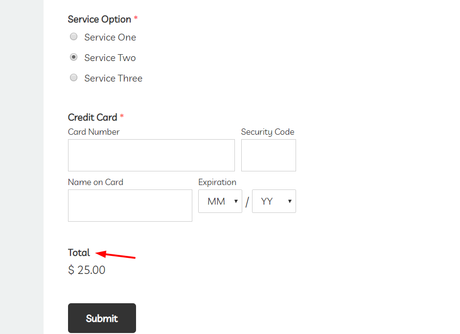
As you can see, we have added a checkbox field in the form. So when a user changes the selection, it will instantly reflect in the total amount to pay field.
That’s it!
Viewing The Entries
Thankfully, WPForms premium got a feature called entries which will list every form entries in one place. From the dropdown, choose a form and you’ll see the actions.
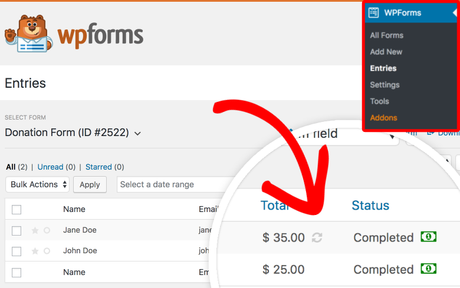
The payment will be sent directly to your Stripe account.
Get Started With WPForms
You could get the premium version of WPForms from below.
Get Started With WPForms (WPForms Coupon)
I am pretty sure that the investment is worth it.
Have you found this post helpful?
If you did, please consider sharing this post with your friends and fellow bloggers on social media. It would probably help someone to accept credit card payments on their blog.
