 Hello everyone!
I just finished my second round of training in…..wait for it…..HOT PROCESS SOAP MAKING….(insert scream)….dunt, dunt, duuunnnn!!!
Yep, that was my initial thought as the word Lye came into the conversation. However, going through the checklist and noting that safety glasses, gloves, and a mask are extremely necessary for any recipe containing this soaping ingredient, I felt safer. Although, the well written instructions helped as well.
This hot process soap recipe is pretty lengthy and I almost felt like I was engaged in a major project. So I decided to take each step slowly and precisely.
After reviewing the process, something I thought was interesting was that I would be using a crockpot to slowly cook the ingredients. Now, I will certainly never look at my crockpot the same way again! Please remember that you CAN NOT use this or any other household item you use for these types of recipes (containing Lye) for everyday cooking. They MUST be kept separate!
Now, another key factor for soaping is that all of the measurements must be exact in order for your recipe to work properly. Hot process is similar to cold process but you are “cooking” your ingredients in the crockpot. This heat speeds up the “saponification” process. Yea that IS a big word! What does it mean? It means “the process of the chemical reaction that the lye solution and the oils/fats/butters go through when making soap.” Another interesting thing I learned during my adventure was a little thing called a soap calculator. Yea, it’s a calculator used to determine if all of the ingredients you want to use are going to work together and figures out how much of everything you will need. This is a definite must in the world of soap making.
I knew I was gonna like this recipe when I was told to watch for when my creation looked like mashed potatoes and when it does…it’s done! I mean, who doesn’t like mashed potatoes? Keep in mind you must be patient when making this type of soap because the process is slow going. The stirring and cooking and watching is the longest part, aside from the setting up of the soap. This soap doesn’t look as pretty as some of the other recipes while in the molds, but the results are ones you will be happy with. If you don’t make your own soap, but you buy other peoples; I hope after reading this, you look at it a bit differently. Just knowing what all is involved in the homemade soap making process, gives you a whole new understanding.
However, I hope you all try this recipe if you have never made soap before.
Please Note: With the exemption of the lye and water, all other soaping ingredients can be purchased at Natures Garden. Also, if this is the first time you are attempting the process of making soap (like me), please review these classes to familiarize yourself with the processes.
Soap Making Safety
Making Your Own Soap Recipe
Soap Making Terminology
Finding the Perfect Recipe
Soaping Oils Properties
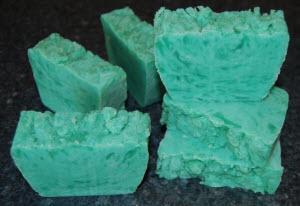
Here are the steps that I took to make my very first batch of Hot Process Soap. I also included pictures to show you the process. In the end, I ended up with (4) beautiful 1 pound loaves of soap.
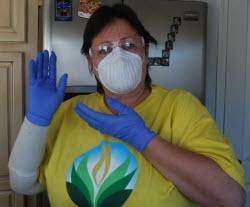
Step 1: Prior to making this hot process soap recipe, clean and sanitize your work area. Then, put on your safety gear. You will want to wear gloves, a face mask, and safety glasses while preparing this recipe.
Step 2: Now, turn your crockpot on a low heat setting. Then, place one of your mixing bowls on your scale. Next, weigh out the 503 grams of Olive Oil, 408 grams of Coconut Oil 76, 109 grams of Castor Oil, and 340 grams of Palm Oil.
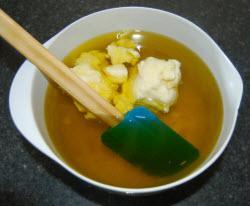
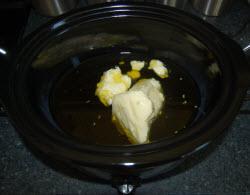
Step 3: Once you have all your oils weighed out, place them into the crockpot. Heat this on low until the palm oil and coconut oil 76 are in a liquid state. Stir occasionally.
Step 4: Now, get your two mixing bowls. In one bowl, weigh out your 188 grams of lye. In the second bowl, weigh out your 517 grams of water.
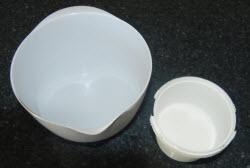
Step 5: Next, take your lye and water bowls to a well ventilated area. NEVER add the water to the lye! Slowly add small amounts of the lye to the water. Stir in between each addition of the lye to the water. DO NOT breath in the fumes. Continue doing this until all of the lye has been mixed into the water.
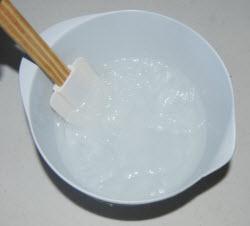
Step 6: Now, weigh out and add the 50 grams of sodium lactate to the lye water. Using your spatula, stir this slowly to incorporate.
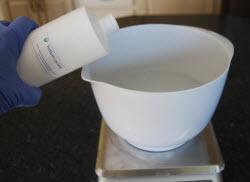
Step 7: Carefully, add the mixture of the lye water and sodium lactate to the crockpot. Then, give this a quick stir with your spatula.
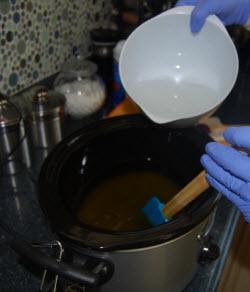
Step 8: Now, get your stick blender. Place the stick blender into the crockpot and start to blend. You will want to do this for about 10 minutes off and on. Keep your blend periods short. In between blending, use your spatula to clean the sides of the crockpot.
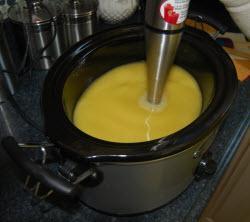
Step 9: Once the batter has been well blended, add 8 grams Teal Fun Soap Colorant. Now, stick blend to incorporate the color.
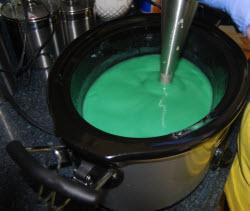
Step 10: As you blend in the color, you will notice the soap batter will resemble pudding. Now, take your spatula with a little bit of soap batter on it and carefully in a spatter like motion, let the batter fall back into the crockpot. You are looking for trace. You will know trace when you can see “lines” of batter from your spatula. A full trace is reached when the line stays on top of the rest of the soap batter.
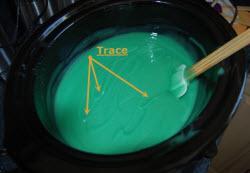
Step 11: After trace has been reached in your soap batter, place your lid on your crockpot.
Step 12: Stirring periodically with your spatula, allow your soap mixture to cook. You will want to check it every 15 minutes or so. This is done to ensure that the soap cooks evenly, and does not scorch on the bottom. As the soap cooks, you will notice along the sides of the crockpot that the soap looks dry. The soap batter will even take on a waxy look.
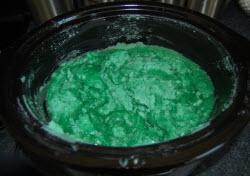
Step 13: After about an hour has elapsed, your soap batter will have the consistency of mashed potatoes. Now, place your mold on a flat surface near your crockpot. Please Note: This hour time can vary based on your soaping oils.
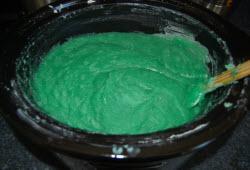
Step 14: You will want to move quickly for this step. If you are using herbs or other additives, you will want to add them now. If not, add 85 grams Purrs & Paws Fragrance Oil. Then, stick blend to fully incorporate.
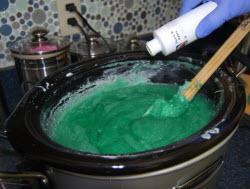
Step 15: Now, in a scooping manner; begin filling your pound loaf molds individually.
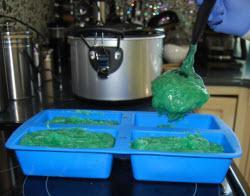
Step 16: When the mold cavities are all filled, carefully hit the mold against the counter top. This motion will release any bubbles of air that may be trapped in your soap batter.
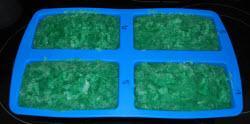
Step 17: Now, insulate your soap. Once the soap has been covered, let it cool and harden overnight (for about 12 hours).
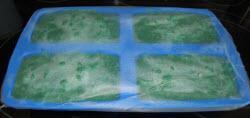
Step 18: The next day, when your soap has completely cooled and hardened, you can remove it from the mold. Then, cut the soap into bar size. Your soap is now ready to use. Please Note: If you are seeking a harder bar, allow the soap to cure longer.
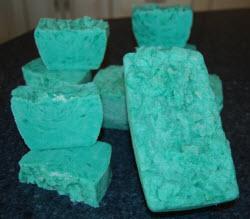
Overall, making this soap really was a lot of fun and I felt really creative, like a mad scientist….mmmwwaahahaha…(clearing throat)…
Well kids, until my next adventure, have a FABULOUS day!
Cindy
Natures Garden is not responsible for the performance of any of the recipes provided on our website. Testing is your responsibility. If you plan to resell any recipes we provide, it is your responsibility to adhere to all FDA regulations. If there are ingredients listed in a recipe that Natures Garden does not sell, we cannot offer any advice on where to purchase those ingredients.

