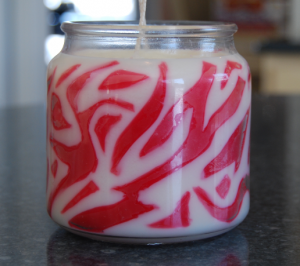
 How to make your very own homemade Zebra Candle!
This easy to make project is even fun to create. Besides the standard candle making supplies such as: soy wax, wicks, scent, color, and jars; you will also need beeswax. We will be using the beeswax to make the zebra stripes in the candle. Because of the pliability of beeswax, it has the capability of being shaped easily into stripes. Plus, due to the high melt point it has, beeswax can withstand a pour of another wax (soy), as long as the temperature isn’t too extreme.
Although for this project, the scent that was selected was Hot Pink Pomegranate Fragrance Oil, when you make your own zebra candle you can scent it to your pleasing. The same is true for the candle color. Since our fragrance oil has the name hot pink in it, the decision was made to make the zebra candle stripes pink on a white (or uncolored) background.
To see the full list of possible candle scents, please click on this link. There are over 800 different fragrances to choose from!
Here are your total recipe weights to make (2) 16oz. Zebra Candles:
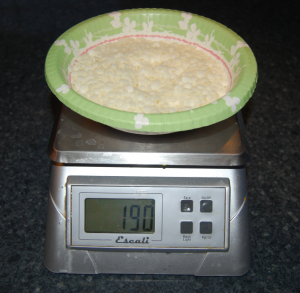
190 grams beeswax
2 drops candle dye (if making the candle like pictured)
129 grams of candle scent
1100 grams of soy wax
Other items that you will need for this recipe are:
wax paper
pencil
knife
9×13 cake pan
2- 16 oz candle jars
2 wicks
scale
2 pots (for double boiler method)
stirring spoon
cutting board
thermometer
Below are the steps to make your very own zebra candle (pictures included):
Step 1: Using the double boiler method, weigh out and melt 190 grams of beeswax. You will want to set the temperature of your stove top between medium and low heat while melting. Stir the beeswax occasionally as it melts.
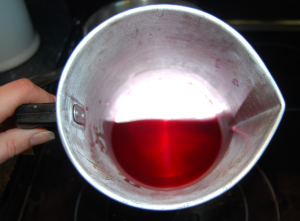
Step 2: This step is the colorant of your zebra stripes: Once the beeswax is melted, now you will add 2 drops of your candle colorant, and stir. Once you are done, place your pouring pot back into the heat source.
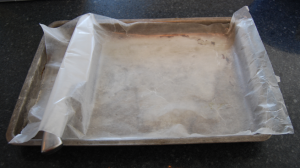
Step 3: To make the zebra stripes, you will need to concentrate your beeswax in a portion of the area in your cake pan. To do this, lay out your cake pan on a flat surface. Next, roughly measure out at least 9 inches in length. Hold this place by setting your knife across the pan. Finally, lay the wax paper over the cake pan and knife. Carefully, tuck the corners of the wax paper down.
Step 4: Now it is time to scent your beeswax: Remove your beeswax from the heat source. Weigh out 19 grams of your candle fragrance oil. Then, add the fragrance and stir to incorporate it throughout the wax.
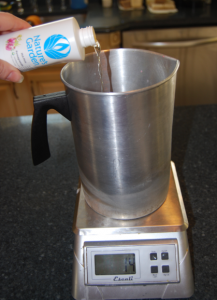
Step 5: Now, take your beeswax and slowly start to pour it over the flat portion of the wax paper. Allow this to fully set up. Do not try to rush this step. Cooling beeswax too quickly, may cause it to crack!
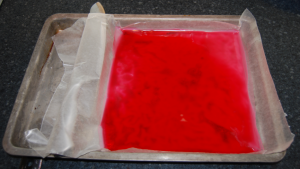
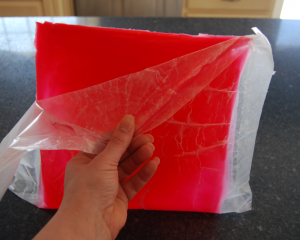
Step 6: Once the beeswax has hardened, and is cool to the touch; gently remove it from the cake pan. Carefully stand the square on one end and starting in one corner, peel away the wax paper. Then, place the beeswax on your cutting board. Finally, cut off any jagged edges using your knife.
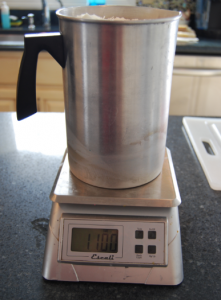
Step 7: For the background of your zebra candle, you will be using soy wax. In order to have enough wax for 2 candles, weigh out and melt 1100 grams of soy wax. Melt this wax using the double boiler method. While the wax is melting, stir occasionally.
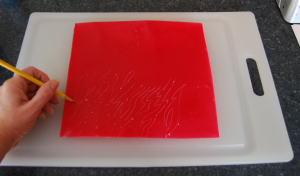
Step 8: You will create the zebra stripe pattern using the tip of a pencil. Trace this lightly into the beeswax. The shape that you will want to draw will be various sized long and irregular lines similar to tree branches. When you are finished, cut these lines out.
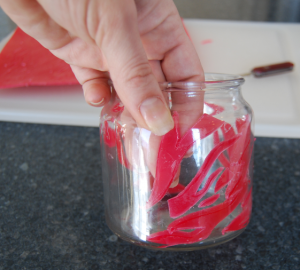
Step 9: Once you have a few of your stripes cut out, carefully begin to place them individually against the inside wall of your candle jar. It is best to start at the bottom of your jar and work in an angular direction. Apply slight and even pressure until the stripes stick. Repeat this step until you have the zebra design you are looking for. Then, do it again for your second candle.
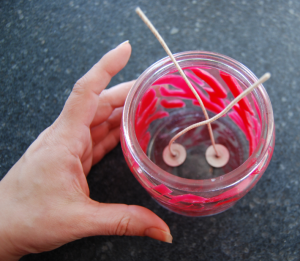
Step 10: Center and secure your wicks to the bottom of your candle jars. Then, set aside.
Step 11: When your soy wax is in a completely liquid state, remove it from the heat source. If you are adding color to the background of the zebra candle, do this now. Then, add 110 grams of fragrance Oil. Stir again.
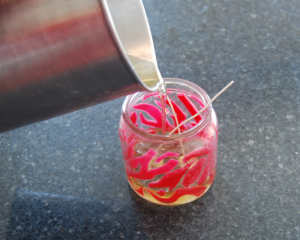
Step 12: Using your thermometer, wait until the soy wax reaches 115 degrees Fahrenheit; this temperature will not melt your zebra stripes. Pour the soy wax into your candle jars. Don’t forget to straighten your wicks. Allow the candles to fully set up undisturbed.
Now it is time to celebrate, your Zebra candles are now ready to use. Simply trim your wick, light, and enjoy your new awesome candle.

