Texture-wise, these cheesecake cupcakes are like most Japanese cheesecake being mildly sweetened and milky. Texture-wise, although these cupcakes are cottony, they are extremely light and heavenly...
Extremely light and heavenly? These cheesecake cupcakes turned out to be just like what I have predicted after comparing the recipe with the popular fail proof Japanese cheesecake recipe at here. They are so light because the recipe contains the same amount of eggs, only half of the flour and has its butter totally replaced with condensed milk resulting a high souffle content, thus resulting the cake texture to be extremely light and feathery. NOT oily and NOT dense at all!!! Super nice!!!
Due to its high egg and less flour proportion, I have to say that these cheesecake cupcakes are not easy to bake and so look-wise, these cupcakes are not perfectly flawless on their top surfaces and can be a little wrinkly after cooling. However, I wouldn't complain their slightly imperfect look because their light heavenly texture is actually very nice to enjoy!
Did I said that these cupcakes are not easy to bake? ... but please don't be intimidated as I'm happy to share many baking tips with you and hope that you will enjoy baking these heavenly light cheesecake cupcakes too.
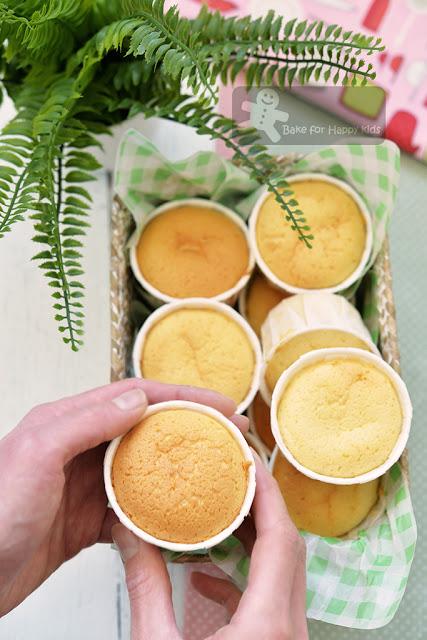
Heavenly Light Japanese Cheesecake Cupcakes
Tip One: The Oven!
Due to the fact that these cheesecake cupcakes are made with high egg proportion and low amount of flour to stabilize them, they can be very heat-sensitive to bake.
Hence, these cupcakes can't be bake with high oven temperature, fan-forced oven and require steam baking. I hate hate hate steam baking!!! ... because the different amount of water used for steam baking can create a lot of differences in the overall oven temperature. Although I have tried baking my Japanese cheesecakes with NO bottom heating and NO steam baking at here and here before, I still reckon that steam baking is required to bake these cupcakes!
So for these cupcakes, I'm using this baking strategy with 1) the usual oven top and bottom heating with no fan forced at 160°C for the first 5 minutes and at 120°C for 30 minutes or until firm and 160°C again to brown the top for 10 minutes 2) steam baking at the bottom tray with 500ml hot water (well measured) with the water NOT touching the cupcakes while baking 3) an empty tray (I called it the top heat shield) placed at the highest position of the oven to avoid strong heating released from the top of the oven.
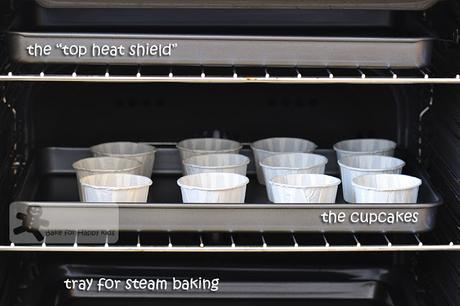
This is how I set up my oven to bake these heat-sensitive cupcakes.
Tip Two: The Baking Cups!
I have tried a few different baking cups to bake these cheesecakes before and only the sturdy kind of baking cups with NO non-stick or waxy surfaces works the best!
So please...
Do not grease or line or use baking pans with non-stick surfaces to bake the cakes. The cake batter require a surface to grab and rise properly while baking or if not, the sides of the cakes will turn out to be rippled and they will shrink very badly into concave shapes when they are completely cooled.
Do use disposable plain paper baking cups that are sturdy and can stand on their own. Remember... NO non-stick waxy surfaces!!!
Do not over fill the baking cups with too much batter. Each cup should be just two-third filled as over-filling the cups will cause the cupcakes to erupt like little mount Fuji. LOL!
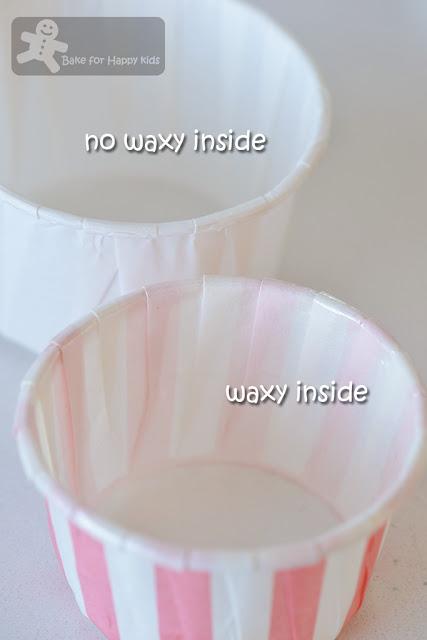
Please do not use baking cups with waxy interior.
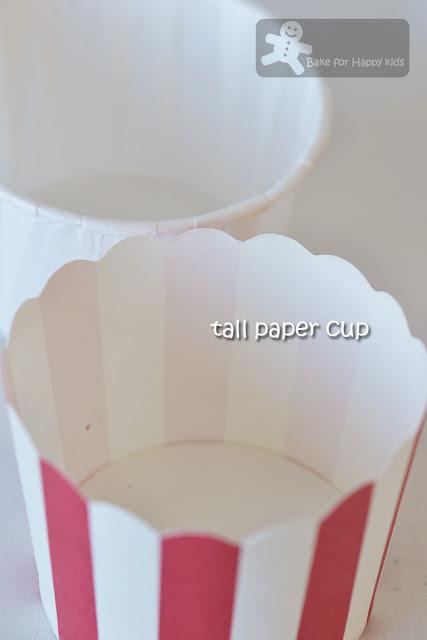
Besides the plain paper cups that I used, you can use these tall kind of paper cups too.
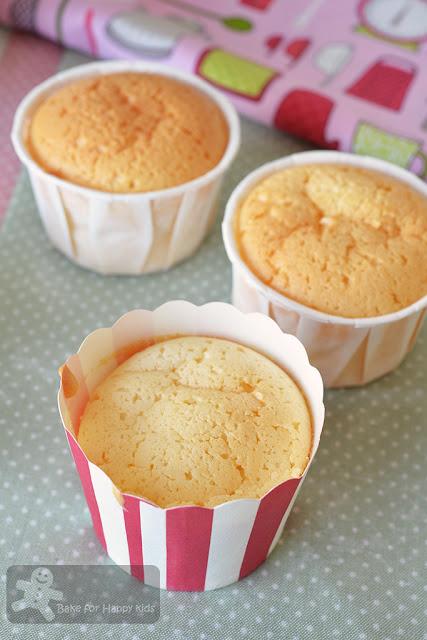
See... It works. And the cupcakes are not oily at all!!!
Tip Three: The Ingredients!
All the ingredients need to be at room temperature. Otherwise, the cream cheese will not be well incorporated when it is mixed into the egg yolks mixture.
Due to the fact that different eggs are different in sizes and weight, I would strongly advise you to use the exact weight of all ingredients especially the eggs!
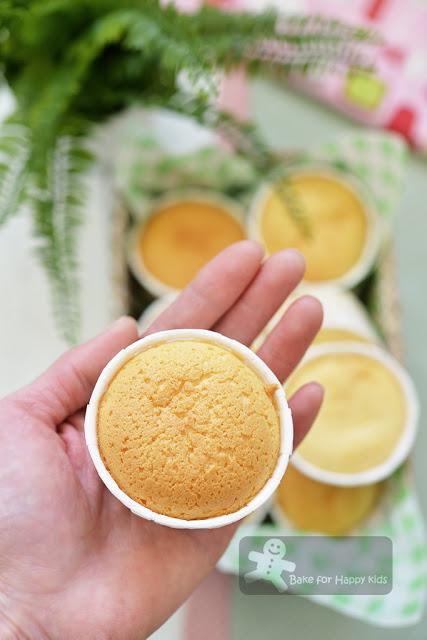
Ta dah!
If you've followed the recipe and tips faithfully, you should be able to bake these yummy cupcakes.
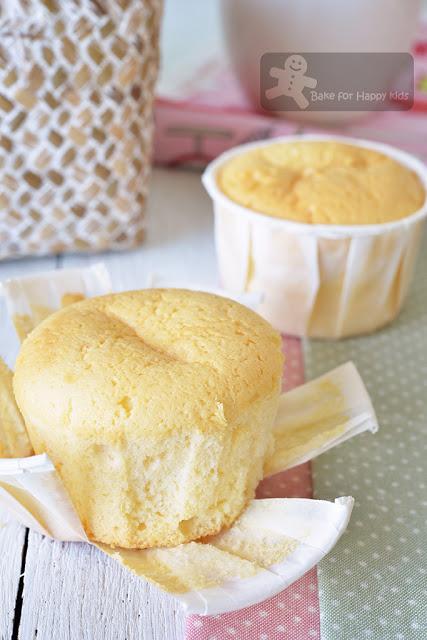
Nice milky taste...
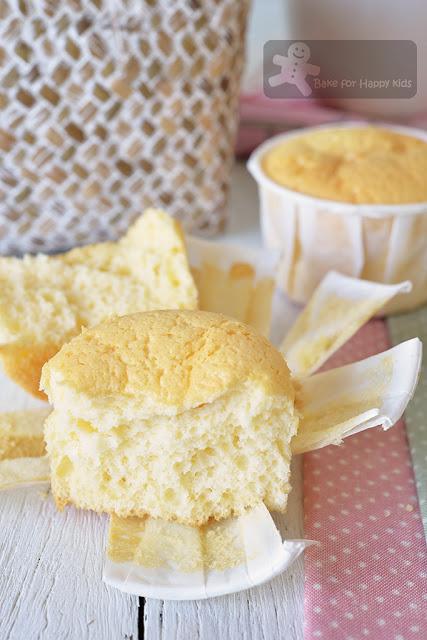
... with superb heavenly light cottony texture :)
Still not sure? You can watch my one-minute to see how I baked these cupcakes...
Here's the recipe that is adapted from The Baking Biatch
Makes twelve to thirteen medium cheesecake cupcakes, about 6 cm diameter each
IMPORTANT: All ingredients need to be at room temperature. Otherwise, cream cheese will not be well incorporated. In order to yield the ideal consistency, please use the exact weight of all ingredients.
A
100g cream cheese*
50g condensed milk** please do not use the reduced fat ones.
B
60g egg yolks, about 4 large yolks
35g egg whites, about 1 white
35g vegetable oil, preferably something that is light and neutral tasting
C
50g all purpose flour
D
105g egg whites, about 3 large white
1 tsp lemon juice
45g caster sugar
Place a baking rack in the middle position, another in the highest position and another in the lowest bottom position of the oven. Place an empty baking tray on the highest rack as a top heat shield and another empty and deep baking tray on the lowest rack. Preheat oven at 160°C / 320°F with top and bottom heating with no fan forced.
Bring 2-3 cups of water to boil and have a deep baking tray ready to use later.
For A:
Place cream cheese in a large heat proof bowl. Place the bowl on a pot of simmering water (not boiling but cook with low heat). Use a spoon or spatula to mix cream cheese until melted and smooth. Add condensed milk and mix until both are well incorporated. Remove cream cheese from the heat and set aside to cool slightly. Do not discard the hot water as this can be used as the hot water for steam bake later.
For B:
Combine all in B in a large mixing bowl. Use a hand whisk to whisk until combine. Set aside.
Combine A and B:
Use a hand whisk to combine mixture A and B until mixture is smooth and not lumpy.
For C:
Sift flour into mixture AB and whisk until mixture is smooth and combined.
For D:
Using an electric mixer with whisk attachment, beat egg whites with low speed for about 3-5 mins or until foamy. Beat in lemon juice for about 1 min. Increase mixing speed to medium low but not too high to avoid forming large bubbles. While beating, add sugar gradually in batches and continue to beat until stiff peaks form. Do not over-beat the mixture as the mixture should be smooth and glossy.
Combine all mixture:
Fold egg white mixture (D) into cream cheese mixture (A+B+C) in 2-3 batches. It is ok to mix the 1st batch of egg white more vigorously into the cream cheese mixture but the subsequent portions must be folded in very gently. Mix until all are well combined with no white streaky bits. Divide batter into the prepared cups to 2/3 full. Do not over-fill the cups! Give each of the baking cups a gentle tap to remove large bubbles in the batter and arrange them in a baking tray.
Just before baking, pour 2 cups (500ml) hot water (not more or less as the difference will affect the oven temperature) into the deep baking tray placed at the bottom of the oven. Then place the tray of cheesecake cupcakes onto the middle rack immediately.
Bake the cake for 5 mins, then reduce the oven setting to 120°C with top and bottom heat with no fan forced!!! and continue to bake for 30 mins or until the cakes are firm enough to touch. If the top of the cake still look pale, remove the "heat shield" tray and increase the temperature to 160°C and continue to bake for another 5-10 mins or until the top of the cake is golden brown.
After removing the cakes from the oven, drop it from a 20 cm height twice to minimise shrinkage. Place cupcakes on a wire rack and allow them to cool to room temperature. Serve and enjoy!
Store any uneaten cupcakes in an airtight container at room temperature for up to 3 days.
Happy BakingPlease support me and like me at Facebook...
