I can't stop thinking about the contents of red bean paste selling in the shops like... 1) What are the fats and sweetener that are added into the paste? Are the fats high in trans or saturated fats? Are the sweetener high in fructose? 2) How much fat and sweetener are added into the paste? Considering all questions, making my own red bean paste seems to be the only way to please the always-questioning me.
Having said that, I have to admit that the healthiest form of red bean paste red bean paste made with the least amount of fat and sugar is never smooth and tasty enough for an ultimate enjoyment. Hence, I have to make my paste with this most minimal amount of oil and sugar to satisfy my sweet-tooth boy and at least, the good thing is I know that I'm not making my red bean paste with the kind of no trans fat healthful oil that I want.
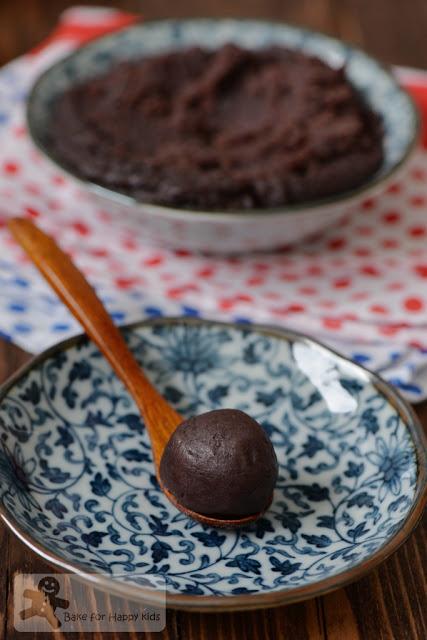
Homemade smooth red bean paste / hong dou sha 红豆沙
Unlike the paste that I have made before, this batch of paste was made using a different method that I have seen at My Little Space. Instead of pressing the beans through a sieve, Kristy (My Little Space) puréed the beans thoroughly with a good amount of liquid to produce a fine textured bean purée and used the purée directly to cook into a paste. Easy!
However, please bear in mind that this method will require extra time to 1) soak the beans long enough to ensure that the beans are thoroughly hydrated and I soaked mine for 24 hrs. 2) cook the beans for at least 2 hours so that the beans are so tender that they can easily squashed even with a gentle touch. 3) cook the paste longer as it contains extra liquid when it is puréed.
Using this method, I can't safely say that this is the real Koshian kind of Japaneses red bean paste as the skins of the beans are not removed. Despite that, I like to strongly emphasize that the red bean skins are actually good for our health! As we all know that adzuki beans are high in protein, fiber, mineral, calcium, phosphorus and magnesium, the skins itself contains most of the dietary fiber and the goody bits of the beans. Health-wise, I would say that this method of making homemade red paste is actually the best!
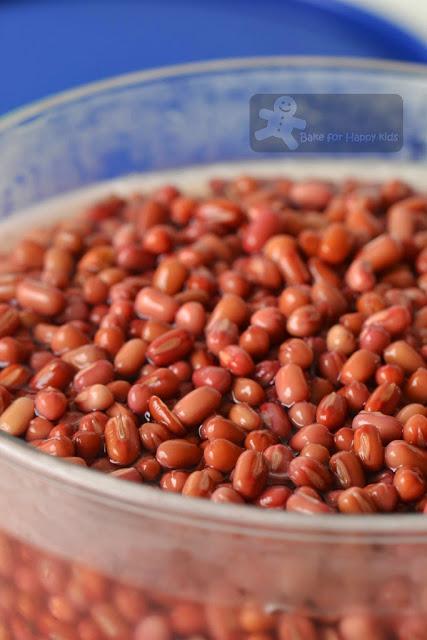
To start, soak the beans well for at least 24 hours.
Please soak the beans at room temperature for the first 12 hours, then in the fridge for the next 12 hours or the beans might go off after soaking for 24 hours at room temperature!!!
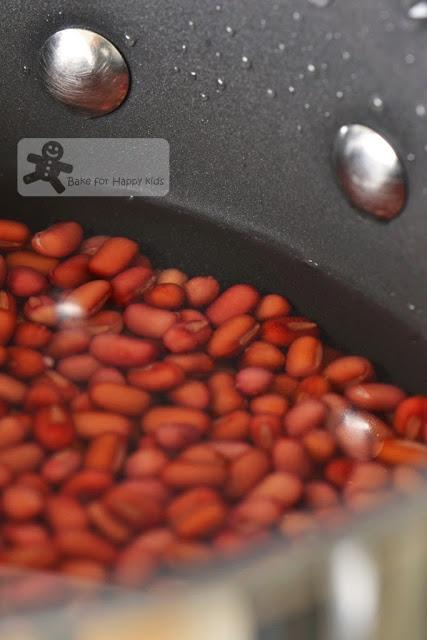
Cook the beans with just enough water to cover the beans.
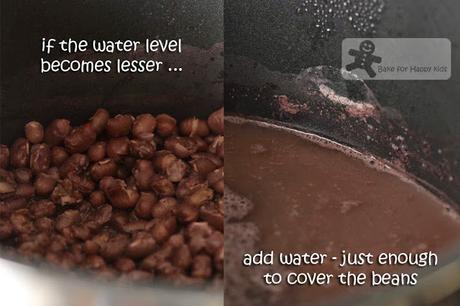
Check the cooking every now and then to make sure that there is enough liquid to cook the beans.
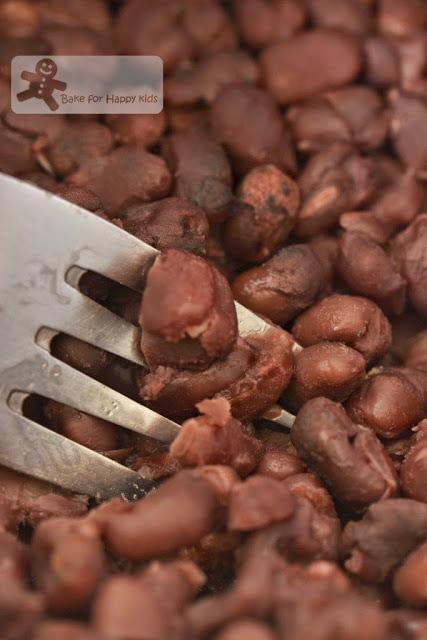
I have cooked the beans for at least 2 hours and they are extremely tender.
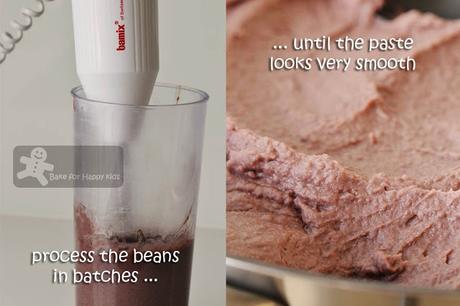
To process the beans well enough, you have to do it in batches.
If the mixture is too thick to process, you can add a minimal amount of water while processing it.
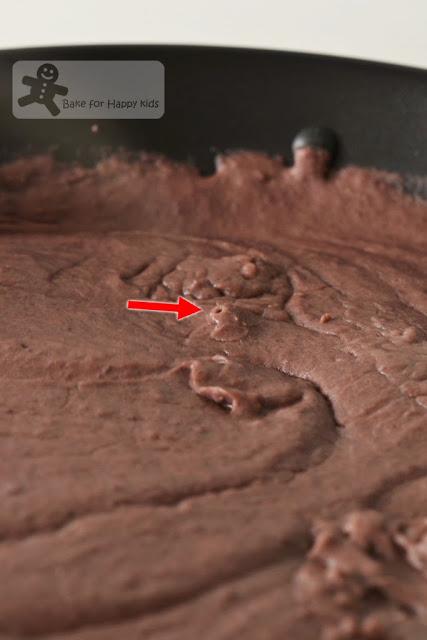
Cook the purée in a large surface frying pan until it thickens.
See the arrow... You will see volcanoes erupting with steams when you are at this step.
When the volcanoes are almost gone, this shows that the paste has thickened enough.
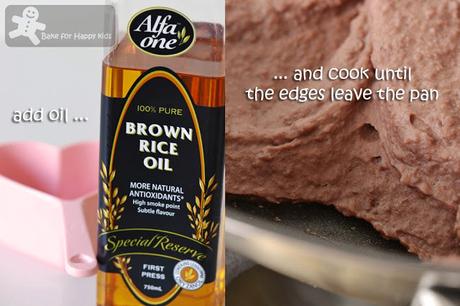
Then, stir in the oil.
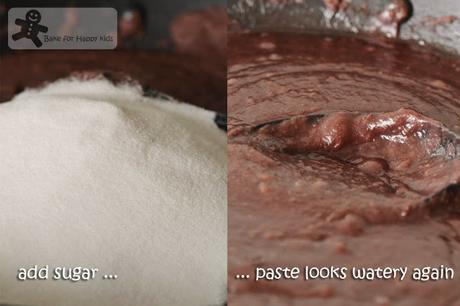
Then, stir in the sugar.
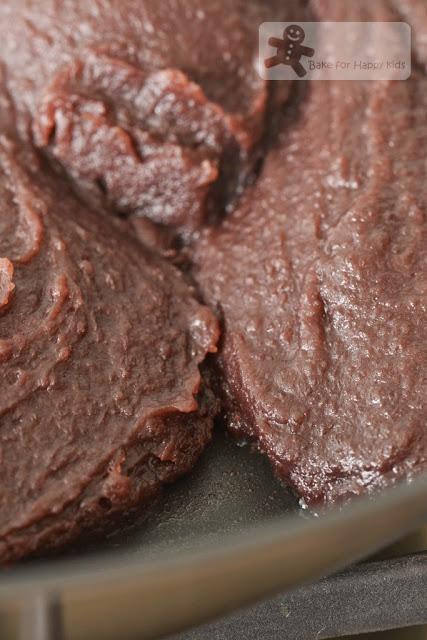
... and cook until the edges leave the pan again.
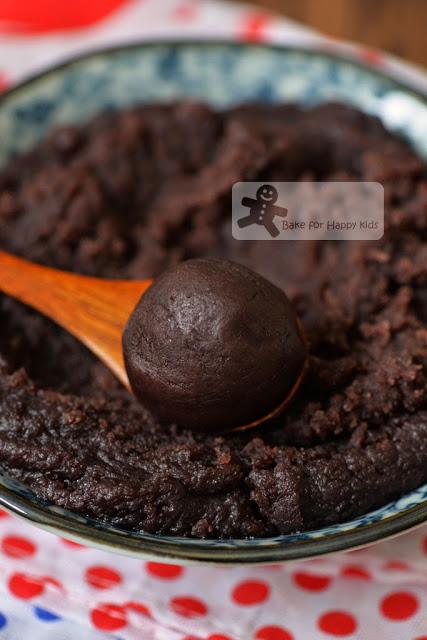
Here you go...
This is my nice and smooth homemade red bean paste.
Although this red bean paste is not as fine and smooth as the sieve-passing Koshian kind of Japanese red bean paste that I have before at here, I reckon it is still smooth and delicious enough. Plus it is actually healthier with extra fibers and antioxidants as the red bean skins are not removed.
Here's the recipe that I have mostly adapted from My Little SpaceMakes about 4-5 cups of paste depending on the amount of moisture in your paste
1 pack of red azuki beans, 375g
1 cup (250ml) oil, preferably something healthful
350g caster sugar*Please note this amount of oil and sugar added is just right to make the paste tasty. This paste is not overly sweetened and not greasy kind of smooth. Please feel free to add more oil and sugar if you wish but please do not reduce these amounts any further.
*I have noticed that the addition of white sugar instead of brown sugar gives the paste a more glossy texture.Wash the beans with water. Place them in container with excess amount of cold water and soak for at least 24 hours with a cover. To avoid the beans from going off in at room temperature, I soaked the beans at room temperature for the first 12 hrs and in the fridge for the next 12 hrs.
After soaking, drain beans and discard water. Then, rinse the beans with adequate cold water.
Place beans in a large boiling pot with water that is just slightly above the beans, and bring to a boil over high heat. Reduce heat to medium-low, cover the pot and allow beans to simmer for at least 2 hr, or until very very very soft and tender. IMPORTANT: The beans should be very tender that a little touch would squash them into mashes. While cooking, make sure the water level is always slightly above the beans. Always add in more water if required. When the beans are cooked, remove the pot from the heat and set aside to cool slightly.
When the beans are still warm, use a blender or a hand held processor to process the beans and its liquid in batches, making sure that bean purée is smooth and well processed. Do not leave the beans to be thoroughly cooled as the cooled beans will be stickier and you will need to add more water to process them.
Place bean purée in a frying pan with a large surface area and cook with medium low heat with stirring until it thickens.Stir in the oil and continue to cook the paste with medium low heat with stirring until the mixture starts to leave the edges of the pan. Stir in the sugar and continue to cook the paste with medium low heat with stirring. The mixture will look "wet" again after the addition of sugar and so it needs to be cook until it starts to leave the edges of the pan again.Remove from heat. Allow the paste to cool completely at room temperature and it will be firm enough to be rolled into smooth glossy balls for you to make your desserts, mooncakes or Dorayaki.To store, wrap it in portions and store in the refrigerator for up to 2 weeks or in a freezer up to 3 months or until ready to use. To defrost, place the frozen paste in the fridge and allow it to thaw overnight.
As this paste is made with minimal amount of sugar with no preservative, I would not recommend storing it for more than 3 days at room temperature. However, if it is used as mooncake filling in baked mooncakes, it is ok to store it as baked red bean mooncakes for up to 7 days at room temperature.Happy CookingPlease support me and like me at Facebook...
