I’m Ann Clipperton. For me, 2013 is a year of extracting the heart of life and setting everything else aside. You can read more about it on my blog, How to Eat an Artichoke. Also, I like food. Boyfriend likes to say the following about food: “I’m going to eat it with my mouth.” While he does that, I’m going to write about it here (and eat it with my mouth, too).
One of the principles I’m learning about cooking is that putting a bit more effort into what I eat makes me feel better both physically and emotionally. I’m also learning a lot about pampering vs. nurturing myself, especially when it comes to food. Back when I had the super stressful job, I’d often skip lunch. Part of it was that I felt too busy to prepare food and eat it, and part of it was that I didn’t want to make yet another decision in the cesspool of other, bigger decisions writhing in my brain. If we want to delve deep into the psyche, my lunch-skips probably had something to do with my need for control when my external world felt out of control, or with punishing myself for things I felt guilty about. It was a terrible cycle.
On a few of the worst days, I’d get to 5 or 6 or 7 p.m. — whenever it was time to go home — and realize that all I’d consumed was a cup of coffee. You’d think that I would have lost weight during this time, but it was just the opposite, because I’d go home ravenous, so I’d order a large fast-food meal and eat a large portion of whatever dessert would soothe me. This was a pampering for myself that caused me to gain about 30 pounds over the course of two years and wind up exhausted and unhealthy. It gave me an immediate comforted reaction, but, in the long run, drove me deeper into a twisted cycle.
I’m happy to say that I’m untwisting that cycle. I made some life changes to remove myself from some of the situations that triggered the dysfunction. For the ones from which I couldn’t remove myself, I went to counseling. I’m learning that nurturing myself takes a bit more work, but the investment is worth it. Each time I crave fast food or six cookies in one sitting, or not want to eat at all, I have to stop and examine my motivation. Do I really want French fries, or do I want the feeling that comes with their salty goodness? It’s not that I can never eat French fries. It’s that I shouldn’t eat them when I’m expecting them to fill some sort of void. I should enjoy them, not abuse them.
I love carbs, so I’ve had to try to find ways to infuse my carbs with actual nutrition instead of just empty calories. Homemade bread is a decadent treat, and I love the grainy, hearty texture in brown breads. It’s actually more easy to make bread than you might think. This particular recipe has very little oil, and its sweetness comes from molasses instead of refined sugar. I swapped out the white flour for whole wheat. Bread-making involves a bit of chemistry. I’m no master baker, and I’ve made several loaves that have not turned out well. But it’s the willingness to fail that has led me to understand the most important components of bread-making. Here’s a guide on how to make easy bread:
OATMEAL MOLASSES BREAD
from www.tasteofhome.com
- 2 cups boiling water
- 1 cup quick-cooking oats
- 1 package (1.4 oz) active dry yeast
- 1/2 cup warm water (110-115 degrees F)
- 1/2 cup molasses
- 1 tablespoon canola oil
- 1 teaspoon salt
- 6 to 6.5 cups all-purpose flour
- 1 teaspoon butter, melted
I just got some amazingly quirky cat measuring cups. I love them as if they were my children. Here are all the ingredients laid out. That bag of oatmeal gave me a lot of trouble.
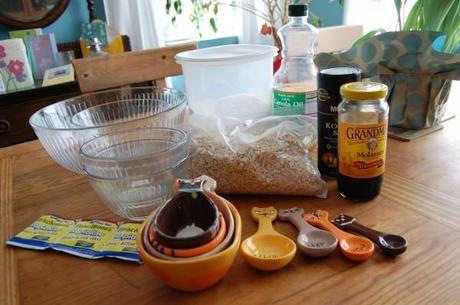
Start by cooking up the oatmeal. The recipe says 1 cup quick-cooking oats, which equals two cups of cooked oatmeal. I had Quaker oats saved in my pantry in that bag, and when I opened it, little webs appeared as I pulled the two sides of the ziplock apart. Some little bugs were having a grand feast. Make sure your ingredients are still useable. I opted to use some of my special, steel-cut oatmeal, which was a good decision in the long-run.
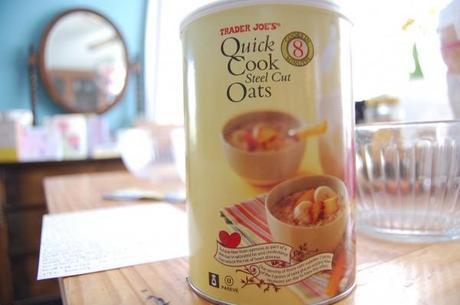
I calculated out the final amount of cooked oats to make sure that I needed to cook up the same amount of steel cut oats. It was the same — 1 cup.
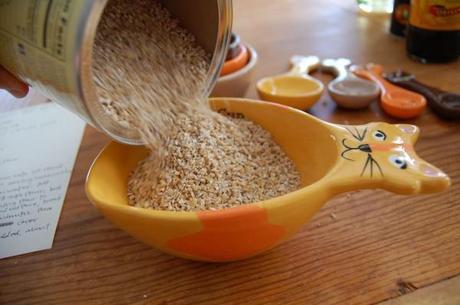
Happy kitty:
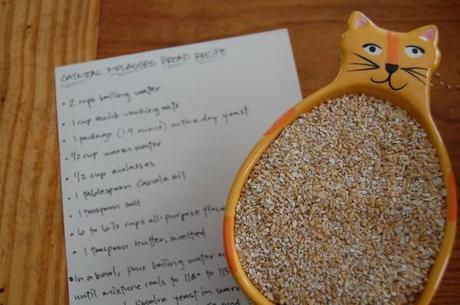
Once the oats are cooked, you want to let them cool until you can touch any part of the cooked oatmeal without burning yourself. This isn’t explicitly stated in the recipe, but is very important, because if the oats are too hot, they will kill the yeast, and your bread won’t rise. That’s one important thing to remember when working with yeast. Hot temperatures will kill it. It’s not as complicated as you might think. Just think luke warm and go with that. I’ve never even used a kitchen thermometer. Use a big bowl — you’ll be adding more stuff to this later.
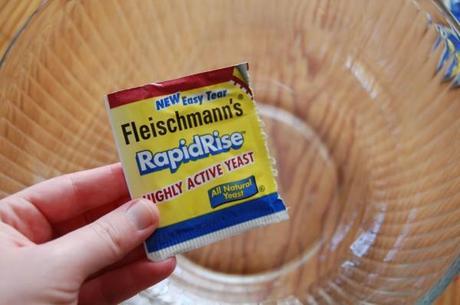
Next is the complicated part, which really isn’t that complicated at all. Turn on the faucet. Put your finger in the water. Wait until it gets pleasantly warm — maybe just a tad hotter than pleasant, because it will cool a bit in the bowl. Put 1/2 cup warm water in the bowl, and add a packet of yeast. I choose RapidRise, because I’m an American and like immediate gratification. (Thumbs are such odd-looking things.)
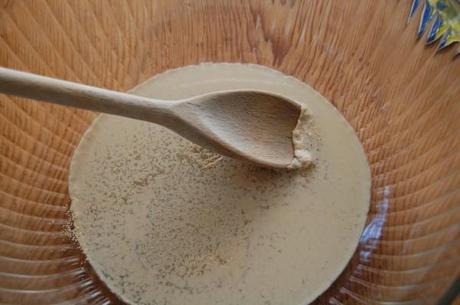
Stir it very gently into the water, and set aside.

Soon the top will have a lot of little bubbles on it, and you may see parts of it move as it activates. Now you’re done. That wasn’t so scary, was it? Once the yeast is dissolved, add in the molasses, oil, salt, cooled oatmeal, and 3 cups flour.
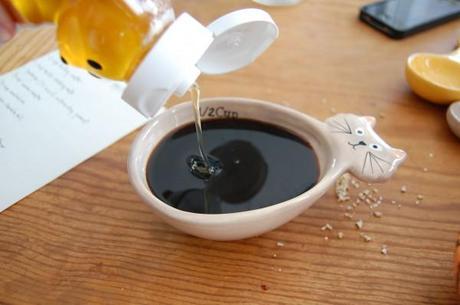
I also ran into some problems with the molasses in that I didn’t have enough left from the last time I made bread. So, I improvised with honey. (Also, I think this is my favorite of the cat cups. Look at his subtle, cheshire smile. I’ll call him Seymore.) If you run into a situation where you also have to improvise, by all means, try it and see what happens. Good cooks aren’t afraid to try things — and fail. I was pretty confident the honey would be okay, since it’s a similar consistency to molasses, and a similar sweetness.
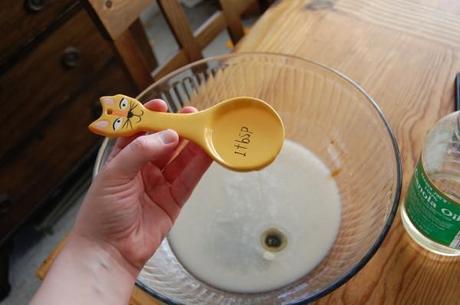
I couldn’t believe how little oil is in this recipe, but the oatmeal and molasses give it the necessary moisture.
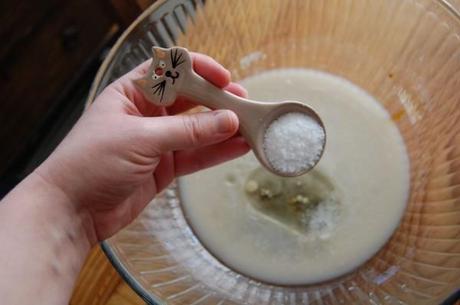
Mmmmmm. Salt is one of my favorite things.
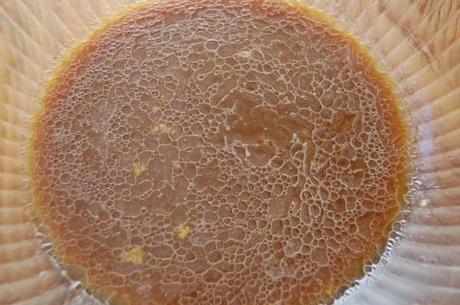
Stir in these ingredients before adding the flour and oatmeal, to ensure that they’re well-blended.
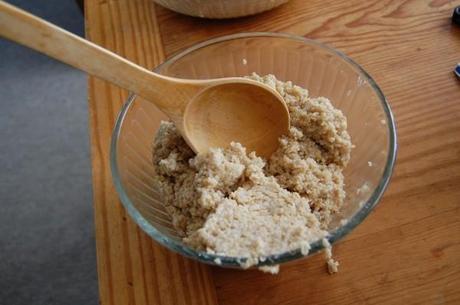
The oatmeal is cooled and ready to go. Add it in.
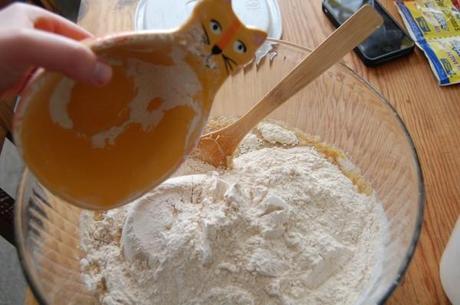
And finally, the flour.
Here’s another part where it feels tricky, but all it really takes is some tenacity. You’re beginning the process of kneading your bread, which distributes the yeast through the dough and will ultimately determine how well your bread rises. I start by stirring this mixture with a spoon, but once it gets tacky enough, I cast the spoon aside and use my hands. It’s just easier. Those who have a Kitchen Aid are lucky and can leave the work up to it. But don’t let a lack of machine stop you from having your bread and eating it too. You can use your own muscles, but it will take some work.
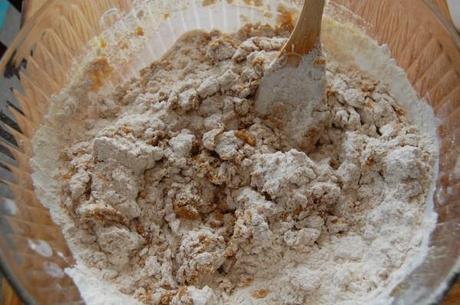
This is the beginning. Eventually all this will start to blend into a brown mass of dough.
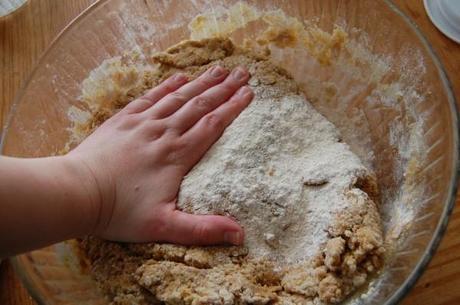
I always add a bit of flour when I dig in with my hands, so they don’t get super sticky from the dough mixture. You’ll notice that the recipe calls for 6-6 1/2 cups of flour, but we’ve only put in three so far. I gradually added the remaining cups as I kneaded the dough the first time, and also after the first time of rising when you punch it down.
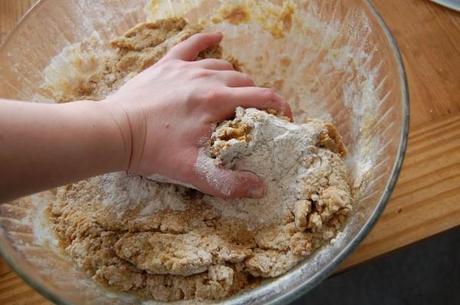
You’ll be doing this for what seems like an eternity, even though it’s only about 6-8 minutes. Don’t cut corners here. Get your friends to come help. Set a timer. It’s really important. I do the kneading in a bowl to save the mess, and also because my kitchen doesn’t have a great counter space for doing this. The wood table you see belongs to someone else, so I don’t want to get oil on it. Also, I actually use two hands when I’m doing it, but holding the camera takes one hand, so that’s why I look like I’m missing a limb in these pictures.
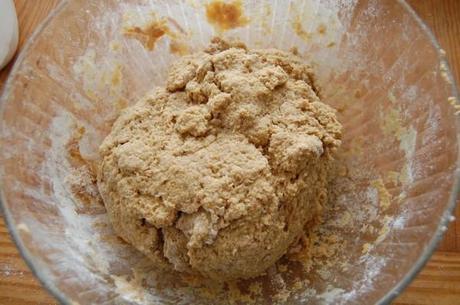
When you are finished kneading, it will look a little something like this.
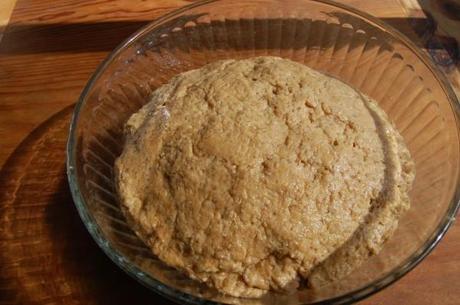
Take another bowl and pour a little oil into it. Place your ball of dough directly in the oil, and turn it, so the dough is fully coated. Then leave it in that bowl.
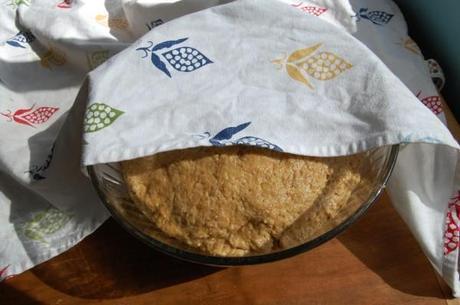
Put it in a warm place, like in the direct line of sun streaming through the window, and cover it with a dish towel.
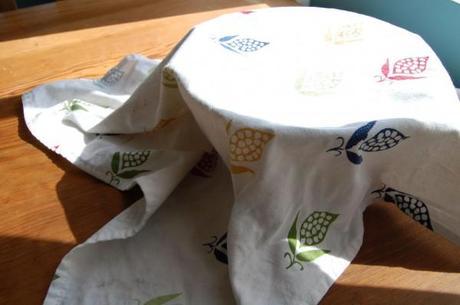
Let it sit here for about 1-1/2 hours. I sometimes check it in between to ensure it’s working, and it’s kind of satisfying to see your baby grow.
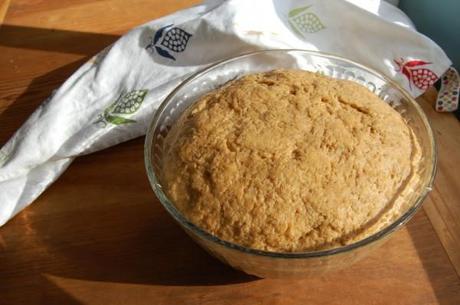
After about one hour (and a little nap), my bread looked like this. I decided to let it go for the full 1 1/2 hours and get a little bigger.
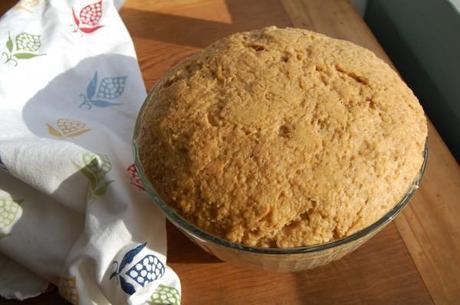
There it is. Pleasantly plump and waiting to be punched.
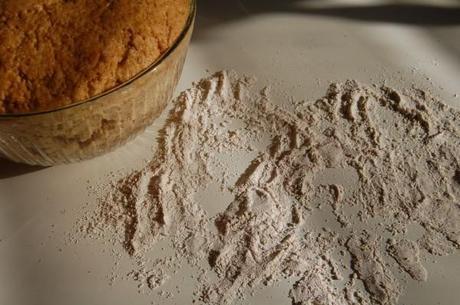
Flour a surface.
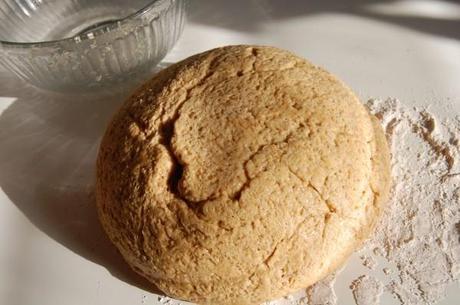
Punch down the bread dough and then move it to the floured surface. Divide it in half and shape it into two loaves. About this time, I decided that I wanted to make hamburger buns, since I have been wanting to try out this great turkey burger recipe.
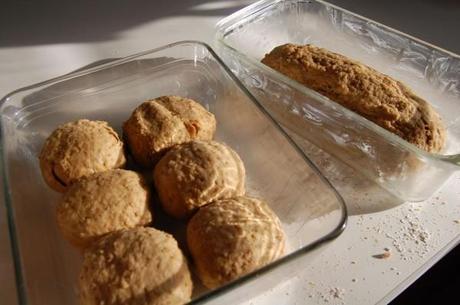
Form them into loaves or buns and put them in greased baking pans or pyrex dishes. Cover again and let rise again, for about an hour.
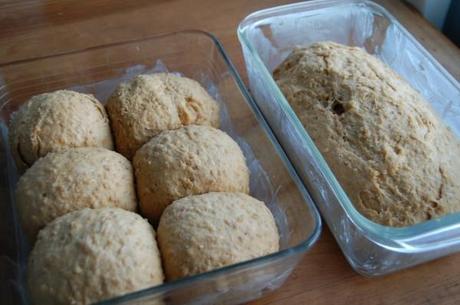
Bake at 350-degrees F for 40-45 minutes, checking periodically. When everything is lightly browned on top, pull out the pan and check it the bread.
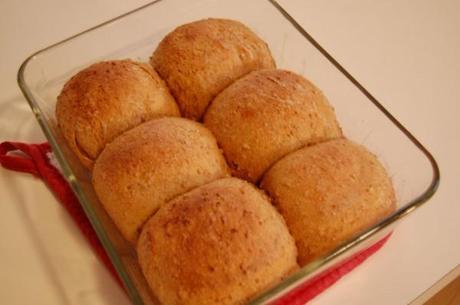
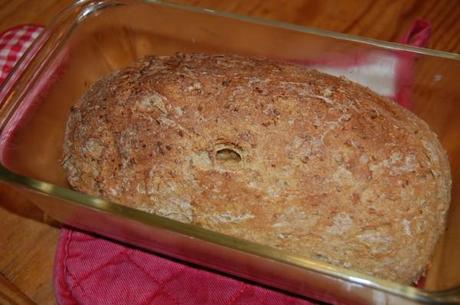
Tap on the middle top of the bread. You should hear a hollow sound, which means that it’s baked all the way through. I left the bread in a little too long, but the buns looked good. That hole in the bread is where you pour in the butter.
Just kidding. That hole just happened in the baking process. But you can lightly brush some butter on top of it when it’s finished.
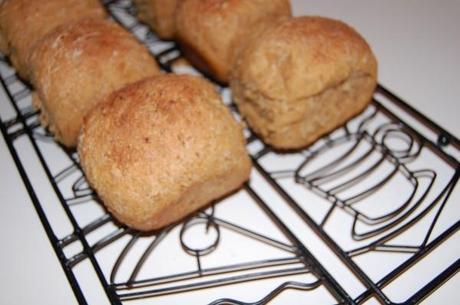
Let it all cool on a cooling rack, and then you’re (finally!) ready to eat it.
Since bread can be a lot of work but is well-worth it, I usually make at least a double batch. It’s easy to freeze and pull out later. Also, since there are all natural ingredients and no preservatives, you’ll probably want to keep it in the refrigerator so it will last longer.
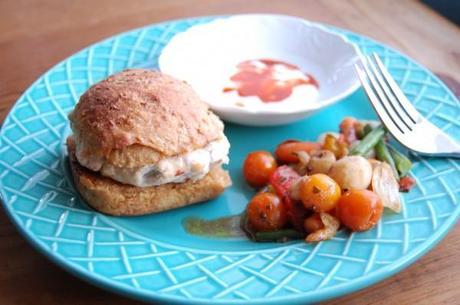
The buffalo turkey burgers were utterly amazing — a giant array of flavors in the burgers themselves, combined with hot sauce and blue cheese. I served them with balsamic vegetables. The softly sweet bread was a perfect compliment.
Get the full bread recipe here.

