 A Midsummer Mingle (see pics here and here) was graciously sponsored by the generous folks at Cricut. As a part of the partnership, we were asked to create a project using their brand new spankin Cricut Explore machine.
If you're unfamiliar with the Cricut Explore, it's basically a paper crafter's dream. You can choose from thousands of designs and cut it in a variety of materials like paper, leather, foam, you name it OR you can create your own designs, upload them, and then watch as it cuts it for you. As a designer, I haven't gotten into any paper cutter before because of the limited design options--I'm rather possessive--so this has been my answer to bespoke designs. I'm excited to try more with paper flower templates and such!
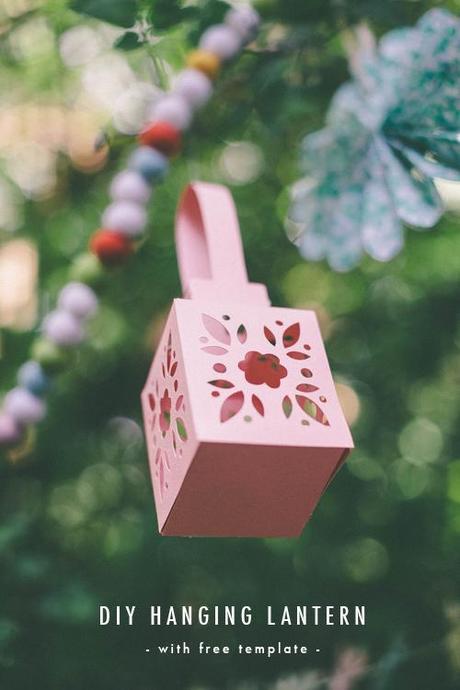
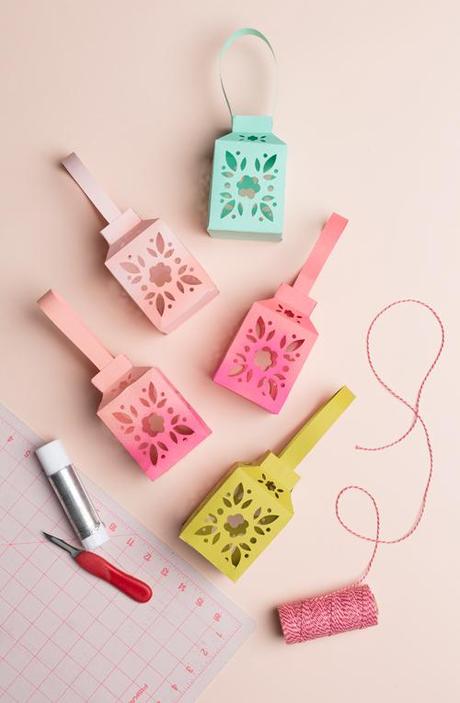
For the party I wanted a project that could be used practically as well as aesthetically. I came up with a lantern that you can place an electric tea light in. I added some florals on it (of course) and voila! You're good to go! Ashley Isenhour was kind enough to help me transform the pattern into Illustrator (my Illustrator skills are minimal).*
American Crafts provided the paper for the event so I used their lovely shades to cut some lanterns for my Mad Hatter themed section of the party. I had giant flowers everywhere along with loads of garlands from BHLDN like these flower garlands, paper fans, and pennant garland along with felt ball garlands from Hello Maypole, and other simpler paper lanterns (learn how to make them here). I love the look these floral lanterns and they did so much for the space.
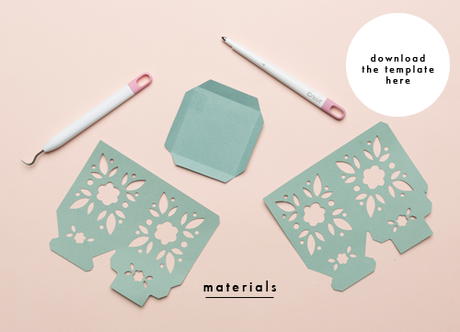 Materials: Cricut machine (pssst: on sale here!), Download the Cricut template here, (if you don't have a Cricut machine then download this PDF), craft knife, paper, glue, ruler,
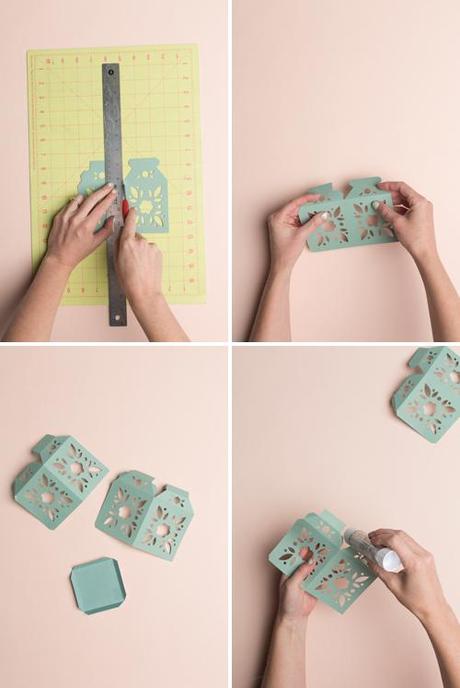
Step 1: Once you've downloaded the template you will need to upload your design into Cricut Design Space. First, you'll create a new project. Next you will upload your image as a vector (using the svg file). It should pop up in your Design Space.Step 2: Scale the design to how big you'd like it to be.Step 3: Let Cricut cut away.Step 4: (this is where the pictures below start). I couldn't figure out how to create a file with score lines so I hand scored it myself by lightly cutting down the lines. I did 3 light strokes because my knife was very dull. If yours is sharp, one might be fine.Step 5: Score your lines according to the photo below. Step 6: Glue the tabs and insert them onto each other.Step 7: Finish up by creating the bottom of the lantern, gluing it, and inserting it into the bottom.
Now, insert a votive and you're set! They let off the prettiest light and they're perfect for parties!
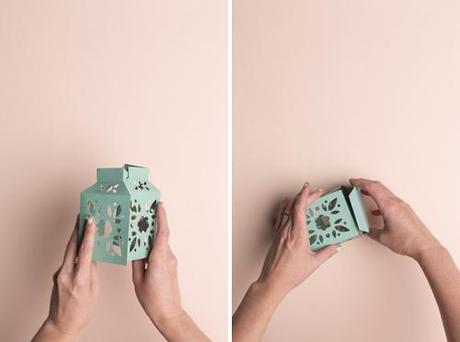

If you make some for yourself, I'd love to see them! Tag your projects with #makingwithlars.
If you're digging this project and would like to make more crafty projects with Cricut, they're having a sale right now. Such a creative investment! Click here to get in on the sale.
* If you're wanting to learn Illustrator and learn how to make patterns in Illustrator, might I suggest taking Alma Loveland's Illustrator 101 and 110 class on Atly? Alma has saved me MANY times in dire need and she is the source of all Illustrator knowledge! Do it! See more here.
This project was sponsored by Cricut. Thank you Cricut for helping to make A Midsummer Mingle a success!
studio photography by Trisha Zemp
environment photos by Natalie Norton

