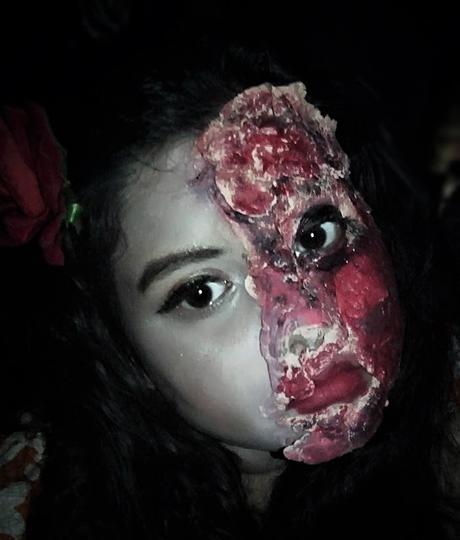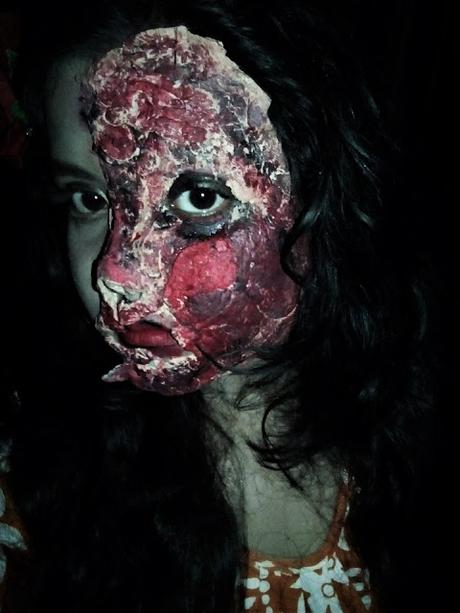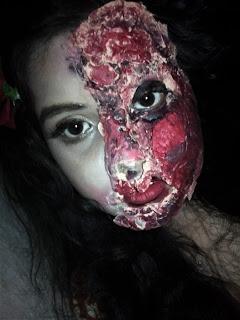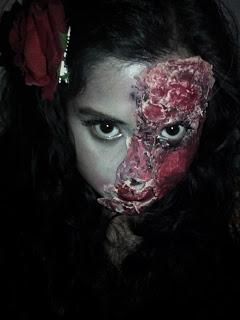
Also, the prosthetic like skin I used is super easy. I used all-purpose flour, a little bit of argan oil, couple of foundation drops, loose powder, moisturizer and water. I kneaded the dough until it was nice and soft but not very soft. We need a flexible base. I rolled it out irregularly. I left it to set on a very powdered base so that it doesn’t stick to the base. Wet it occasionally with some facial mists. Now, let’s move on to the makeup.

Step 1(Prep and Prime): Since, it’s Halloween we are going to put a lot of things on our face so we need to prepare our skin for the same. First, I washed my face and then sprayed some face-mists onto the skin. I let it absorb for some good 5 minutes. The next step is to apply moisturizer and primer in a good quantity and let it set.Step 2(Correct and conceal): Since, we are going to completely transform it’s extremely important to hide all our flaws. I used a corrector-concealer palette for the same. I used a peach color-corrector for covering up my hideous dark circles and then concealed everything.Step 3(Base): For the base, I used a foundation which is a couple of shades lighter than my owner skin to make it look pale. I used the Revlon Nearly Naked Foundation in the shade shell and buffed that into my skin really nicely. Take your time while blending the foundation. Make sure to cover the areas where you have color-corrected and concealed. Also, don’t forget your ears, neck and all the areas that’ll remain exposed. Using the Maybelline Clear Glow face powder in the shade natural and a big dome-shaped brush I set my foundation in place. I did not use a powder brush because I wanted the powder to stay and make me look more pale. I also applied it on my eyelids.

 Step 4(Glam half): Do a glamorous makeup of your choice on half of your face. For this look, I used the bronzer from Makeup Academy Artisan Palette as my transition shade, I used the golden color from my Too faced Candy bar Palette and Kylie Cosmetics Kyshadow in Copper all over my eyelids. Using the Maybelline Colossal liner I winged out my eyes and applied falsies. I curled my lashes and applied the Maybelline Colossal Volume Express Mascara for more volume. I used the brow pencil from my Profusion brow kit in blonde on my waterline and applied some brown eyeshadow. I filled my eyebrows in with the same kit and made it thicker. At this point I applied eyeshadow glue and non-toxic glue on the other half of my face and spread it nicely. I stuck the false skin on to this and fixed it nicely onto my face. Then I went to the other side while letting this set and get tighter on my skin. I used the NYX Highlight and Contour Palette to Contour my glammed up part. I mixed two shades and gave nice contour. For Blush, I used both the blushes from my Makeup Academy Artisan Palette and highlighted with the highlighters from the contour kit. For lips I used The Balm Meet Matte Hughes Liquid Lipstick in Devoted. Step 5(Transform): Now, moving on to the ghost side. Taking a good amount of the darkest contour shade I applied it all over the mask and contoured it to make it as real as possible. I used to spray facial mists while doing the makeup so that the colors melt in the skin and look more real. I also highlighted it a bit. Taking a black kajal I just smashed it all around the eyes. I also applied some mascara. Now, just take different shades of black, red and oxblood I applied it randomly all over my false skin until it looked real and gross. I tried smoothing the edges as much as I can. Taking some leftover from the skin dough, I stuck it randomly on this and colored it red and black again. At the end, I sprayed some more facial-mists on this side and set everything with a setting spray.