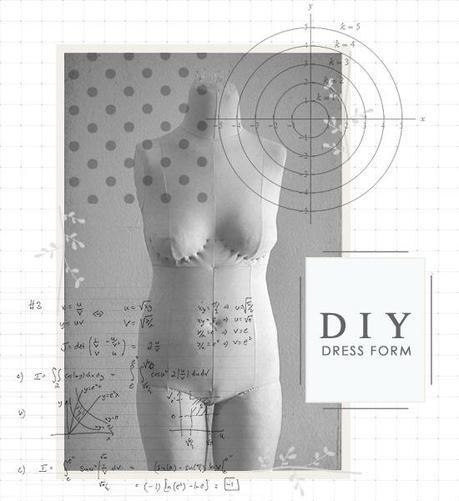
My name is Melissa Taylor Jenkins, owner and designer of the clothing brand Katastrophic. I’ve been following Madalynne for a while now – I absolutely love that it’s a blog for people who want to sew their own beautiful and well crafted clothing. A few weeks ago, I mentioned to Maddie that I had built a DIY dress form that I have found really helpful in my own designing and sewing, which I thought might be useful to her readers. Maddie invited me to write a guest post, and I’m so excited to share with you what I’ve learned about working with dress forms – how to find or make one that is truly professional, and a few basic ways they can drastically enhance your sewing and designing process.
Personalized dress forms can be incredibly helpful for the seamstress who is making her own clothing. I’m sure a lot of you have dealt with the frustration of trying to test fit, and pin, and drape garments on yourself. Having a dress form with your own body measurements can make the whole process a lot easier and actually more creative.
A truly professional dress form is one that has important reference lines (center front, center back, side seams, and princess seams) sewn into the cover, and a soft surface that you can pin fabric to. In my opinion, adjustable dress forms, though tempting, are not the best option because the gaps in the forms are exactly on these reference lines, making it impossible to pin or measure anything that is perfectly balanced. They can be helpful for adjusting the fit of an existing garment, but not for creating a new pattern or design. The inexpensive ones often found at craft stores (cough-dritz-cough) are exceptionally low quality and are often not stable enough to be functional.
For someone who is primarily sewing to make their own clothing, I recommend that you consider making your own personalized form. There are a lot of great tutorials on the internet for DIY dress forms, but in my opinion the best ones are the foam forms. I made one and it cost me around $100. They are not only lightweight and durable, but you can easily stick pins in them just like any professional forms. PGM and Wolf are some of the best known brands which run around $300 and $800-$2000+ respectively, and it’s possible to have one custom made to your measurements, but as you can imagine, it’s quite expensive.
Duct tape or paper Kraft tape forms are the fastest and least expensive to make, but they are also difficult to pin into and unfortunately make your pins gummy and unusable. I learned this from experience with the first DIY form I made using Kraft tape years ago. If you are interested in making your own personalized foam dress form, I’ve written a tutorial documenting the process. In a nutshell, you use plaster bandages to create a mold of your body, fill it with construction foam, remove the plaster mold, and cover the foam with a layer of batting and stretchy fabric. It’s a lot of work, but in the end you get a very satisfying, functional, and accurate form to work with.
Whether you are using a professional form in a standard size or a DIY dress form that replicates your exact shape, these are my favorite ways to get the most of your form:


