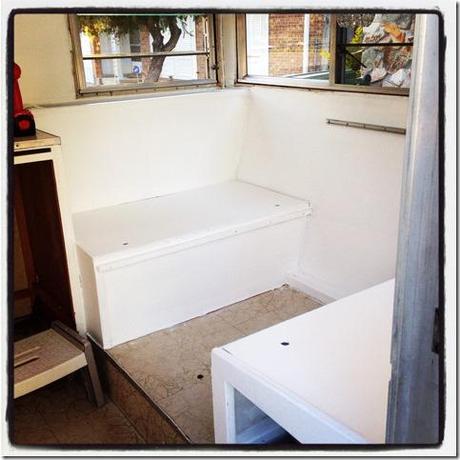
Glinda is coming along, but who knew this little trailer would have so very much to do! There are just so many little pieces and so many nooks and crannies. However, I’m finally seeing the light. Here is a picture of the Dinette area making great progress.
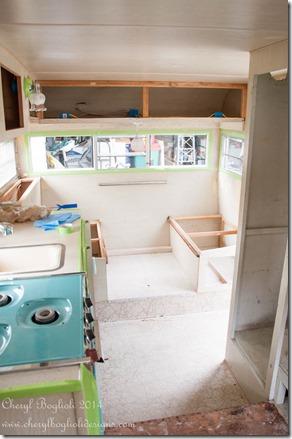
If you remember from previous posts, everything was covered in a light wood paneling. The paneling was cracked in places, peeling in a few, and overall grungy. After cleaning the ceiling and walls with TSP, I used wood putty to fill in a lot of cracks and sanded down any rough areas.
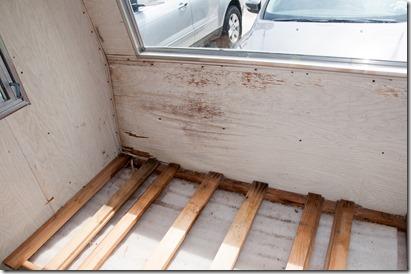

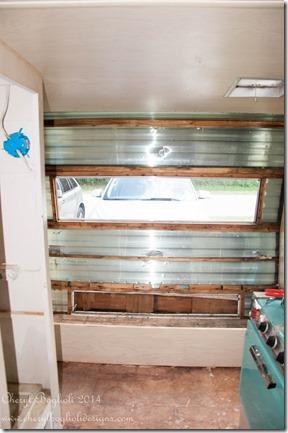
We started on the bottom half and finally decided to take down the upper bunk/shelf and replace the entire back wall. The difficult part is that trailers are built from the inside out. We are trying to replace one piece on the inside without taking down the outside, so we are basically doing it backwards. I think we did alright considering.
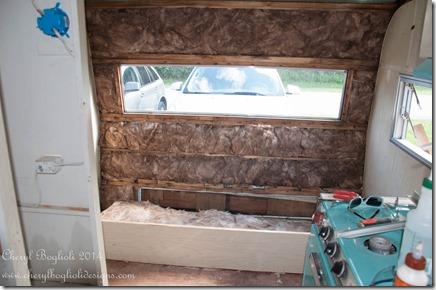
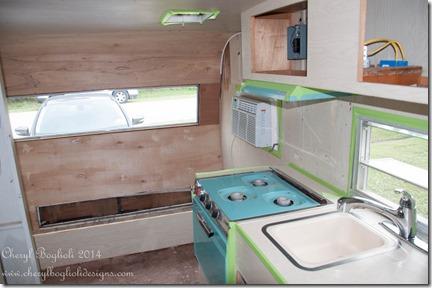
The wall was finally put back up in pieces using luan wood found at East Coast Lumbar here in Ft Pierce. The luan is such a thin wood that it had to be cut with a box cutter knife. I scored it with the knife a few times in order to get a clean cut.
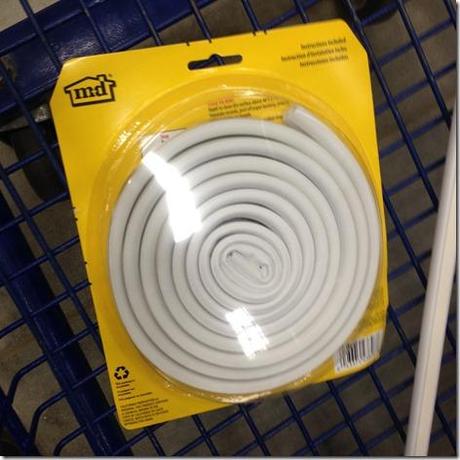
Here was my solution to fill in the corner gap since we couldn’t replace the wall in the same manner it was built. I used MD Building Products gasket and glued this to the corner. I was able to paint right over it and it blended in pretty well.
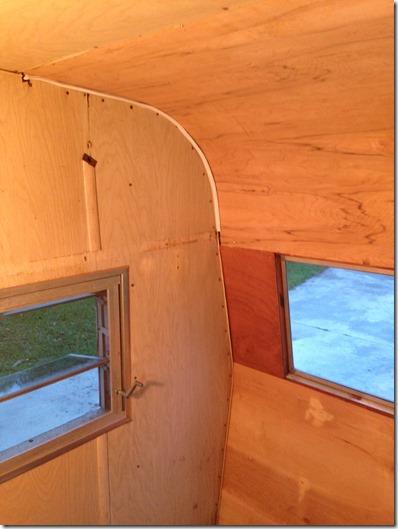
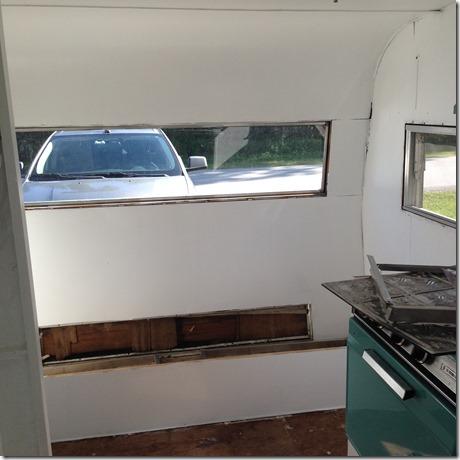
After a little paint, not a bad new wall, huh? I still need to add all the trim pieces to fill in the corner gaps and will be using screen molding to cover the seams as this is the closest I could find to what was already in place throughout the trailer covering wall and ceiling seams. I need to put the bunk/shelf back up before adding the extra trim pieces.
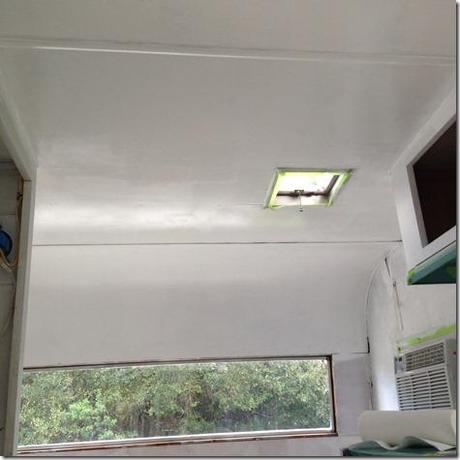
Here is a better picture of the seams on the ceiling. You see everything is taped off as I’m trying to paint primer and then white paint on all wall and ceiling surfaces as I’m working.
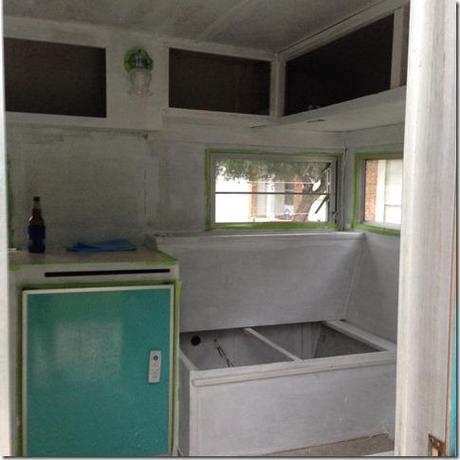
It took a lot of primer to cover everything. I am starting to see the potential here.
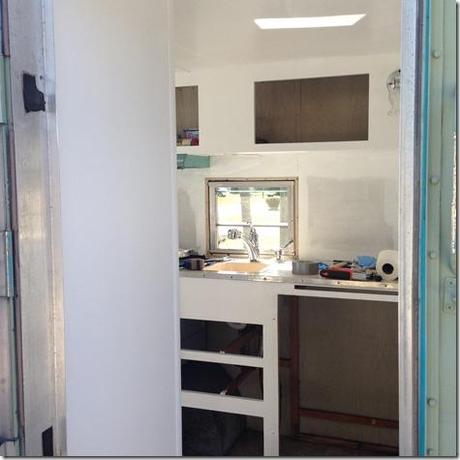
The addition of white paint on the ceilings, cabinet fronts and walls is starting to make a BIG difference. The whole place is so much brighter, cleaner, happier! There is still a lot of work to do and I can’t wait to see it all together, much less share it with you.

