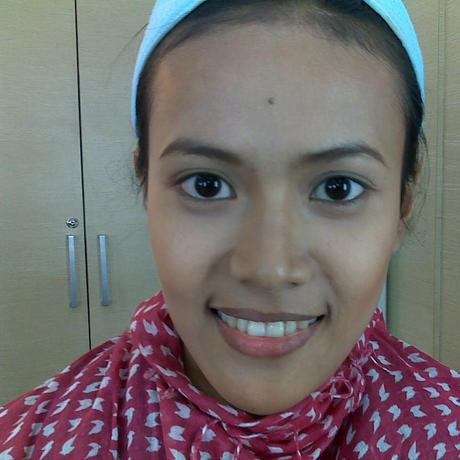
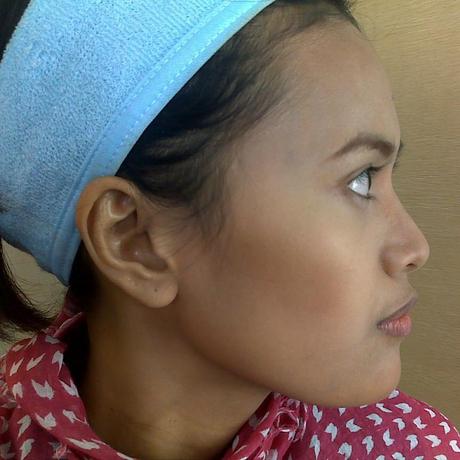
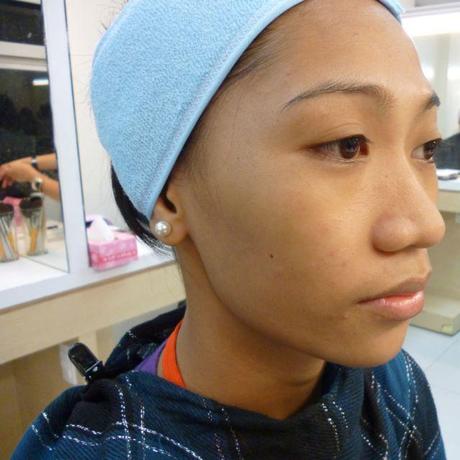
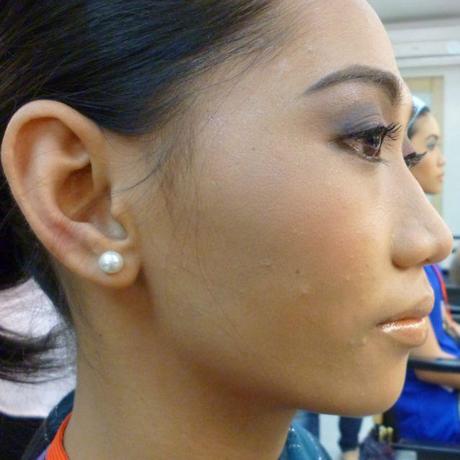
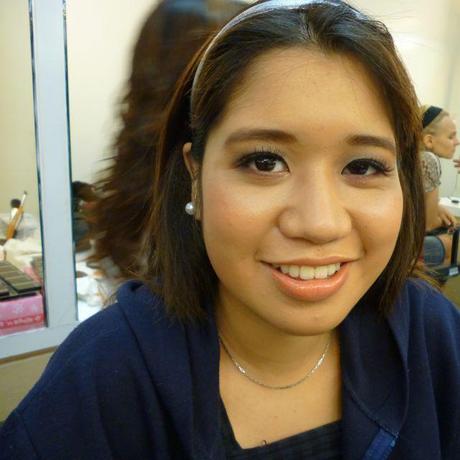
I did say that I've been studying make-up at Maquillage Professional (MP) at Modern Academy (Burgos Circle—they have bar dolci right across where the best gelato in the world lives.) And you're probably wondering why I haven't been posting pictures.
It's not about being busy (though I am now, yay!) but my work hasn't exactly been fantastic. I've been aware that there is so much to learn, but after MUD and now with MP, I really know KNOW. It helps that I've been staring copiously at make-up in magazines.
So here, like a kid showing her barely passing test papers, are my models. And yes, I do include notes from class, and tips and tricks that will definitely improve my glaring weakness.
From DAY 2 | FACIAL BALANCE: Contouring and Eyebrow shaping
What are you looking at?
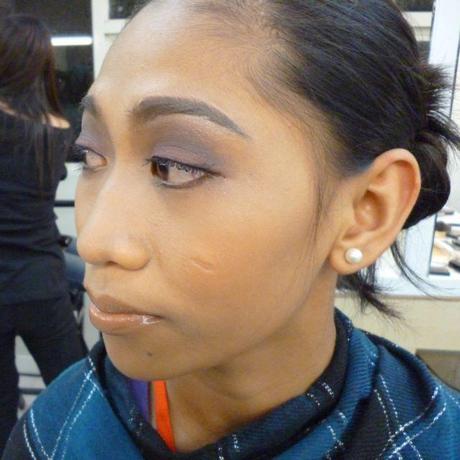
1. Her nose bridge is slightly crooked. And no, that isn't genetics, that's my shaky application of contour powder.
HOW TO FIX: A sure stroke is always better than a tentative one. Contouring emphasizes how less is always better so if you can get it right with one stroke, better.
Use a crease brush (yup, the long haired eyeshadow brush,) get the smallest amount of neutral brown (1 to 2 shades darker than your skin for a more natural effect 3 to 4 shades darker for more drama) and outline the nose bridge. Use the bone (cartilage?) in the middle of your nostrils as a guide. Remember to blend slightly so the shade fades into your skin. Top with highlight.
2. The first image was created with dry contouring (contouring with powder) and the second with wet contouring (contouring with cream). One is slightly higher than the other AND the first one is so obvious.
HOW TO FIX: Once again, start with very, very little especially with wet contouring. To make sure that you can keep it equal, use the middle of the ear (on both sides, obviously!) as a guide and keep consulting the mirror to make sure that they're equal.
3. I was really lucky that her eyebrows were nicely shaped because I just literally shaded them in. Make Up For Ever has really, really fabulous brow gel that allows you to shape the brow. You have to outline them and then fill them in, especially for photography so that the brows look crisp. Wait for the entry for Black and White photography and you'll see how a Make Up For Ever brow must look like.
Have I gotten better? It's a crawl uphill with an elephant on my back.
From
DAY 3: Shaping the eye and
DAY 4: Day Make-Up or Maquillage Du Jour
See the full gallery on Posterous
What are you looking at?
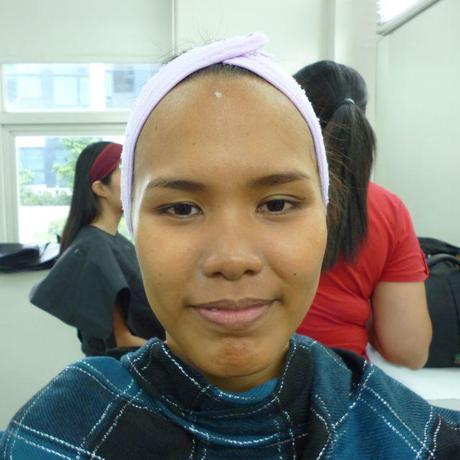
1. Colors are muddy. Actually if you think about it, they look like I used the same colors. I didn't. I actually just used the same eyeshadow shade for my dark shade.
HOW TO FIX: Better blending. Get very little color especially for a dark shade, you can always add.
[[posterous-content:pid___2]]
2. The eyes look droopy. I keep going past the eye making it look dirty and pulling the eye down.
HOW TO FIX: Create a real outline of the eyelid crease before you begin to help you out and stick to it (obviously something that makes me nuts because even as a kid I colored outside the lines.)
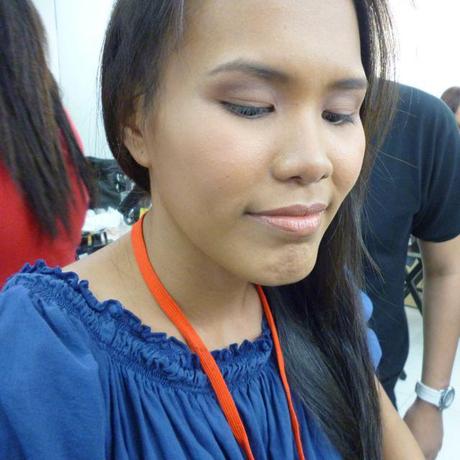
But I will say though that I had little victories. For the first set of photos, that lovely lipstick color is <drum roll please!> concealer and gloss. I couldn't find the perfect shade. And for the second set, I actually do like how the eye make-up turned out—I could have used a brighter light shade.
From
DAY 5: Night Make-Up or Maquillage du Soir
What are you looking at?
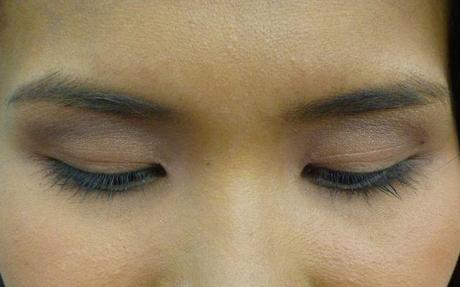
Her eyes seem uneven. As much as our features are rarely completely symmetrical, this was just too obvious. You know what happened? The lash glue stuck to her lid.
HOW TO FIX: Make sure that you only put a line of glue on the fake eyelash—you might want to layer it on so that it'll stick but trust and just put a line of glue.
Oh if you're wondering about that foundation, that's Make Up Forever's Liquid Lift Foundation. And it only got better when it sunk in. She glowed. When I came out from class (maybe 30 minutes after she went out,) I asked her if she did anything to her skin (added anything, whatnot) and nope, it was the foundation finally settling into her skin.
oh the shame. so practice, practice, practice, practice. More entries to come! And yes, I am proud to say things are getting better. I'm actually breathing now when I'm doing eyeliner and all detail work (which is everything if you think about it, ano?)
[image is from Squidoo]
Permalink
| Leave a comment »
