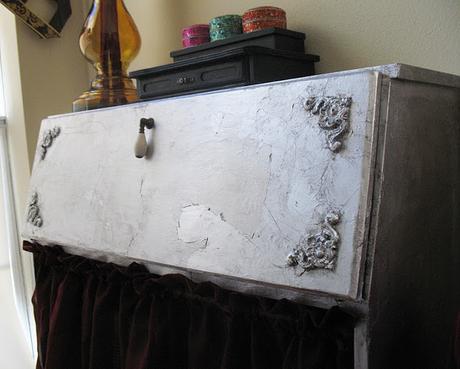
One of my bigger projects of late got done during my blogging hiatus. It was a pain to do but I like the results (even though our bedroom is looking more and more like a 17 year old girl's hangout with all the pinks. It should be temporary since lots of bright oranges and reds will be going in here as well as some blacks and whites to tone things down a bit. It's all a work in progress and hopefully we'll all like it a lot when it's done).
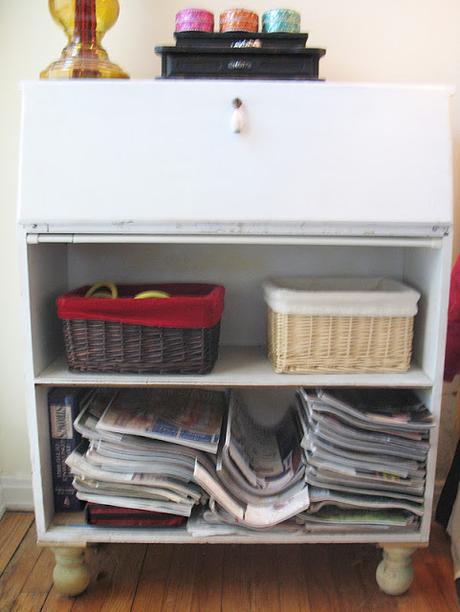
Blurry before
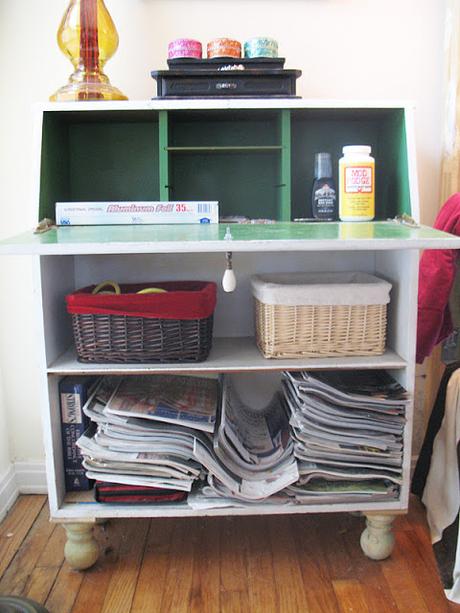
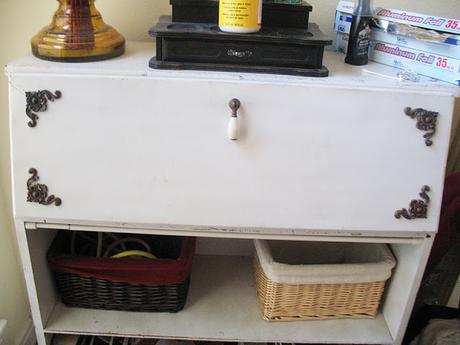
Before
This is what the secretary has looked like for quite a while, I've been using it as a bedside table. It's not a true before because when I got it it had no feet and the knob was transparent red with beans in it (?). The secretary was a gift from my parents-in-law (intended for the kids but stolen by me since I had a better plan for the kids' room - remember the desk from a few weeks back?). My husband carved his name into the desk surface as a kid, that's how far back it goes.
The feet are post finials from the fence section of Home Depot, they were just a few dollars each. I believe the pull is from Hobby Lobby but don't take my word for it.
I've wanted to redo this piece of furniture forever. I wanted some silver in here to be reminiscent of Indian silver furniture but of course it had to be done on the cheap. I had toyed with the idea of using tin foil even before I saw Vintage Revival's night stand last year but with her amazing results I knew I had to do it. It just takes me an insane amount of time to get around to doing something this time consuming :)
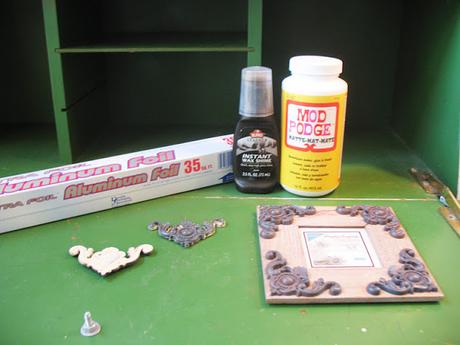
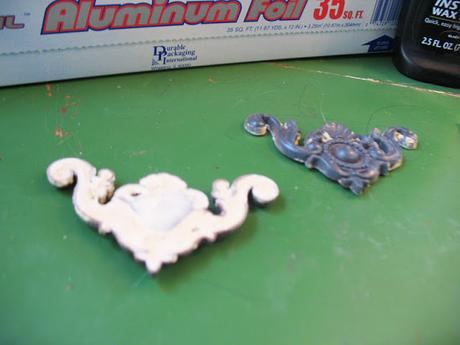
I got a couple of those frames sometime last year solely because of the plastic scrolly ornaments on it. I popped them off the frame and filled them with wood filler to make them a little sturdier. They were pretty sturdy already but furniture get knocked around quite a bit and I didn't want them to crack somewhere down the road.
You can see that the inside of the secretary was painted green. Green is my favorite color but this shade didn't sit well with me for some reason. Instead the insides got painted a hot pink, more on this further down.
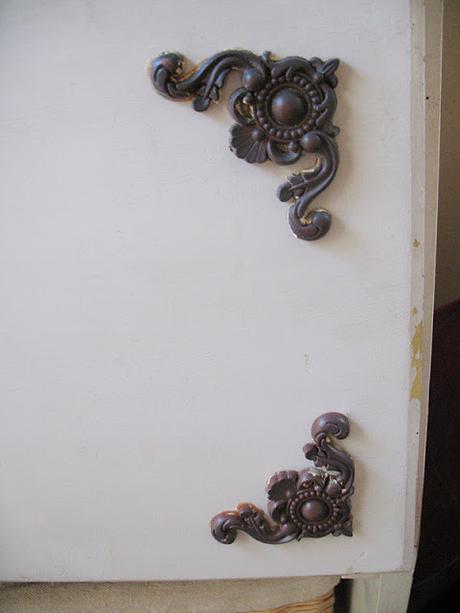
The first part of the refinishing process was gluing the ornaments on with E6000. (Actually, I painted the inside a hot pink first but you'll see pics of that further down). Then came the foiling.
As mentioned before it was a pain to put on. Mostly because I'm impatient and can't wait for the podge to dry. But I also tried to use as big pieces of foil as possible to speed up the application and it took some careful eyeing to place it all even with edges and corners and whatnot. It's a very forgiving material to work with though, especially since I wanted this secretary to look old and worn and therefore not especially worried about perfection. I wanted the look of something you'd have inherited from some great-great-grandfather but that had also spent some time in your father's workshop with all the abuse that entails.
Mandi at Vintage Revival scrunched her foil up before applying but I tried to keep mine as flat as possible. Since I was working with the thinnest cheapest kind of foil it naturally crinkled here and there, lending the surface a weathered imperfect look. For curved parts, like the legs and the ornaments, I used smaller torn-off pieces of foil and molded them around the shapes as best I could.
The general process I used started with slathering Mod podge over the area I was working on, then applying the foil and smoothing it out with hands and a plastic card. If any excess podge was oozing out I wiped it up with baby wipes right away. And when it was dry I burnished the surface with some hard plastic to make it smoother and less reminiscent of tin foil.
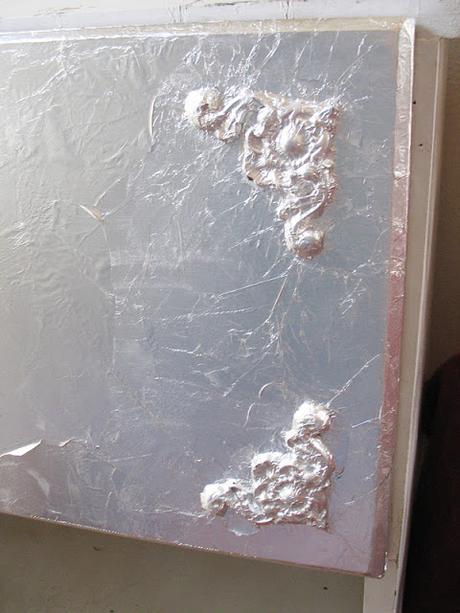
The peeling foil in the above pic is due to my impatience. I originally had planned to sand the foil to further age the look but since I started sanding before it was all dry it didn't work so well. I abandoned the sanding idea for the hope of finishing faster instead. I left the peeling foil thinking it would still look OK once I was done. (With two coats of polycrylic on top it's not going anywhere).
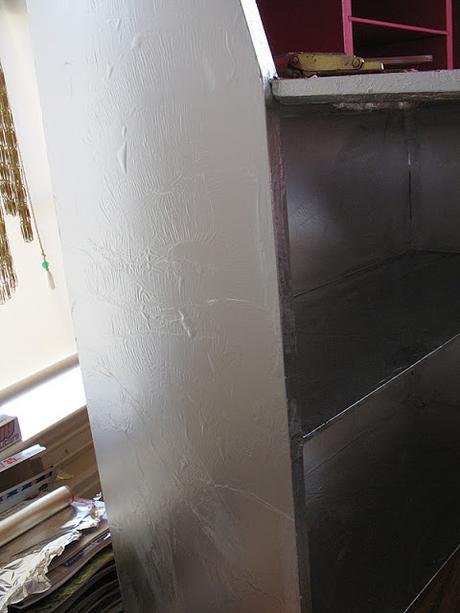
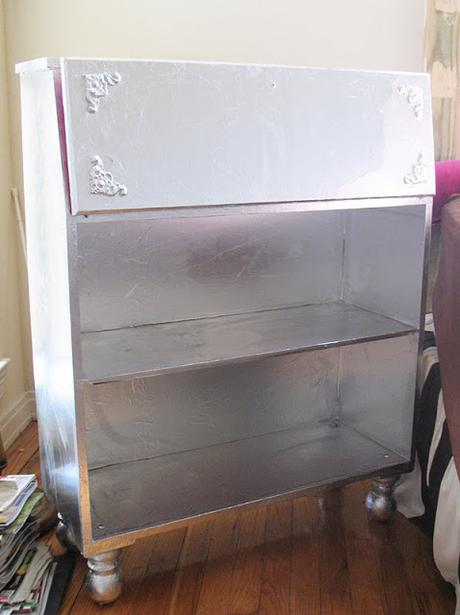
Welcome to the future where everything is chrome :) This is after the foil is on and it's admittedly pretty bright at this point. This is where the black shoe polish enters the stage.
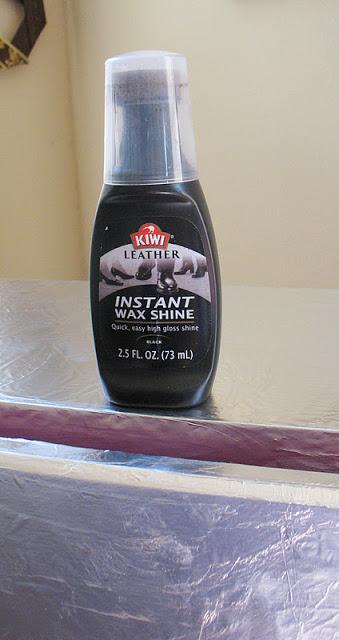
This is the polish I use to age most of my projects. It was only $1 and I've had it forever as I mentioned before. Very easy to work with.
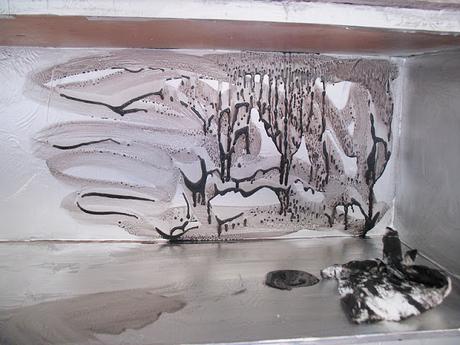
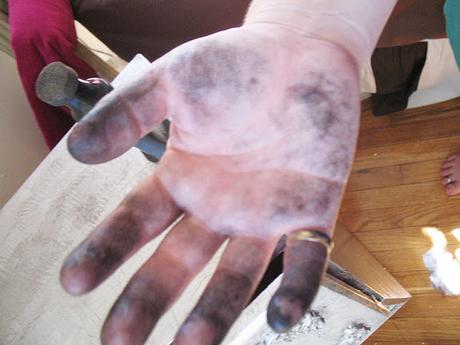
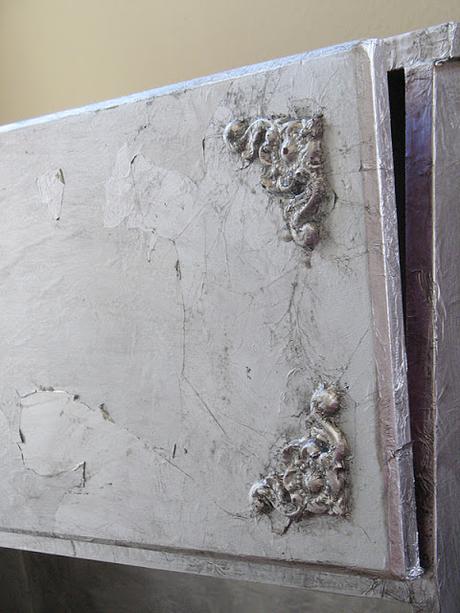
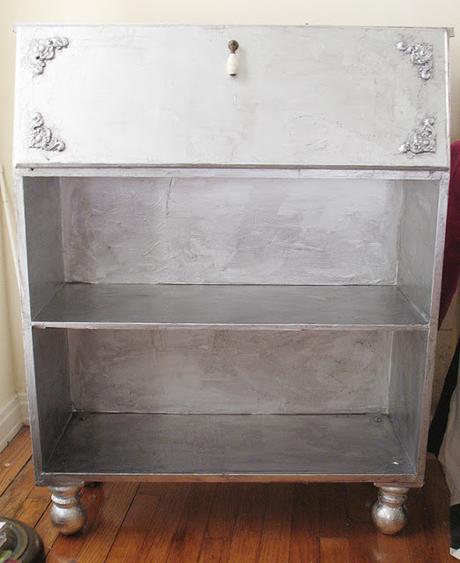
I should mention that I sealed the whole thing with a few coats of polycrylic. The shoe polish will rub off if it's not sealed and I wanted maximum durability for all that work I put into it.
I neglected to get any pics of the painting of the inside of the secretary but it was just a quick sand-down followed by a few coats of hot pink craft paint and finished off with a couple of coats of polycrylic. And voila!
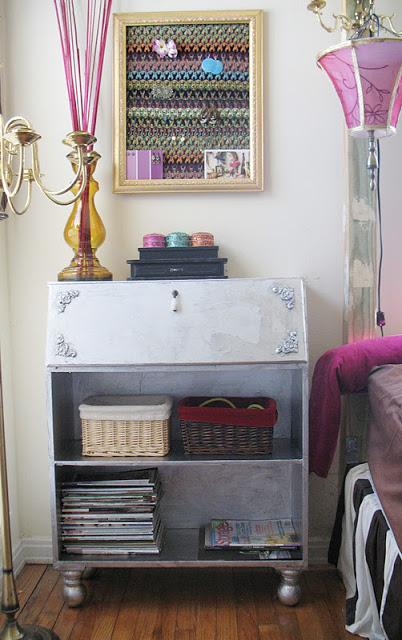
Magazine collection halved, but still not pretty to look at. The walls will be a light grayish purple and the bed will be black.
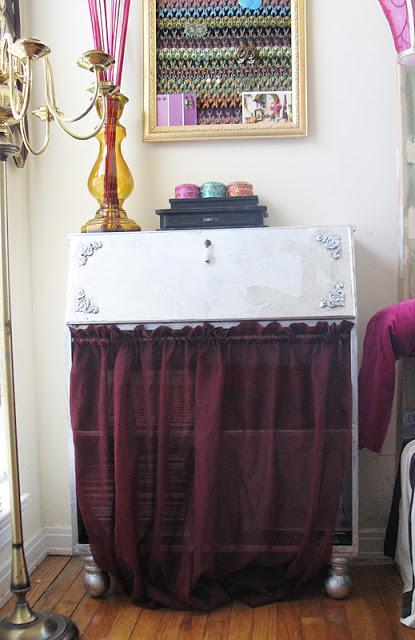
A tension curtain rod and a curtain panel hides the storage. Since I'm not sure if this particular curtain panel stays I decided not to chop it off but just tuck the excess under the secretary for now.
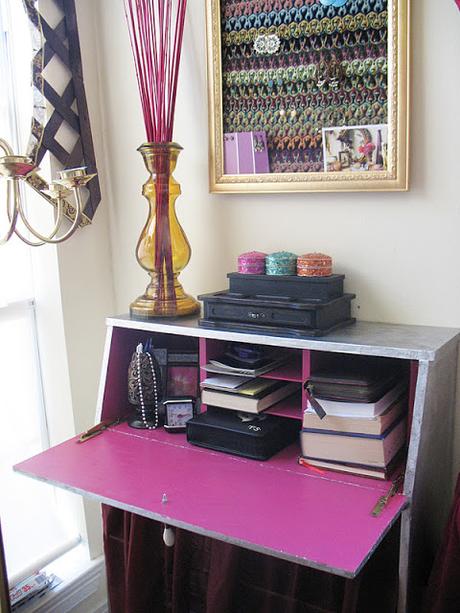
The painted inside. Very hot pink. Remember the oranges and reds that are going to balance things out in this room. And hopefully turn the whole thing into a colorful exotic space :)
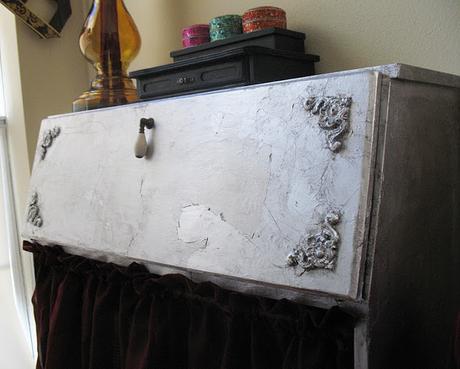
So much work but I'm very happy with it. It looks kind of old stainless steel in person. My plan was to refinish the husband's bedside table the same way to unify the space. But I'm dragging my feet about it now that I know firsthand just how much work it's going to be.
Do you like the look and should I do the husband's table as well? I value your crafty input. Disclaimer wise I have to mention that I can't promise to follow your advice, though :)
I hope you'll have a wonderful weekend!
Ps. Linking up with
C.R.A.F.T.
Someday Crafts

