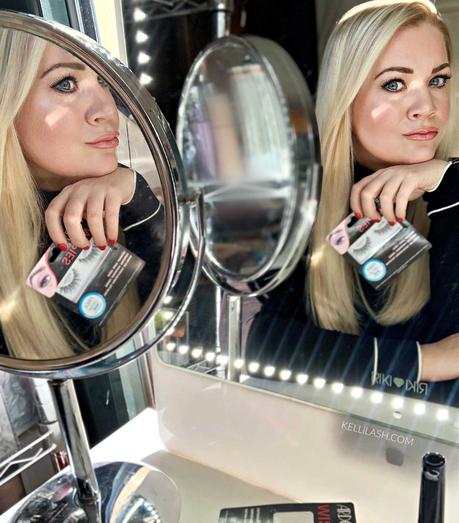
Mastering the art of applying false lashes feels like it should be an Olympic sport as the task gives many of us anxiety. I featured a simple help guide on applying false lashes back when I launched my blog some many years ago as I was an avid daily lash wearer and lash addict (hence the name) and I still am to this day, but just in a slightly more refined way. This got me thinking about how lashes really have no age limit and are in fact an easy tool to adding a sense of youth and glamour to any makeup look. They work like red lipstick and elevate a look instantly.
I have so many product recommendations here on the blog and Instagram ie mascaras, false lashes, lash growth serums etc and as some brands come and go, some still stand the test of time. This is why I wanted to post an updated guide to help with any ongoing lash dilemmas, whatever your age or lash preference.
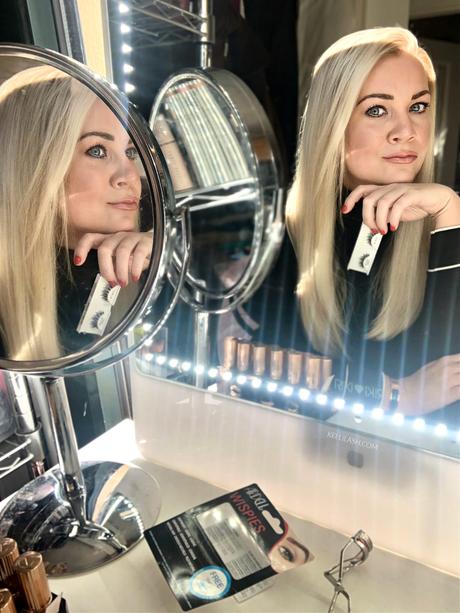
An Easy Guide to False Lashes, Boots UK, Ardell Lashes
My Lash Story ...
I am trained as a Lash Technician and back in my makeup artists days too, I gained much experience in applying false lashes to clients but that is not to say I haven't had a few of my own lash disasters over the years. Even when you know what you are doing, lashes somewhat have a mind of their own. You always get that one eye that is well-behaved and one that isn't!When I was in my 20's working in London, I would always go to Boots on my lunch break and stock up on my favorite Ardell lashes and would wear them day/night without fail. In fact, I would not be seen without my lashes on. Then came lash extensions as well as that fear of being lashless which is when I discovered just how valuable lash growth serums were. They can be pricey, but they really are worth the investment, especially if you want to grow and strengthen your own eyelashes which then gives you the confidence to enjoy false lashes as and when you want to change up your look.
Let's be real, in the past false lashes have had a bit of a bad reputation for being fiddly, messy, high maintenance for example, but this is not the case in today's beauty world. We can all be professionals thanks to lashes being easier than ever to apply. Hence I wanted to offer up my advice for choosing the right lashes for your eye shape and my tips for beginners so that we can all achieve a perfect flutter.
An Easy Guide to False Lashes, Boots UK, Ardell Lashes
An Easy Guide to False Lashes, Boots UK, Ardell Lashes
First Step; Eyelash styles and knowing what suits you!
The key to choosing flattering lashes is to work with a style that works with your eye shape. There are so many to choose from but the most popular types are individual and strip lashes and the easiest to work with. Strip lashes come in many styles, lengths and colours and are great for beginners. Those with hooded eyes should choose lashes that are slightly longer in the middle so this will open up the center of the eye and if you want that feline, winged out look, opt for a lash that's longer at the end and shorter on the inner corner to create that winged out shape. If you want to open up your eyes then choose a lash that's longer in the center and shorter on the outer corner as this shall make them appear wider. Those with almond-shaped eyes are lucky as almost all styles will work for you. Just remember the more dramatic the lash, the heavier it will look on the eye.When it comes to choosing 'a lash brand' in all my years of wearing lashes, I do think that Ardell has stood the test of time as they are still super affordable, readily available worldwide and are some of the easiest lashes to apply. This is why I have partnered up with them for this post. Ardell is famous for creating the original 'Wispies' and their entire range including the DUO Lash Adhesives is vegan friendly. They cater to a natural, barely-there look to a full-on voluminous, va-va-voom look! Their secret is their invisiband technology which gives you seamless, comfortable wear. Perfect for a beginner and anyone who hates to feel like they are wearing false lashes because you just won't feel them. So let's get going ...
An Easy Guide to False Lashes, Boots UK, Ardell Lashes
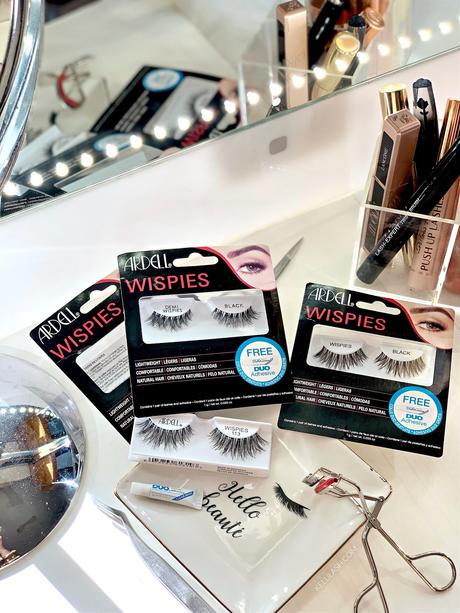
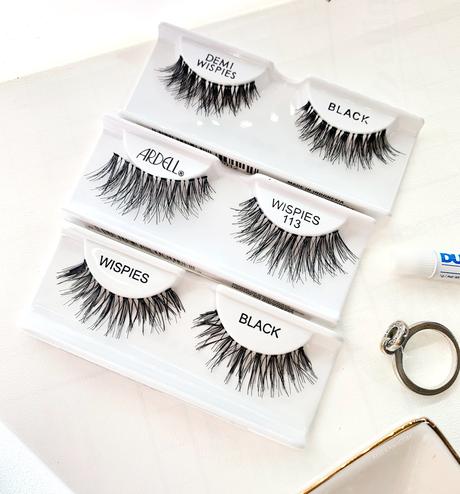
A few Ardell favorite lash styles (as above) ...
Ardell Demi Wispies - full & fluttery with a graduated effect that flares out at the end. Wispies 113 - for length & texture, ideal for those wanting a natural wispy, fluttery, criss-cross length with more volume. Wispies Black - a full, fluttery eye-opening effect, great for all eyes!A few other styles worth checking are the Ardell Naked Lashes and the Ardell Natural Lashes. All available at Boots!
An Easy Guide to False Lashes, Boots UK, Ardell Lashes
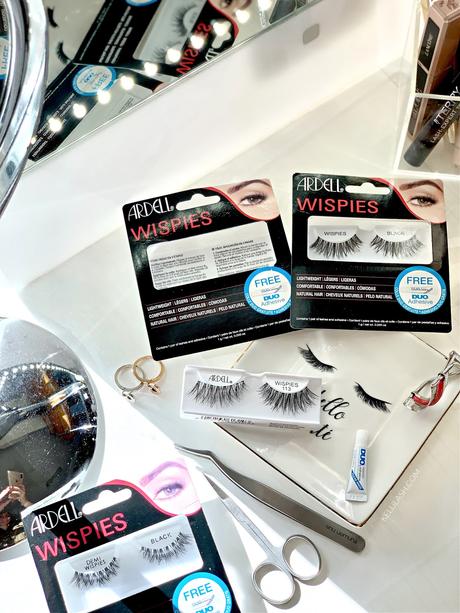
LASH KIT: What you will need ...
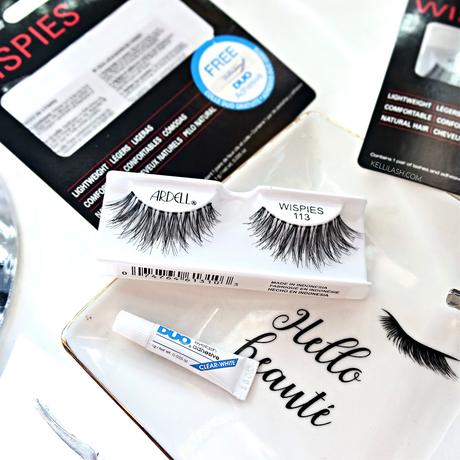
* Lashes of your choice (I am using Ardell Demi-Wispies).* Duo Eyelash Glue (the best in my opinion)
* Small pair of scissors
* Tweezers or an eyelash applicator
An Easy Guide to False Lashes, Boots UK, Ardell Lashes
1. Lash Prep
Make sure your own eyelashes are curled and your mascara is applied prior to applying your falsies. This will make your lashes blend with your falsies more seamlessly.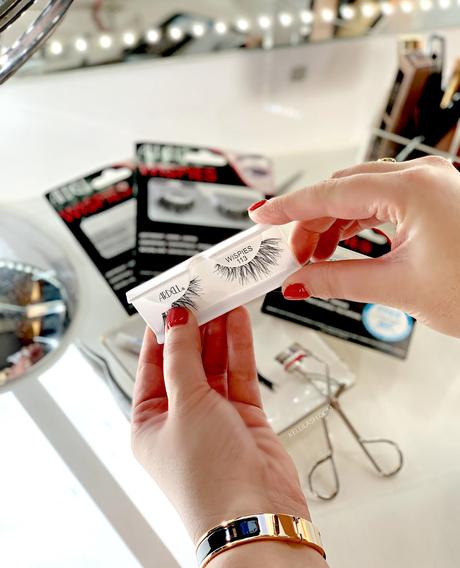
An Easy Guide to False Lashes, Boots UK, Ardell Lashes
2. Removing the False Lashes from the packet
Most often falsies are stuck down lightly onto the plastic so just place your thumb over the middle of the lash and firmly press down, pulling the lash away from the plastic (as above). This way you should not damage your false eyelash. Remember to keep this packaging for storing your lashes in should you want to wear them again.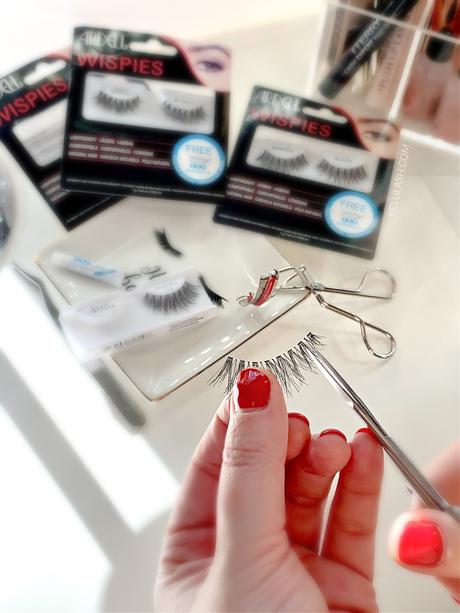
An Easy Guide to False Lashes, Boots UK, Ardell Lashes
3. Measure!
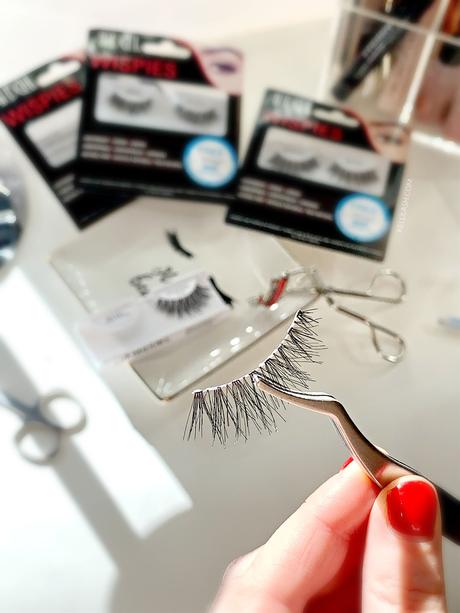
Chances are your lashes aren't going to fit your eyes perfectly so you will need to trim them down to size.To get the measurement right, place your strip lash at the base of your own lashes, leaving roughly a 5mm gap from the inner corner of your eye. If the false lash hangs over the end of your eye then gently trim them down to match with some scissors, trimming from the outer corner only not the inner corner as you want the lashes to be kept shortest on the inner corner of the eye.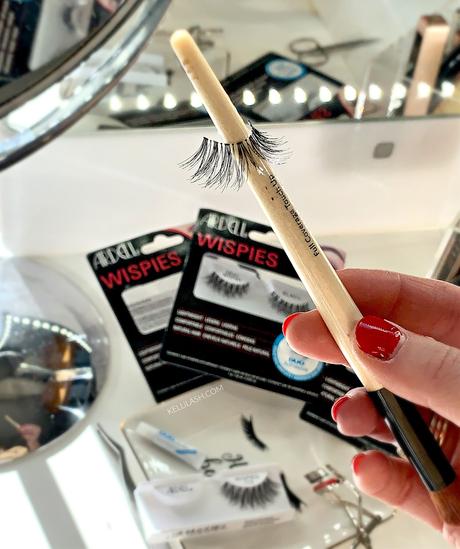
An Easy Guide to False Lashes, Boots UK, Ardell Lashes
4. Top Tip - Shape the Lash!
To get an easier blend, bend the lashes into a C Shape to loosen up the band, making it easier to fit the eye. Some lashes can be very straight so just wrap it around a make-up brush or pencil for a few seconds if they are very thick and this shall make them more easier to apply. Ardell are very movable so you should be ok with their lashes.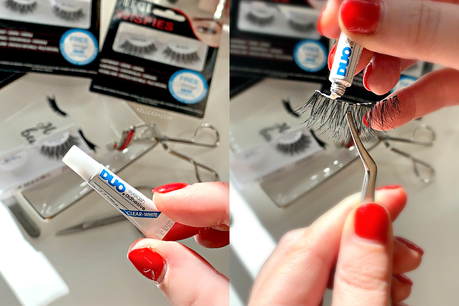
An Easy Guide to False Lashes, Boots UK, Ardell Lashes
5. Apply your Glue
You can apply the Duo glue directly from your mini tube (included free with all Ardell lashes) but another tip from me is to use your tweezers for the application. Put a small amount of glue on the back of your hand then using the end of your tweezers, dip into the glue and run it along the base of the false lash, applying more to the ends as this is where you want the most stick.Important tip; wait about 30 seconds until the glue is tacky to avoid the falsies slipping right off your base.
An Easy Guide to False Lashes, Boots UK, Ardell Lashes
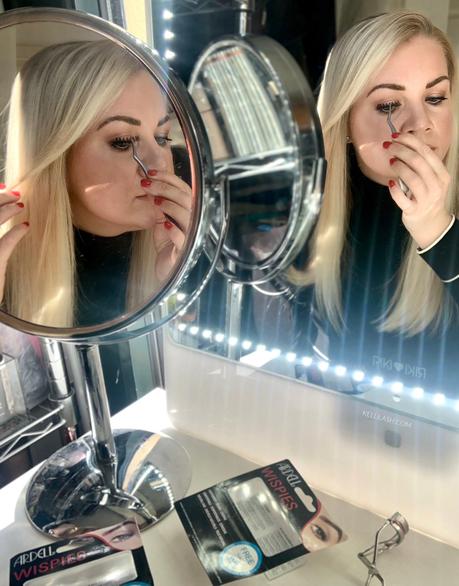
An Easy Guide to False Lashes, Boots UK, Ardell Lashes
6. Application (breathe, relax!)
Holding your false lash in the middle with your tweezer/applicator look down into a mirror. This will give you a flatter surface to work with so they don't 'sit upwards'. Place the false lash onto the center base of your lash line, not the eyelid, letting it rest there. Take the outer corner first with your tweezer or applicator and position it into place to stick down. Then taking the inner corner, repeat and position it into place. Close your eye and firmly press down the lashes to secure in place.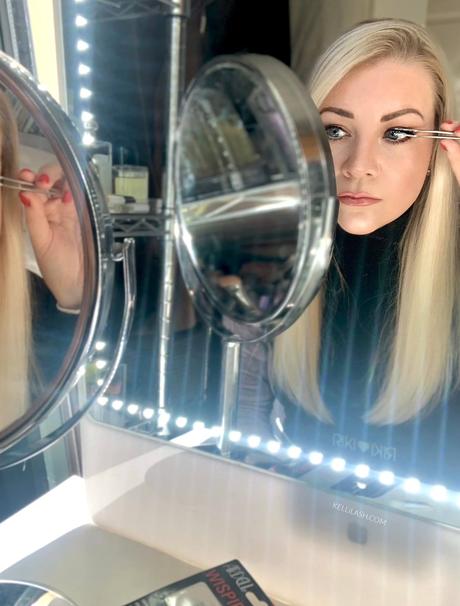
An Easy Guide to False Lashes, Boots UK, Ardell Lashes
7. Clamp / Connect your Lashes
Using your tweezer/applicator clamp together your real lashes with the false lashes so that they are one. This will make them look much more natural as well as help to stay put. This is why having your mascara on helps them stick together also. You can use your fingers to pinch them together too.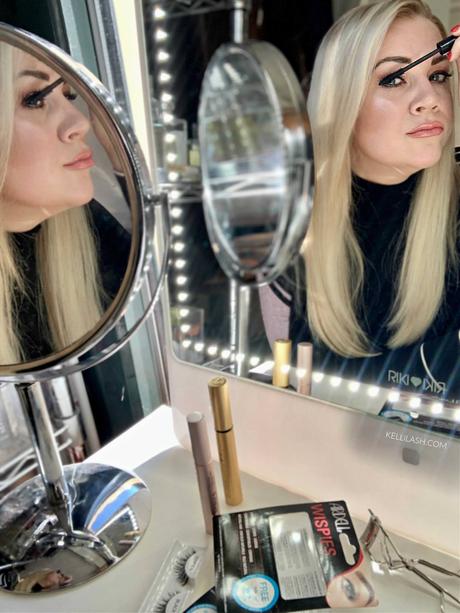
An Easy Guide to False Lashes, Boots UK, Ardell Lashes
8. Flash the Lash!
After a few minutes, the glue will dry clear and you can apply some last-minute eyeliner or mascara if needed. I like to apply my eyeliner again over the seal of the lashes as this helps to disguise the base of the false lash so it blends more. Good Job!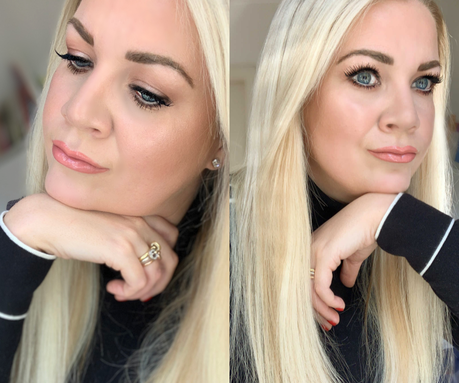
An Easy Guide to False Lashes, Boots UK, Ardell Lashes
9. Removing your Falsies
To avoid any damage to your own lashes never pull your lashes off. Use a little makeup remover or oil-based cleanser and just on a cotton bud, rub into the roots to help them simply slide off. You can use makeup remover to clean any makeup off the lashes and gently peel off any glue residue left on the base and pop them back into your case so that you can wear them a few more times.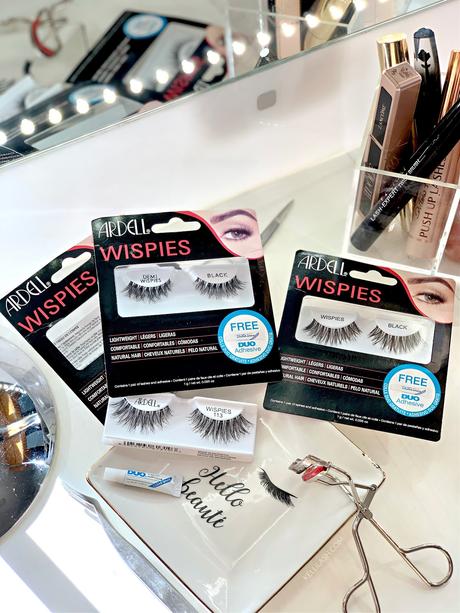
An Easy Guide to False Lashes, Boots UK, Ardell Lashes
More Top Tips / Tricks / Advice!
- Take your time, you cannot rush applying lashes and remember that practice makes perfect!- Keep your lash glue in your bag at all times. There will always come a time when a lash will loosen, it happens to the best of us!
- If you want to reuse the same pair of lashes then avoid applying mascara to them, this keeps them looking new for longer but if you only want the one wear, then apply mascara to them to amp up the intensity!
- If you are still struggling with a full strip lash then maybe try a corner lash look. For example, trim your Ardell Demi-Wispies in half and fit them onto the outer corner of your eye instead. This will still give a gorgeous winged-out effect.
- Try Ardell Individual Lashes; being only a single lash, they are extremely easy to apply and I myself have worn them for years. They are perfect for weddings and special occasions as they are so natural looking yet you can really customise your lash look to give the perfect amount of volume and length.
- Have fun and experiment with lash styles and makeup looks. False lashes are a great way to change up a look and they can they make you feel a million dollars! Remember, if you don't like them, they come off!
An Easy Guide to False Lashes, Boots UK, Ardell Lashes
I hope this guide has been useful to you whether you are a beginner or now a lash pro.It is coming up to Party season, after all, so good time to practice!
Feel free to share/ask any lash Q's below.
Kelly xx
*PAID AD / This post is in conjunction with Boots UK/ Ardell but all thoughts are my own, as always!

