This weekend has started with a somewhat-familiar bout of DIY. But instead of reaching for my dust sheets, paint brush and roller, I’ve been able to break out a few simple woodworking and carpentry tools that’ve slowly begun to gather light rust inside my storage boxes.
It was Friday afternoon and I’d set myself up to tackle an issue I mentioned in a recent post – the resurrection of a sagging wall unit in the kitchen.
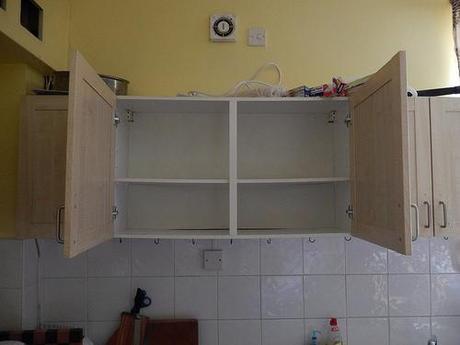
It may not be apparently clear above but at the very least, you should be able to see that the back panel has popped out of its groove. There’s a good 6mm of sagging, if not slightly more. But with a cabinet made of chipboard being asked to span 1m… What else could you expect?
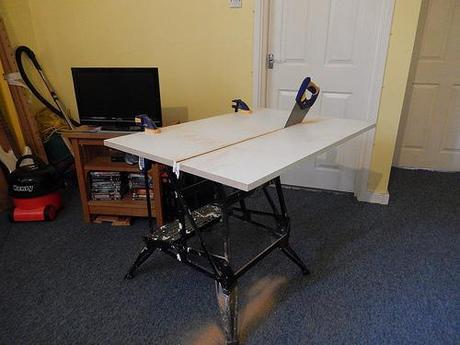
At the top of the page, you’ll see me cutting a sheet of melamine-faced board with a just-sharp-enough handsaw (my jigsaw’s in storage). This material was kindly given to me last weekend, after a place an advert on the Bristol Freecycle page (Freegle). It meant a 45 minute drive across the city and back but I came home with TWO sheets that were being removed from the occupant’s former kitchen; each one cut almost precisely to the finished length that I would require. All I had to do was rip it down…
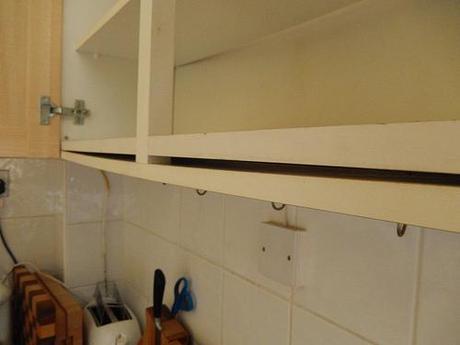
This material was actually MDF at its core (a little less abrasive on my saw blade, maybe) and I cut at notch at the front to fit around the center post. My coping saw whipped it out in no time; I was greatly surprised! With the new shelf dropped roughly in to place, you get another perspective on the distortion.
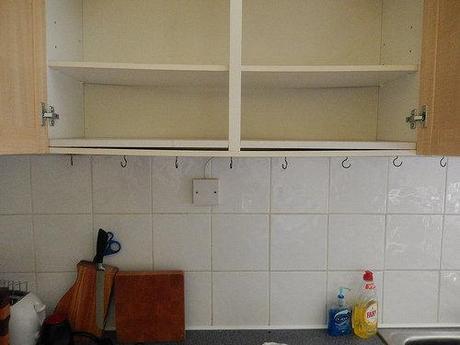
What I’m doing here is not to replace the bottom shelf but to reinforce it. Beforehand, I researched Google for ideas on how to fix this and, short of removing the unit from the wall, I found this to be the most commonly suggested method. With double the original 18mm thickness, this unit will hopefully resist the pull of gravity a little better.
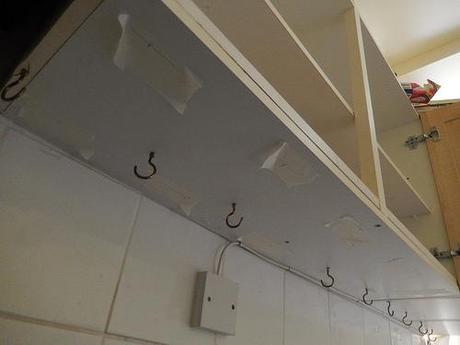
On the underside, I marked out the locations for a series of screw holes using masking tape, so that I did not have to worry about cleaning off any pencil marks either. These were drilled using a 3.5mm pilot bit and then countersunk for 8 x 1¼in screws.
Thinking now, I could have instead used one of my many stools.
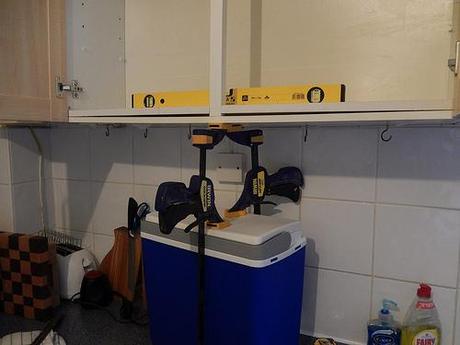
Of the sources I read, most seemed to recommend wedging a piece of wood between the worktop and the underside of the bottom shelf. I didn’t have anything suitable and neither did I fancy breaking or damaging something (it does sound quite crude). So, I adopted a more ‘intelligent’ method using a pair of reversed quick-grip clamps (as spreaders) and (very nearly breaking) a cooler box that just happened to be of a convenient size.
I was chuffed with how well this worked as these kind of cramps aren’t known for exerting reasonable force but with only a few squeezes, I was able to erect the shelf in to more of a convex form. It’s natural to expect some spring-back when doing something like this and so I overcompensated with the correction.
But after driving the final screw home with my awesome impact driver [apologies to my neighbours!], I realised that the back panel was still out of place. I’d forgotten all about it and, worse still; I’d cut the shelf a few milimetres wider than it actually needed to be!
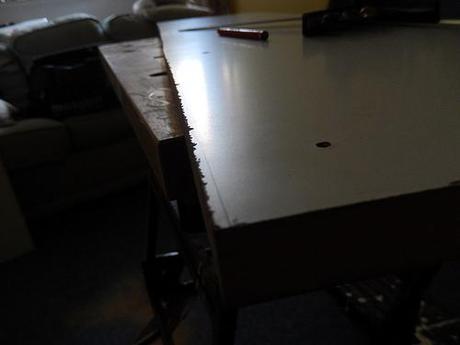
You know that old adage, ‘measure twice, cut once‘? Well, I measured it a couple of weeks ago at 250mm and sought my material. I then remeasured it before cutting yesterday and decided it could be slightly wider… In the end, I scribed a new line (above) and dug out my Stanley No.5 hand plane. Laminated MDF cuts surprisingly well with a blade that hasn’t seen daylight for over 6 months!
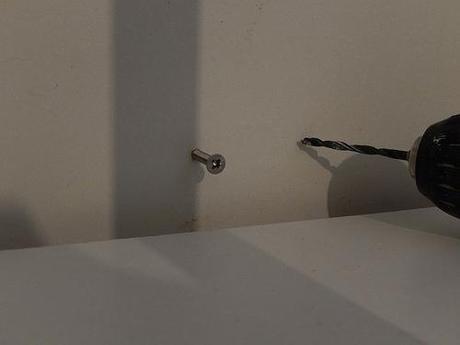
I ended up with a series of 3 holes before realising that my shelf was too wide!
To pull the thin hardboard back panel in to shape as I wedged the unit up for a second time, I drilled a small pilot hole in the center (which can easily be filled) and by partially inserting a screw, I was able to manually pull it forwards while spreading the clamps below. See, not only had the bottom shelf dropped by the back panel had bowed back towards the wall.
This may work best with self-tapping screws, which I used, as they have a finer thread than standard wood screws. I also used self-tappers to secure the reinforcement but ordinary coarse screws may have been adequate (after all, Kreg recommend them for use with MDF, ply and softwoods).
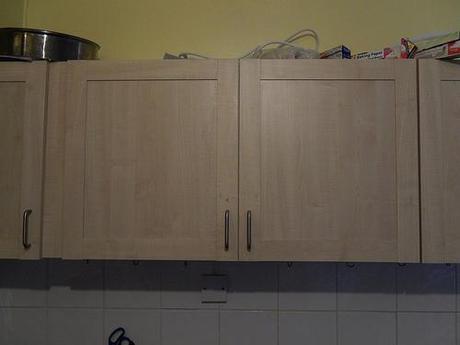
It did a good enough job. There is still a lessened amount of sag in the same shelf but I am now able to close both doors without them binding at the top, even if they’re not quite perfectly aligned. I also took the middle shelf and turned it upside-down, as it had also gone on a bit of a descent.
Today, I’ve been cutting a little more of that white MDF for another little kitchen repair that I’ll get around to very soon. In the mean time, thanks for reading and I hope this helps someone!
