Have I ever told you how much I hate the traditional style of fence panel? If not then, I’ll try not to drone on too much today. Let’s just that I’m ‘not a fan’ of the ‘cost-effective‘ design, where you’re over-relying a few nails and staples to hold a load of thin boards and stick-like battens together.
Three-months later…
In my experience, the very first happens during the drier summer months, when this timber (a softwood) is allowed to rapidly expel the moisture it has gathered, causing its form to take all manner of shapes, along with a few splits, cracks and shakes. That’s all without mentioning the threat of wet rot, rising damp and, perhaps one of my biggest bugbears with ‘solid’ fence panelling; the wind effect.
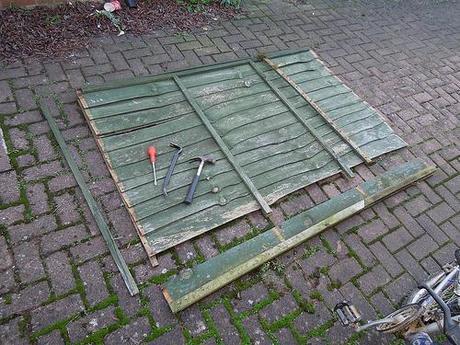
Today, I got on and picked up this 4ft tall fence panel which originally blew down in November. Someone else lifted it and propped up against the adjacent panel, only for it to fall over again, days later. On Tuesday night, I was receiving the general waste and recycling bins from the end of our drive when the neighbor (of the garden we’ve been spying in to for the past three months) was picking it back up off the ground! Out of sheer embarrassment, I didn’t have the nerve to say anything more than ‘Hello’ but, I knew it was time to finally stop putting it off.
Replacement battens cut.
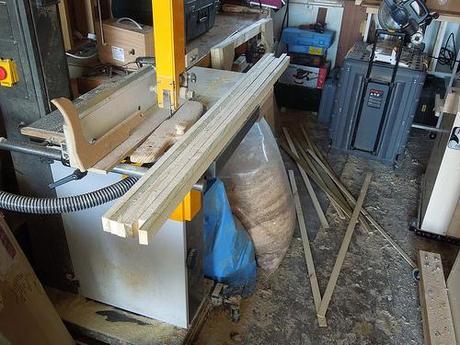
As you can see in the top photo; I dragged it along to the other end of the drive, infront of my workshop. Laying it flat on the drive allowed me to assess the damage and to draw up a brief cutting list of timber to cut. I only needed three lengths, with a finished size of 32mm x 16mm (1¼ x 5/8in). When I used to make these panels for a local firm, we used standard roofing batten size; 38mm x 19mm (1½ x ¾in), which did help a little. I didn’t want to dismantle the entire panel so, over on my bandsaw, I ripped like-for-like from a few treated scraps I had lying around and a length of 2x2in from overhead. I also cut a couple of spares, in case you’re wondering.
During the afternoon, I had a visit from a blog-reader and father of another blogger… I might have to start charging, if this is to become a regular feature! But, I’m glad he didn’t see the state of my “workshop” while I was machining timber today!
Nailing new battens.
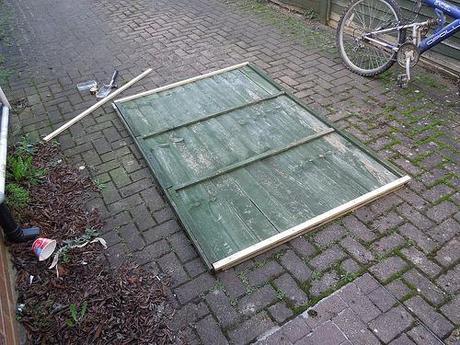
All I really needed to do, before re-fitting, was to replace the end battens – two of which had held on tight to the fence post, as the rest of the panel had blown away! I find it easier to set both battens in to position and nail both at the same time. Then, to turn the panel over and bang a few nails in from the other side. If you use longer nails on a hard surface, you can form a ‘cleat’ or hook as the nail is driven through and the pointed end clenches over. That, in my opinion, reduces the risk of a panel falling apart.
Good enough for a lazy Saturday morning!
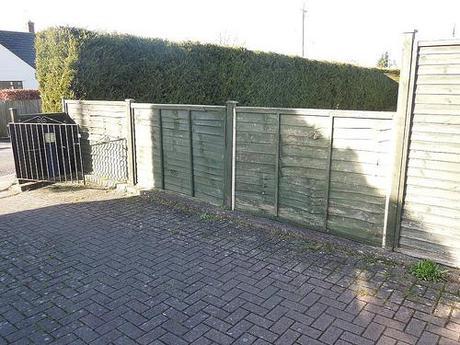
That part was straightforward and any old nails that needed to be removed pretty much fell out thanks to soft state of this timber (good old ground moisture!). Before fitting a panel, I always pre-drill the side battens for 3in long screws. Especially on 16mm thick stuff, which could easily split, otherwise. This panel was tight in its opening at the top but about 10mm too-much-so on the bottom! I ended up dragging it back to the workshop a couple of times and digging out my power planer (I only hit one nail) until I was able to lever it in using brute force and the aid of a large flat-head screwdriver!!
It does need painting, at least and that’ll have to wait until the weather and the wood dries out a bit. It might not last another twelve months and I half-expect one of the panels either side to go but then, we might not be living here either.
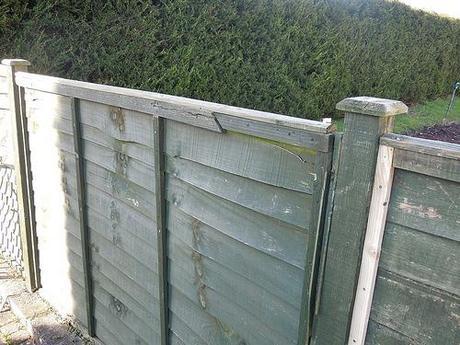
“Attempted scarf joint”…
That’s a scarf-joint I attempted maybe two-years ago when I was very short on spare battening, unwilling to spend money on new wood to rot outdoors and just wanted to get my mother off my back. I am surprised that it was the other panel that blew away, even if it does hide a few ‘secrets’ of its own on the neighbours’ side… Also note the “spacers” (not actually my idea) fitted to fill the extended gap between posts, which exceeds the standard 6ft (1830mm) – that was back in 2008.
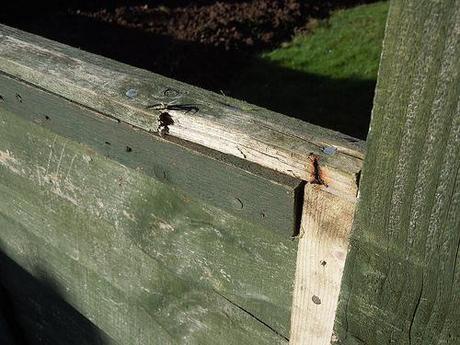
Capping
I’ve nailed the capping piece back on to try and hold more of it together and I’ve decided to ‘ignore’ the fact that it’s broken away on one end and should really be replaced. I could easily have knocked up a new one on my planer (jointer) in minutes but, I don’t like fence panels and I don’t like working out in the cold for too long.
It could all blow down again on another day! We originally had 6ft panels there, only to dispose of those as the Mother Nature was getting too much enjoyment out of sending them on a horizontal journey. I must say though; that ‘new’ panel is such a wedged-fit in the opening, I can’t see it falling out unless the other eight-or-so panels and posts and to come away with it!!
We must’ve had an awful lot of rain recently as I’ve found that water has soaked through my suspended chipboard floor and made its way on to my bobbin sander! I’ve been hoping to do a walk tomorrow but, the leader has warned that the route is heavily waterlogged, which gives me second thoughts. I did go out to the Cotswolds last week but neglected to take any photos.
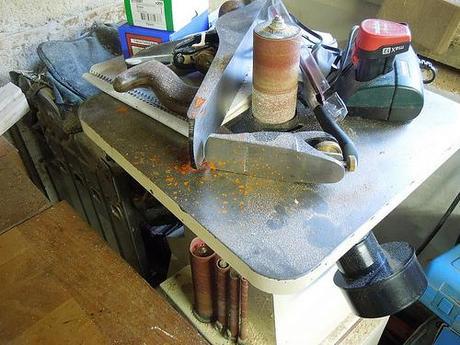
“Rain o’er me bobbin sander, will they!!”
That’s enough of that; let’s get back to some proper woodworking!!

