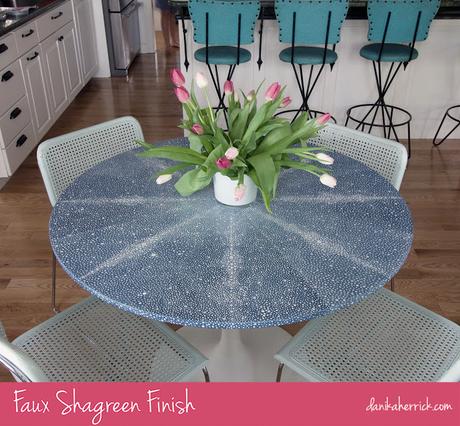
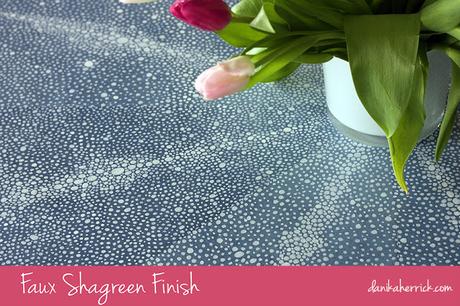
 Hey there! I just completed the mother of all DIYs (in my opinion) for the sheer fact that it took all my patience to get this done. Faux shagreen
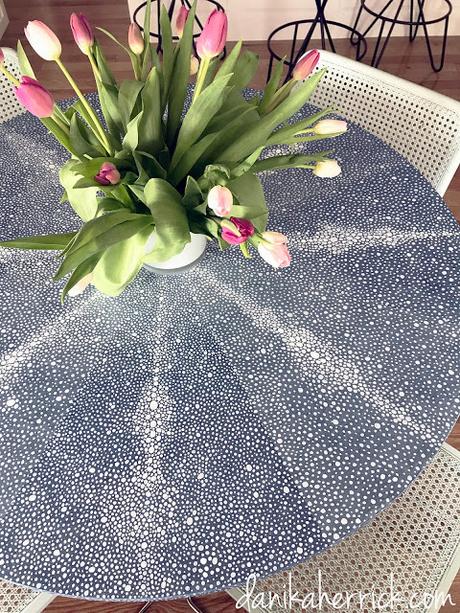 I have always loved shagreen. Shagreen is the skin, or leather, from a stingray and it has a fun, spotty texture. Its used on furniture and small objects and usually pieced together since the hides are rather small. The hides are dyed, so the colors are endless. I had been wanting to redo my IKEA Docksta tabletop, and had shagreen on the list of possibilities. I have seen DIYs where folks wrap furniture in shagreen textured wallpaper or leather, but since this was an "eating" area I didn't want texture and the mess of food getting stuck in it. It had to be painted. I also wanted to exaggerate the finish into larger than usual sections. I googled "round shagreen tables" and found a blue mockup that was just the inspiration I was looking for:
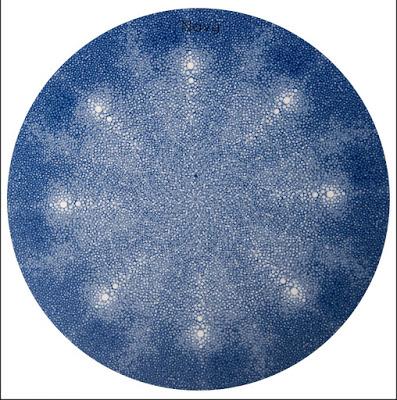 To do this finish you will need to determine your color palatte.
You will need:
Base color (lighter tone) in any finish except flat
Acrylic glaze tinted 2 shades darker than the base color
Piece of cheesecloth
Brush
Painters tape for Delicate Surfaces
Several Sharpie Paint Pens (I used white)
Pencil and ruler
Clear Coat to seal final finish
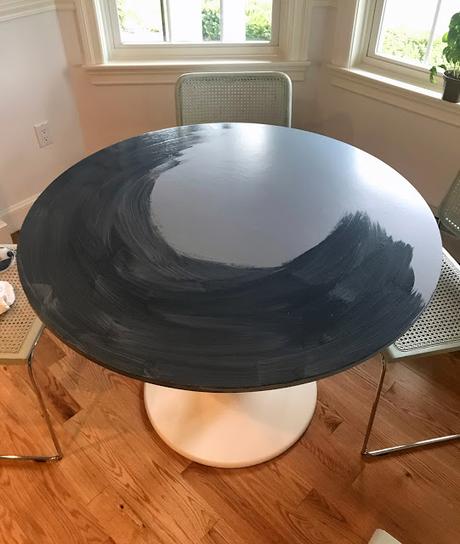 I began by base coating my table with 2 coats of Benjamin Moore's Slate Blue (satin finish).
Once it was dry I made a navy glaze using 2 parts Ben Moores latex glaze and 1 part Ben Moore (eggshell finish) paint in Newburyport Blue. I brushed a coat on quickly, staying a bit lighter in the center. This step needs to be done fast before the glaze has time to dry, so if you are doing a large surface, tape it into sections or have a friend help.
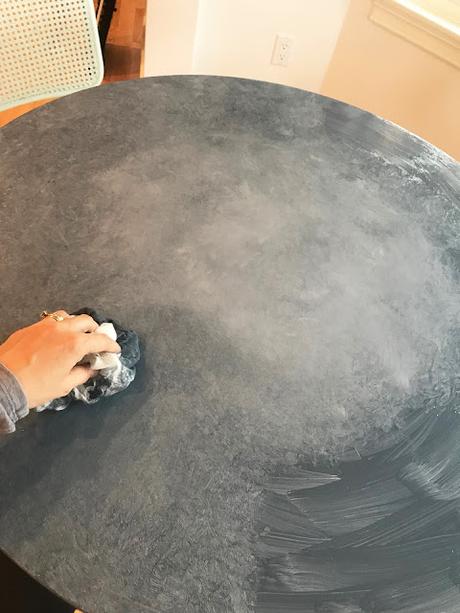
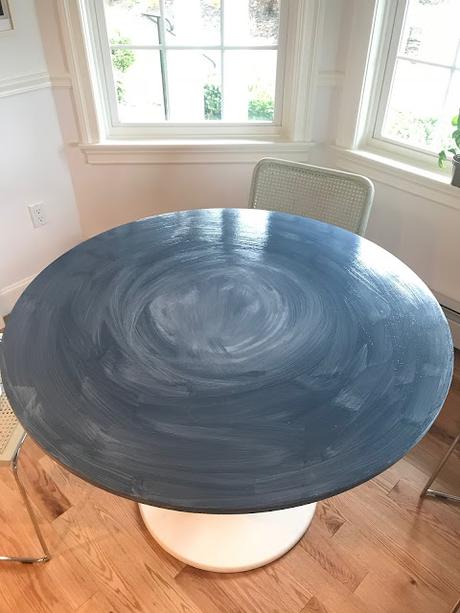 Take the piece of cheesecloth and pat the glaze, removing most of it and leaving a soft leathery texture. Let it dry for a couple hours.
 While it dries, find some images of shagreen and use them as a guide. You don't need to follow these next few steps if you are just doing a small area, but in my case, I had 8 sections and I wanted them to be pretty consistent. I traced the center part of a shagreen image, concentration on many of the larger circles that ran up it. I then used a stencil cutter to cut those circles out.
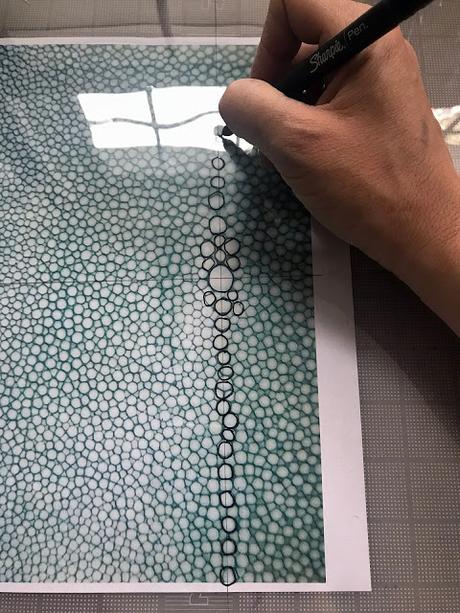 This was going to be my template for the centers of each section.
I traced the circles with a white pencil and filled them in with my Sharpie paint pen.
(You can stencil this as well, but I had no luck. The first attempt was great, but then the paint started to bleed under the stencil and it got ugly.)
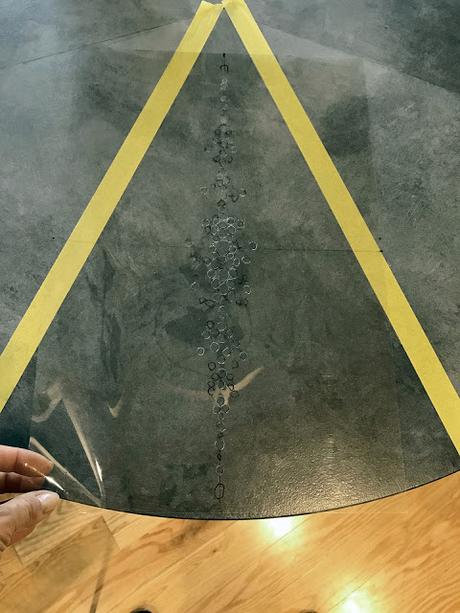 This pattern became the foundation for each section.
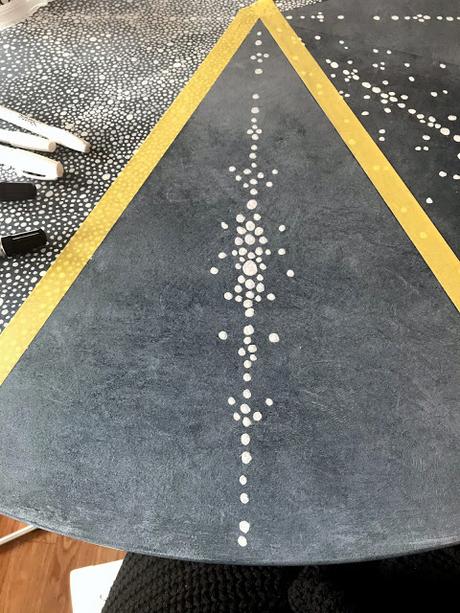 I filled in around that area first more tightly...
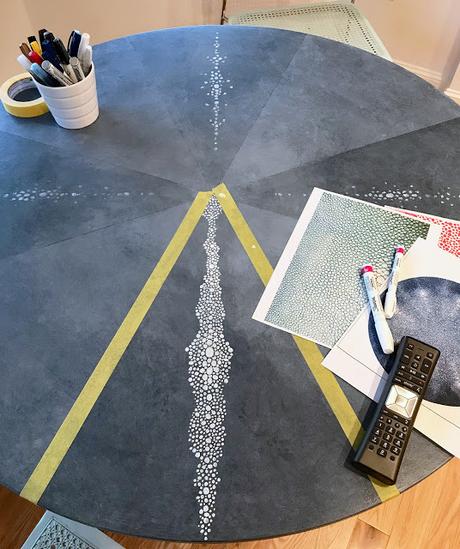 and then added looser, more spaced out dots along the rest of the section.
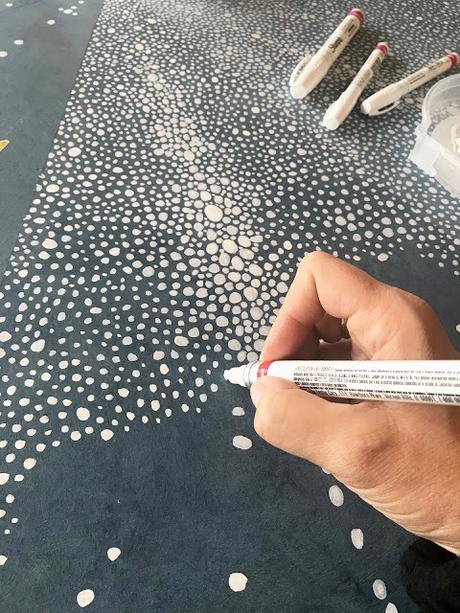 And I repeated this for all the remaining sections. I highly recommend binge watching some trash TV while doing this to pass the time- because it takes a while!
The smaller the surface the better... My table was 42" across, and a section took about an hour. It was a solid 2 day project, but I am totally caught up on Vanderpump now.
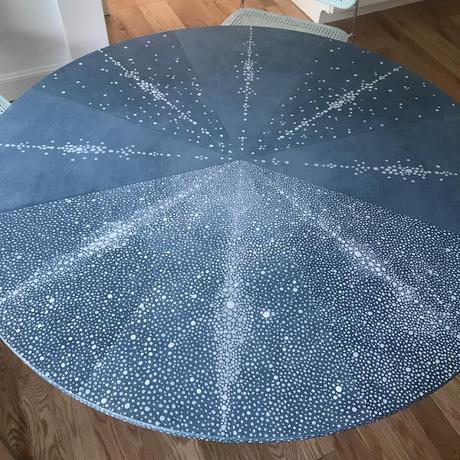 Once its done and dry, clear coat twice with a latex polyurethane in a satin or low-sheen.
I wasn't in the mood for glossy here.
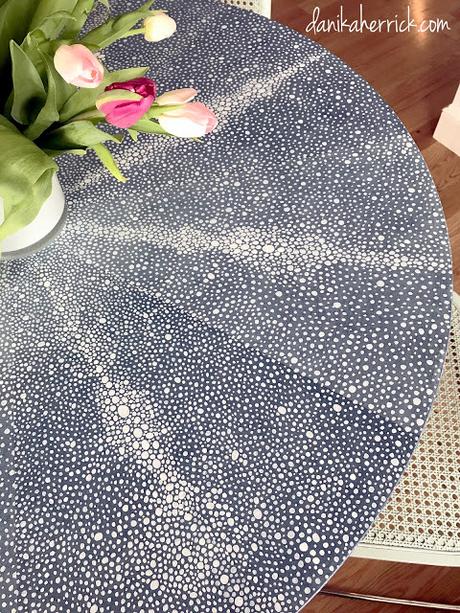
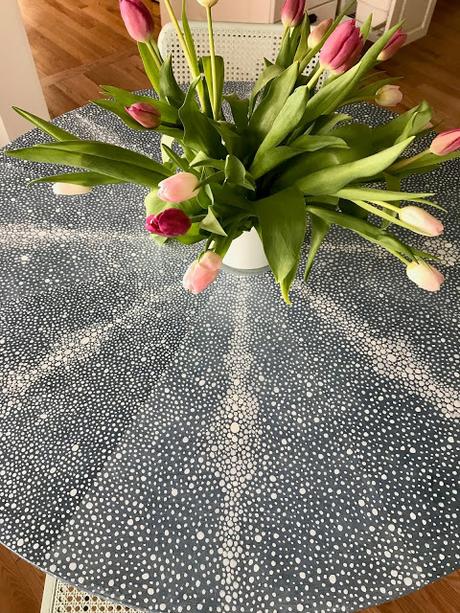
Not gonna lie, it was a long, boring slow-moving project but the end result was SO worth it! I absolutely LOVE this table now. I'm not going to let anyone eat here for a few days, and lord help the kid that uses markers at this table. I might actually do a third coat of polyurethane now that I think of it!
