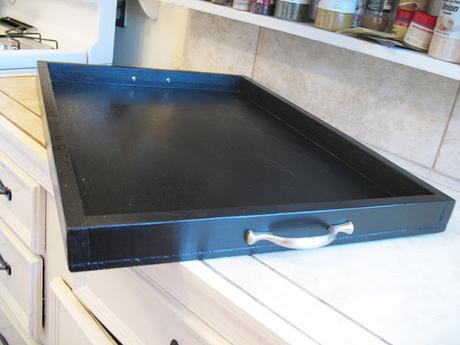
 And why would I be making trays when it's so much easier to just go out and buy one or a couple?
 Because of this.
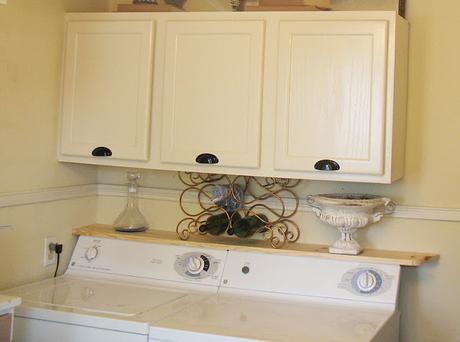 Our tiny kitchen has - like many older homes - the washer and dryer in there, hogging space. If you - like us - have the cheapo top loading variety you're pretty much out of luck for putting a countertop on there to make the space more functional (and to make the machines just go away. More on the going way part in a later post but the start of a shelf above the machines is part of this plan).
 Unless you're handy and have a Lowe's or a Home Depot close by so you can make custom trays :)
This handy girl got a Lowe's employee to cut up a 1/4 plywood sheet (cost me just under $20) into chunks corresponding to the measurement of the washer and dryer tops minus about 1/2 inch on each side for wiggle room (the rest of the sheet was cut up into pieces that I'll be using for other projects). While I was there I also grabbed a few 1x2s for about $2 a piece.
Since I'm not a master woodworker and also kind of short on patience I decided to make the construction as easy (fast) as possible.
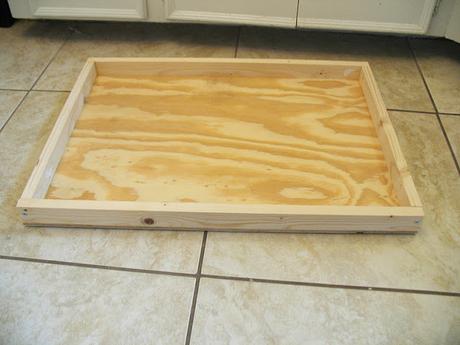 Cut the long sides first and then the short sides to fit in between the long ones.
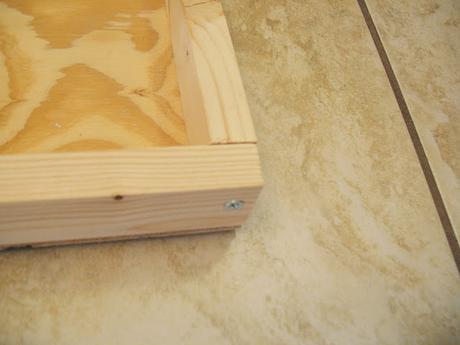 No mitered corners here, figured it wouldn't really matter and this way it's faster and easier.
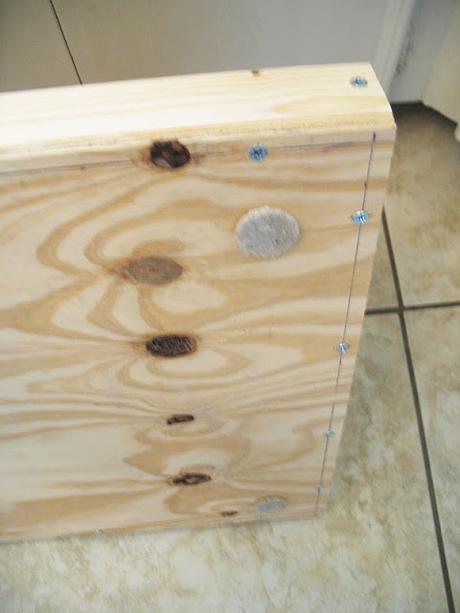
The markings on the bottom are made about 1/2 inch in from the edge to correspond to the middle of the 1x2s. Pre-drilled all my holes and assembled it all with screws and some wood glue here and there. Here and there only because I forgot to apply it everywhere :)
If you have more patience than I do here's where you should fill all the little imperfections with either wood filler or caulk. I did minimal prep by only sanding off the rough spots and then jumping right into painting. Two coats of a black house paint I had on hand. Since I didn't prime it almost looked like a black stain when it was dry because the wood soaked it all up. Pretty cool look. However, I needed these to be wipeable when done so I coated them in polycrylic. And added the cabinet pulls found at Walmart for about $3 a pair. Oh, and the felt furniture paws underneath so as to not scratch the machines.
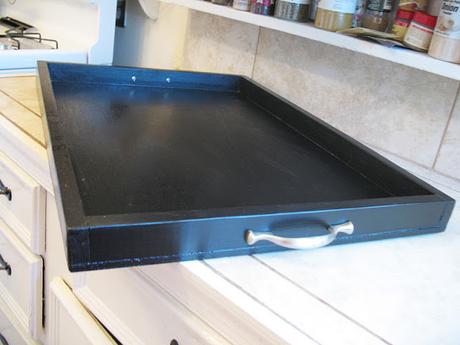 And voili-daddily-da!
 Sure, you see the imperfections when the light shines on them just right. Where they're situated not much light will hit at this angle, though :) It's all about faking perfection. What people don't see and don't know about won't hurt them (this goes only for decorating, pretty much everywhere else in life this philosophy will mess you up, ok? Just making that clear :)).
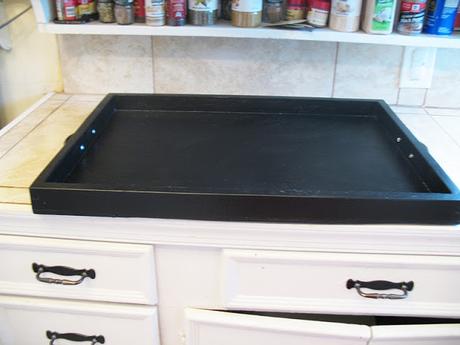 These turned out quite sturdy, I'm happy to report. Since they're big I just have to be careful not to overload them or I might not be able to carry it all. I'm positive the trays would hold up but I'm not sure I would :)
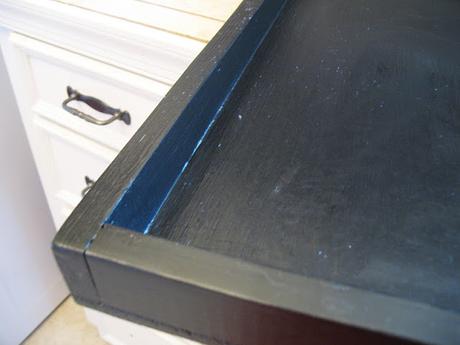
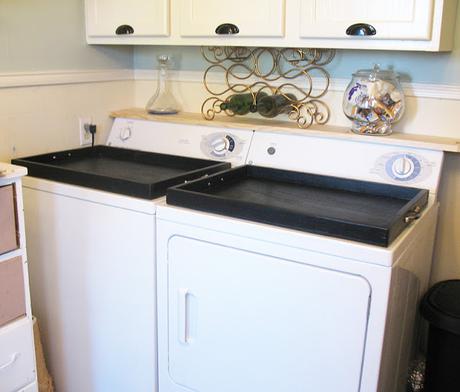
Now I have a light duty "countertop" with an elegant look. This formerly useless space has turned into usable space, either for decorative or practical purposes. They clean up easily. In fact, I can just pick them up and empty any debris into the trash or outside. Not to mention I can use them as trays in other places of our home, if needed.
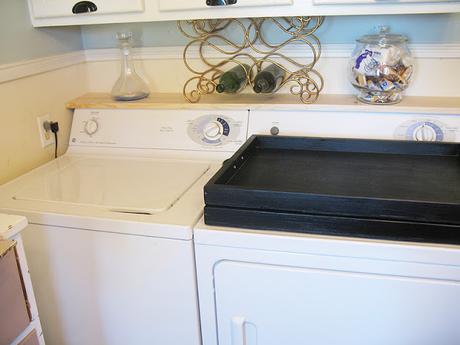 And the best part? When I need to do laundry they stack easily one ontop of the other to give me easy access to the top loading washer, and whatever I might have sitting in the tray easily travels with it!
 Now I'll just keep working on making the machines "go away". I have a plan but I'm not telling yet :) I'll keep you posted as I make progress as usual so stay tuned!
Ps. Linking up with
Someday Crafts
C.R.A.F.T.

